I’m always in two minds about what to consider a good “for dummies” introduction to cheese-making. The problem with very simple recipes is that they don’t capture a full view of all the possible processes and phases of cheese-making, so I prefer to go through a slightly more complex procedure to give a general idea, then come back to more simple recipes.
This time I will follow one procedure to get two cheeses: one ready and fresh, one to be matured. This post in two parts will show the general preparation required for these two cheeses; I will focus first on the one to be matured, and I’ll explain what to do with the fresh cheese in the next post.
What I’m going to show you is how to make some cheese that resembles Cheddar.
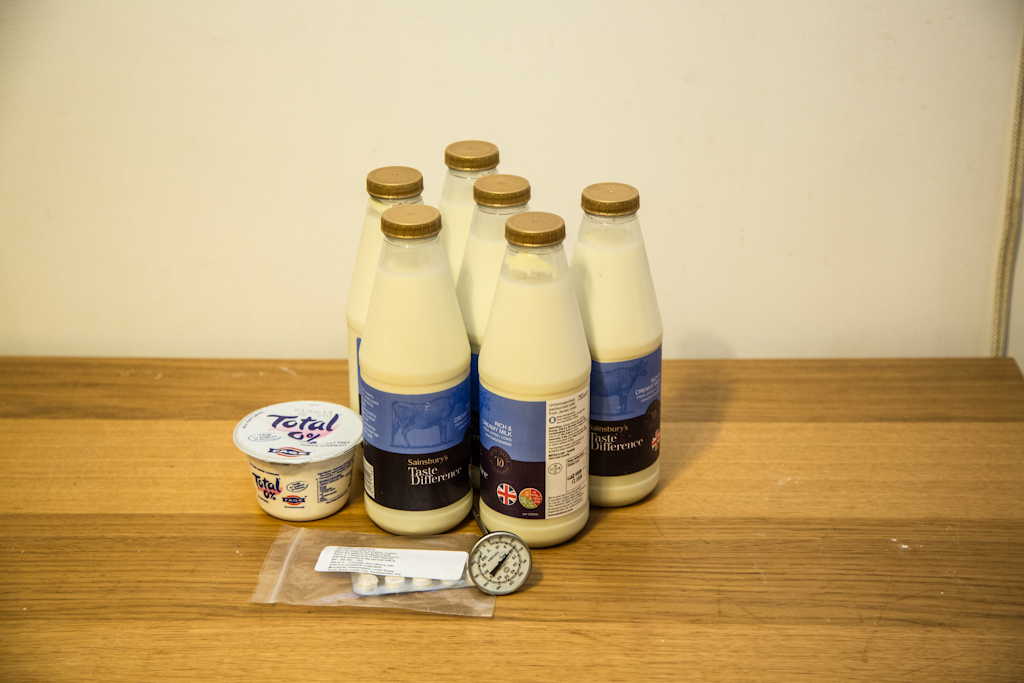
Note: I will go through the whats and whys of each tool or ingredient in future blog posts. For the moment, just get yourself the following:
- 4.5l unhomogenised milk, better if already pasteurised
- rennet in tablets (or liquid, if it’s easier for you)
- a cheese thermometer
- a cheese cloth
- some cheese moulds
- a large enough metal bowl
- some yogurt with live bacteria; Greek yogurt is generally a good bet.
We will go through the following phases:
- as the milk has been pasteurised, we will culture it
- we will then add rennet in order to coagulate the milk
- cutting the curd into smaller curds will follow
- we will proceed to scalding the curds
- we will drain the whey and give the cheese its shape
- the following phase, called cheddaring, is specific to this type of cheese but very useful
- we will then prepare the cheese for maturation.
Are you still with me? 🙂 Let’s start.
Adding a starting culture
Milk can coagulate directly with some rennet. However, rennet works at its best in an acidic environment. Adding a starting culture is useful to create this specific environment and ensure that the curds are strong enough. Moreover, with experience, you will see that starting cultures can be used to give your cheese a bouquet of different flavours. Finally, “good bacteria” protect your cheese from pathogens.
- Let’s start then, and dissolve some of the yogurt in a glass of milk.
- Once this is done, just pour it along with the rest of the milk in a large bowl.
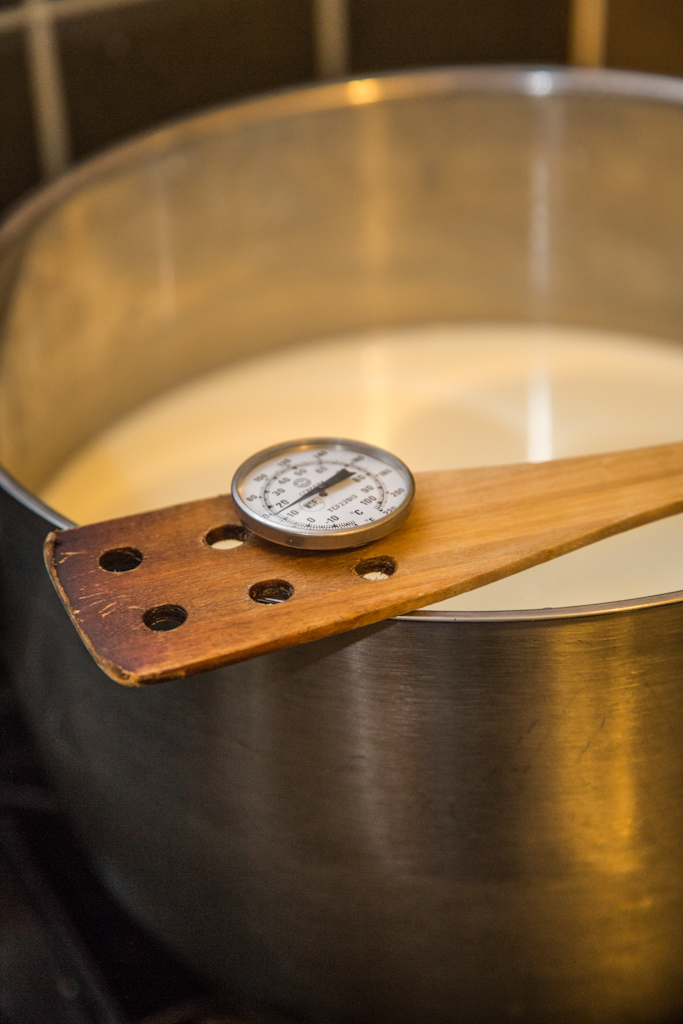
- Switch on the hob and slowly bring up the temperature. We will go through it in future but for this type of yogurt, generally bring the milk to about 45C over half an hour.
- Then cover, switch off the hob, and wait 30-40 minutes.
- While you wait, have a read at the next section.
Curdling
Our cultured milk is almost to go through its second phase.
- While you wait, boil some fresh water and bring it back to room temperature.
- Dissolve your rennet (tablets or liquid, in the measure suggested on the packaging) in half a glass of water.
- Make sure the temperature of the milk has gone back to 30-40C.
- Pour the rennet in the milk and cover.
- Make sure the temperature stays between 30C and 40C for about a hour.
- After a hour, check the curd. If it doesn’t “give in”, it’s ready. It should look like in the following picture.
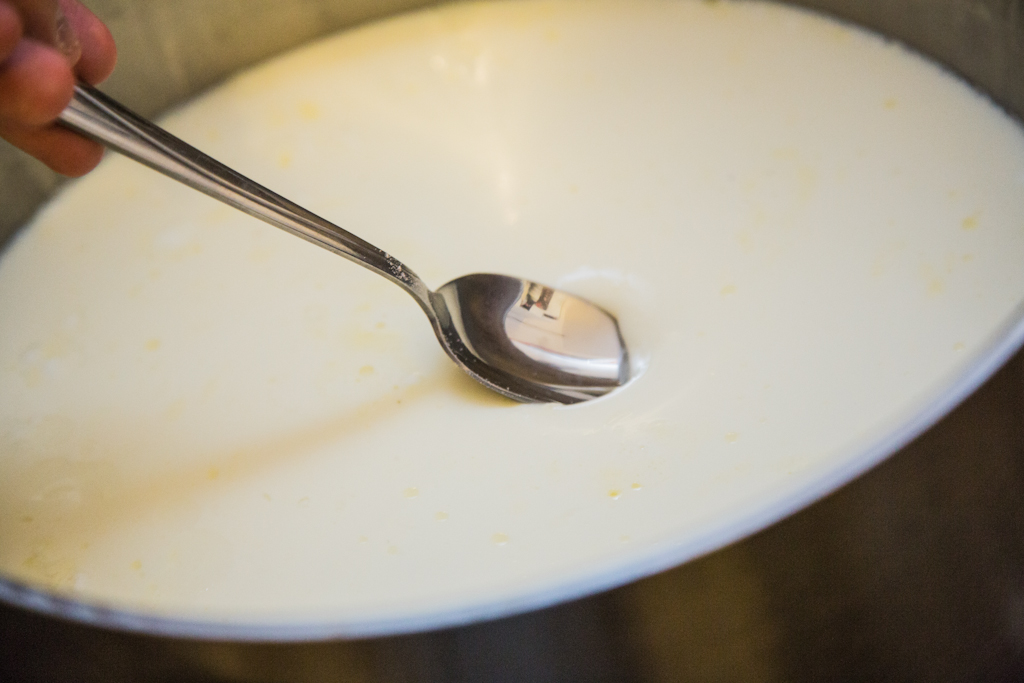
If not ready, just wait some more, but don’t let the curd become too hard.
Cutting the curd
At this stage, we’re ready to cut the curd into smaller curds. There are multiple ways of doing this, and even purposely made tools. I generally do this in a very easy way: I take a long knife and cut in a diagonal grid, orthogonally. This helps the curds expel more whey.
You should aim at obtaining 3D rhomboids as a result, about 1-2cm long.
Scalding the curds
The operation known as “scalding” basically consists of slow-cooking the curds. This is done for several reasons, including making the curds smaller and drier as they expel more whey, and to keep the starting culture active for longer.
Switch on the hob and slowly bring the temperature between 40C and 50C. You should aim at reaching 50C in about 45 minutes, then keep going for an extra 15 minutes. Keep stirring every 5-10 minutes.
Draining
Draining the curd is a simple operation, yet one that should be dealt with carefully. Especially as this is a cheese you want to age, the curds need to expel as much whey as possible, to prevent pockets of water forming in the maturing cheese, with possible effects on the overall quality of your final product.
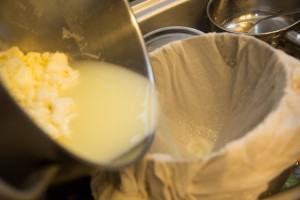
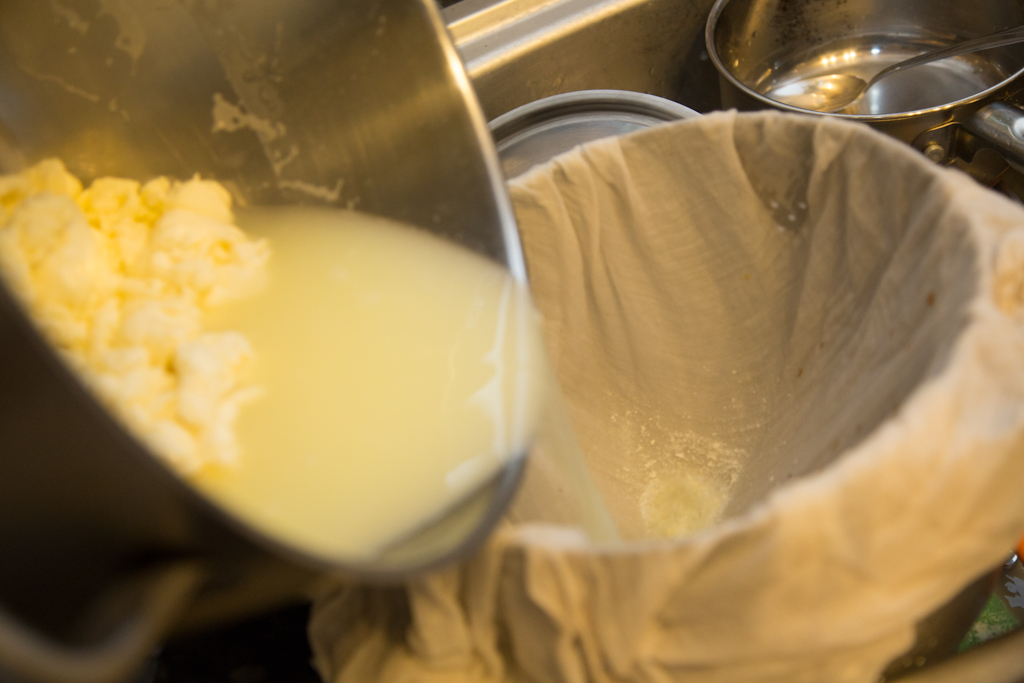
- First of all, put a cheese cloth on a colander and drain the whey in a rough way. In future, you will learn to keep the whey to be used in other cheese recipes (for example, one of my favourite, Mozzarella, is made with acidic whey).
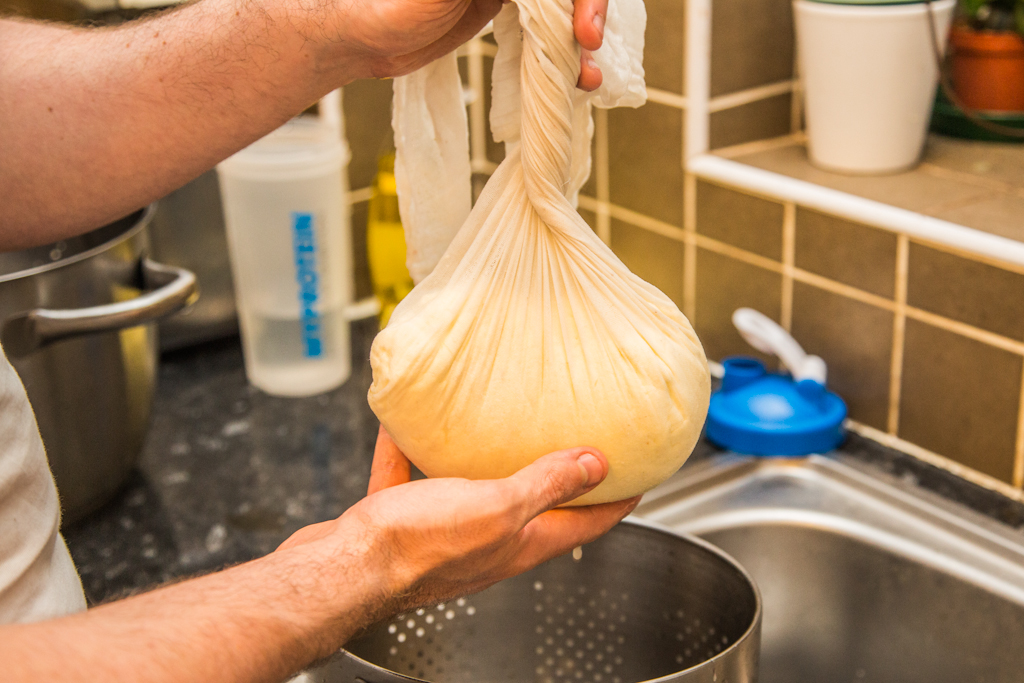
- Form a ball with the cloth and leave it to drain for a hour or so.

- You can apply pressure at will, and turn around the cloth multiple times.
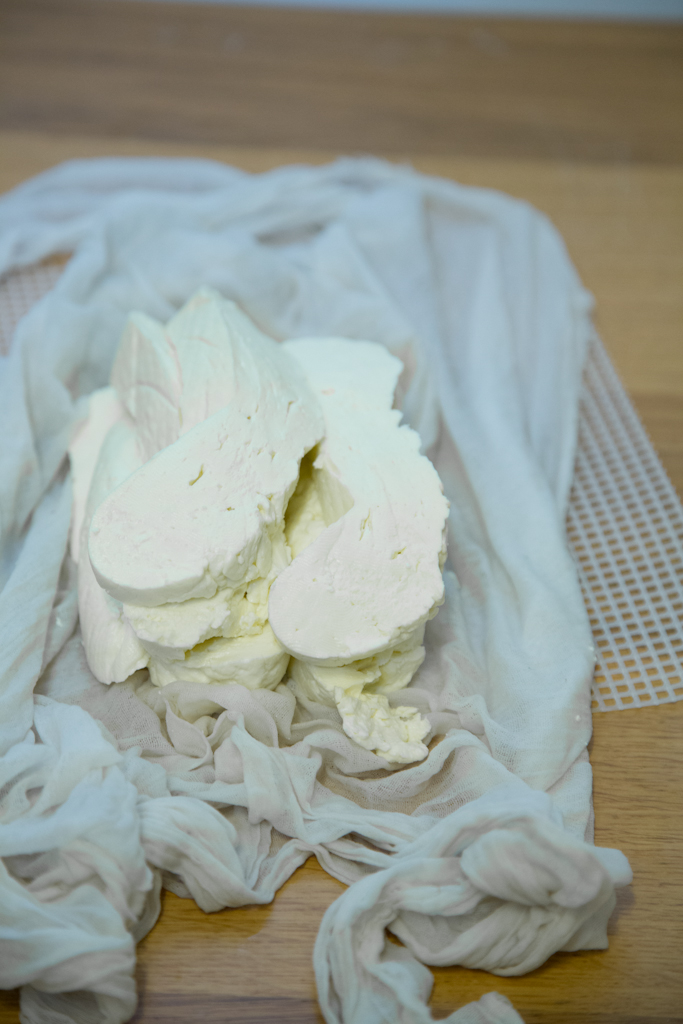
- When water is no longer dripping, you are ready to get the curds out. You will notice they will have become a single mass. Cut this mass in strips. They will have the same consistency of halloumi. Stack them and leave them for 30 minutes to lose some more water. After 30 minutes, do it again by restacking in a different order.

Cheddaring
There are several things you could do with your cheese now. For example, some cheeses require a brine bath. In the case of cheddar, we do what goes under the name of cheddaring.
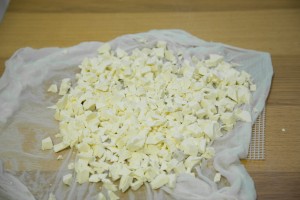
- cut the curds into smaller cubes and make sure they do not overlap too much
- sprinkle some salt all over the cubes; a couple of pinches will do. This is mostly for flavouring and preservation.
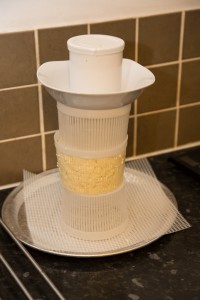
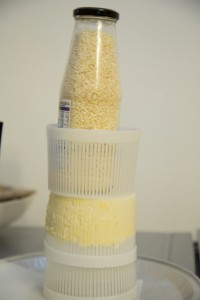
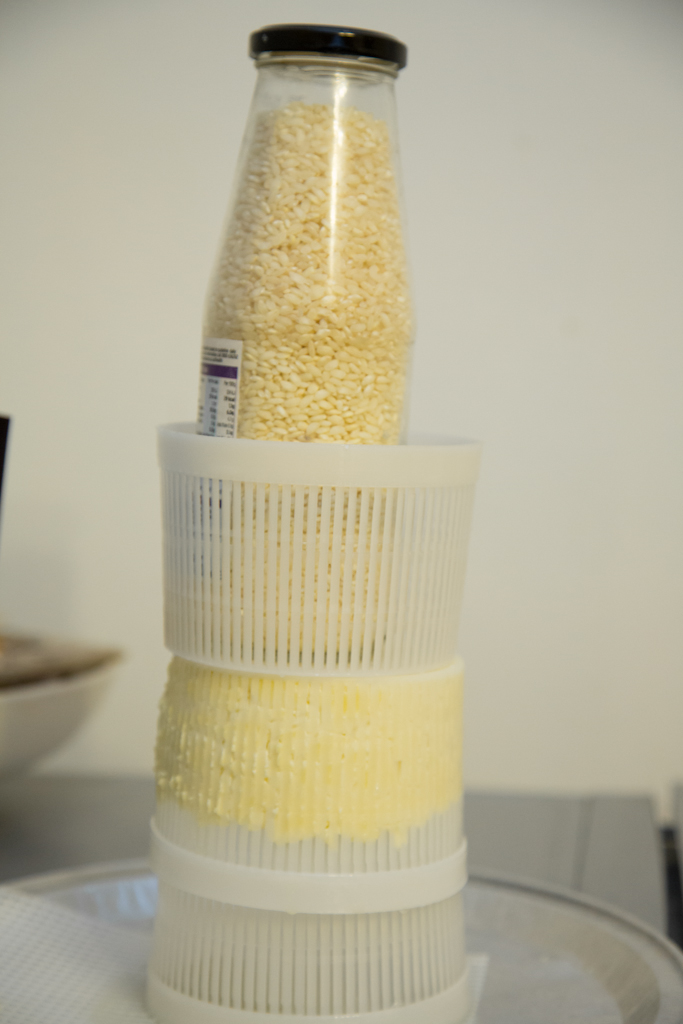
- Collect the cubes using one or more cheese moulds. Each mould will go on to become a single mould of cheese.
- Apply pressure. Ideally, increase the pressure over the following 24-48 hours, until every hole in the cheese is flattened.


Maturation
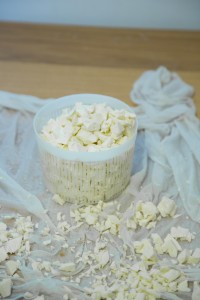
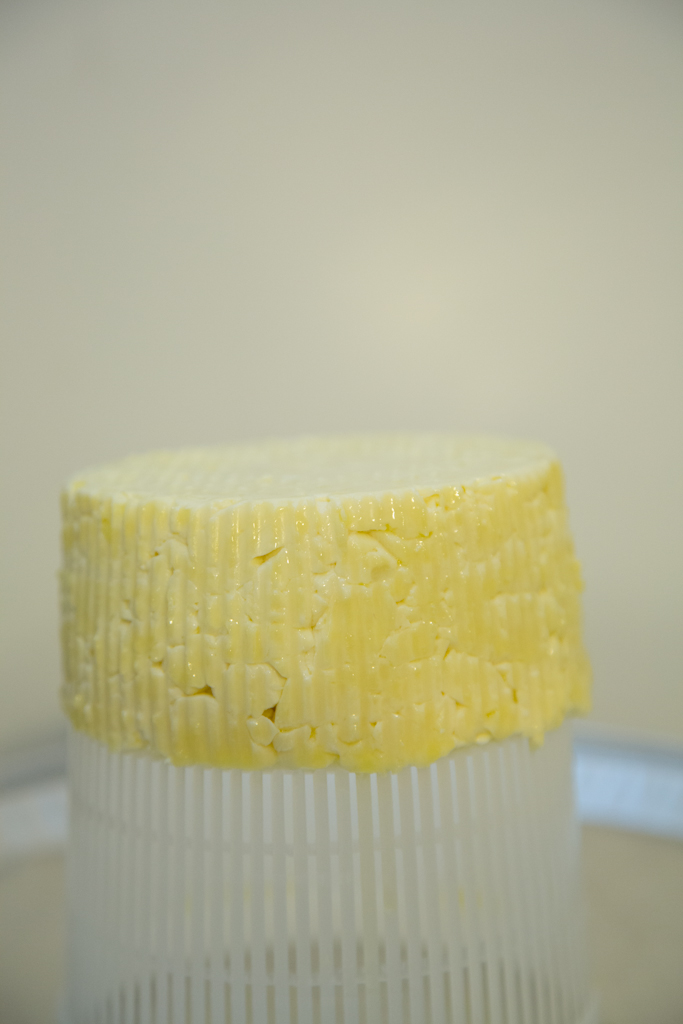
Finally, we are ready to get the cheese out of the plastic mould and let it mature. In this phase it’s important that the cheese stays clean and dries throughout.
There are several options: you can leave the cheese as it is, or wax it, oil it, …
For this example I’ve slightly oiled its surface, so to make sure it doesn’t break.
Remember to turn it around every 2-3 days. I generally put it on a mould or cheese mat until it becomes dry on the exterior, then replace the mat. You can also use a clean cheese cloth.
You might see molds growing on the surface of the cheese. This is upsetting, but up to a point is normal. When it happens, I remove the mold and wash the surface with some white vinegar. It generally solves the problem for good. We will go through other options in future.
Here we go. We have prepared our first cheese for maturation. Are you happy?
Leave a Reply