Calculating the average face from a set of photos using OpenCV on Colab
TL;DR Here is the Colab notebook.
A few years back, the the UK Parliament released photo portraits of each Member of Parliament. So, I thought, it would be cool to do something data-driven with that image set. I had worked before with algorithms that allowed to find reference points on a face, using Terence Eden’s code that found the most similar painting to a face.
My first thought was: I could calculate the similarity of each face, and pick the face with the median similarity as the “average face” of the dataset. This, although a potentially good approach, had two shortcomings:
- first, it relies on creating a static model of all the faces in a dataset of portraits to then compare an individual photo face to the whole dataset, a somewhat computational intensive procedure with a huge memory requirement (scaling up with the size of the dataset)
- second, and maybe most importantly, I wanted a way to actually average through the faces and create a new one through some kind of morphing, as opposed to selecting the existing face that is closest to the average, a subtly different problem.
I realised that the best way to go around this would be a way to split each picture in a set of shapes (a grid, maybe) then blend each colour of the grid. But, of course, this wouldn’t be enough – as people have different face shapes. In order for this to work, there needed to be a way to somewhat warp that grid to a resulting face shape, which I had no idea how to calculate.
The process in general terms
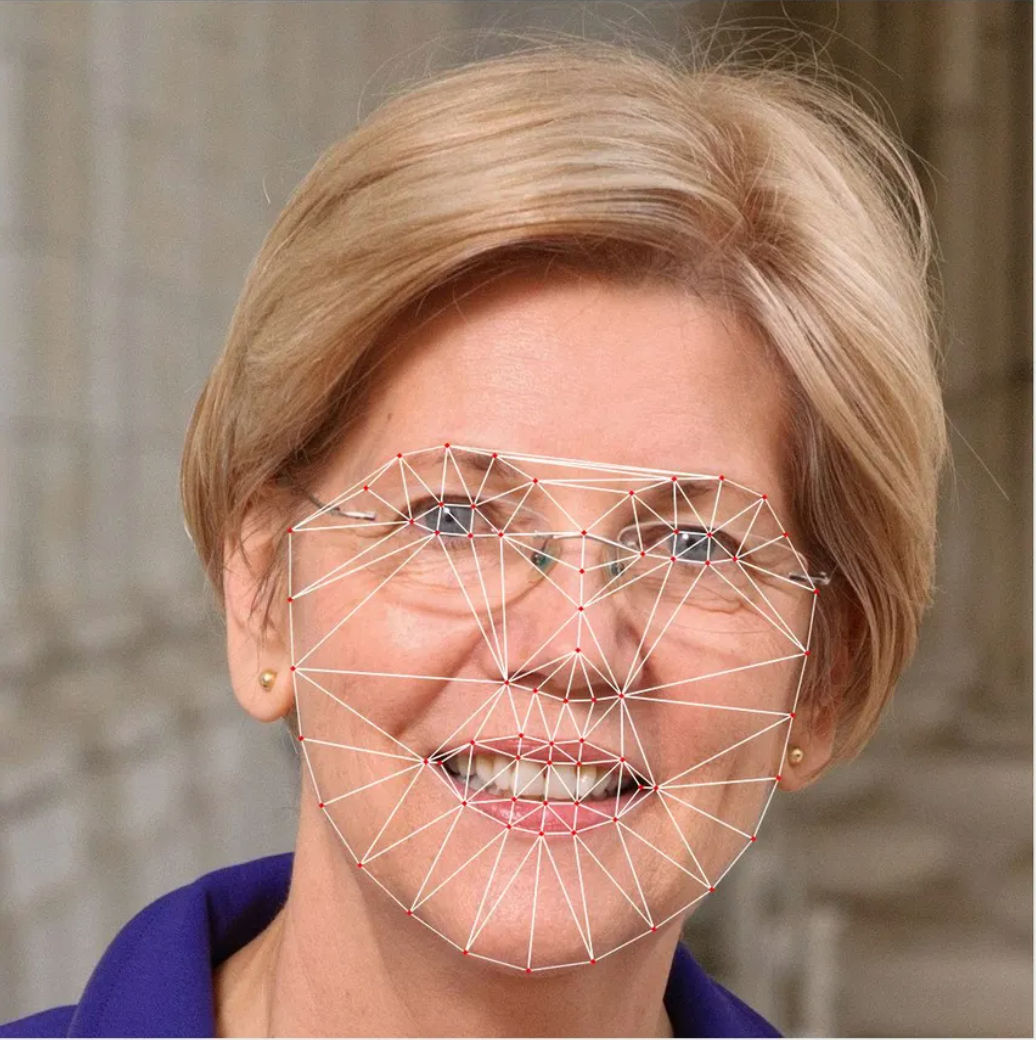
While I was looking into potential solutions, I bumped into a very elegant one by Satya Mallick, the data science guru behind LearnOpenCV, with exactly what I needed. The major intuition, here, is that you don’t just create any random “grid” of shapes to split a face in. Instead, you use a face recogniser model to pinpoint a given set of specific markers onto each face and use those points to split each image – rather than in a square grid, into the set of triangles that will result from the process called Delaunay triangulation.
Why does this work perfectly? Very simply, because the triangulation built this way possesses two important features:
- the set of points is the same for each face, regardless of the coordinates of each point: every face will have, for argument’s sake, 5 points to identify the left eyebrow, 4 points to identify the nose, and so on
- the Delaunay triangulation results, equally, in a set of triangles that correspond perfectly between faces: triangle 1 will always be the one determined by the two leftmost point of the left eyebrow, etc… you get the gist.
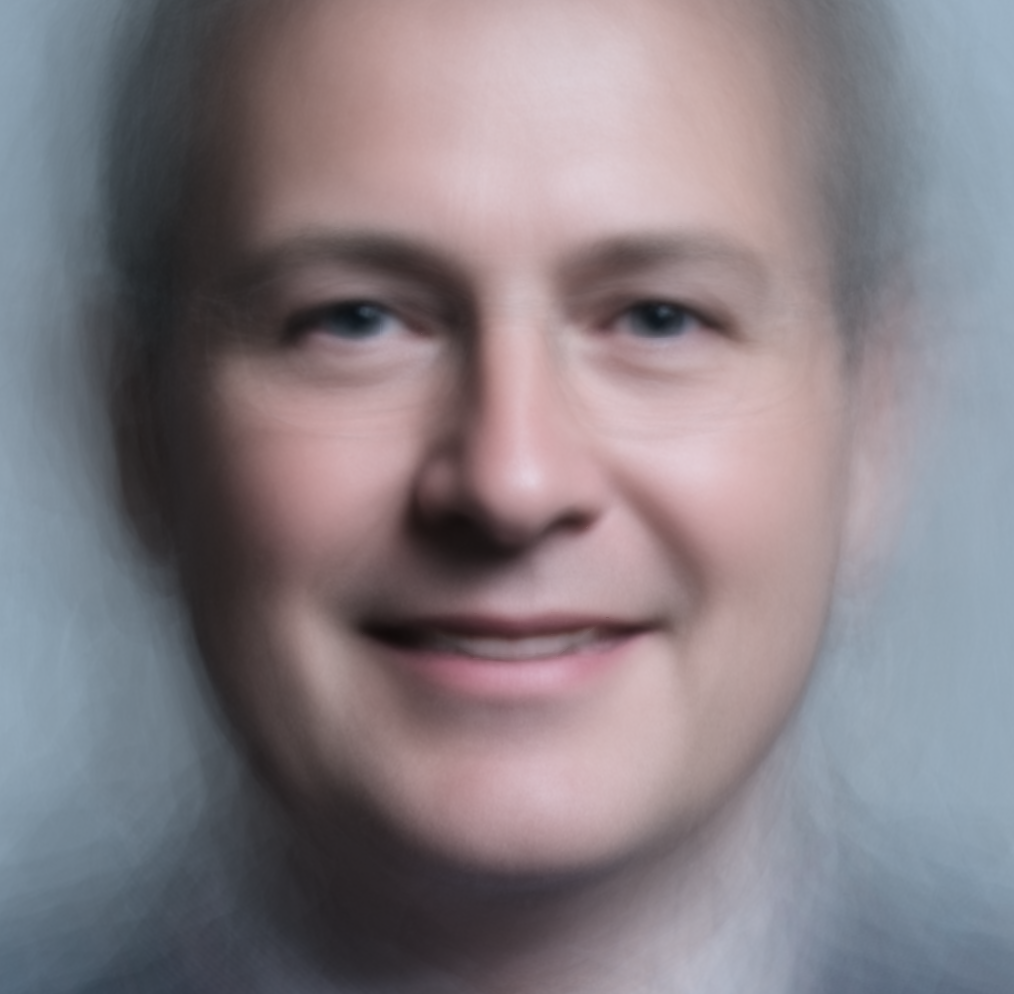
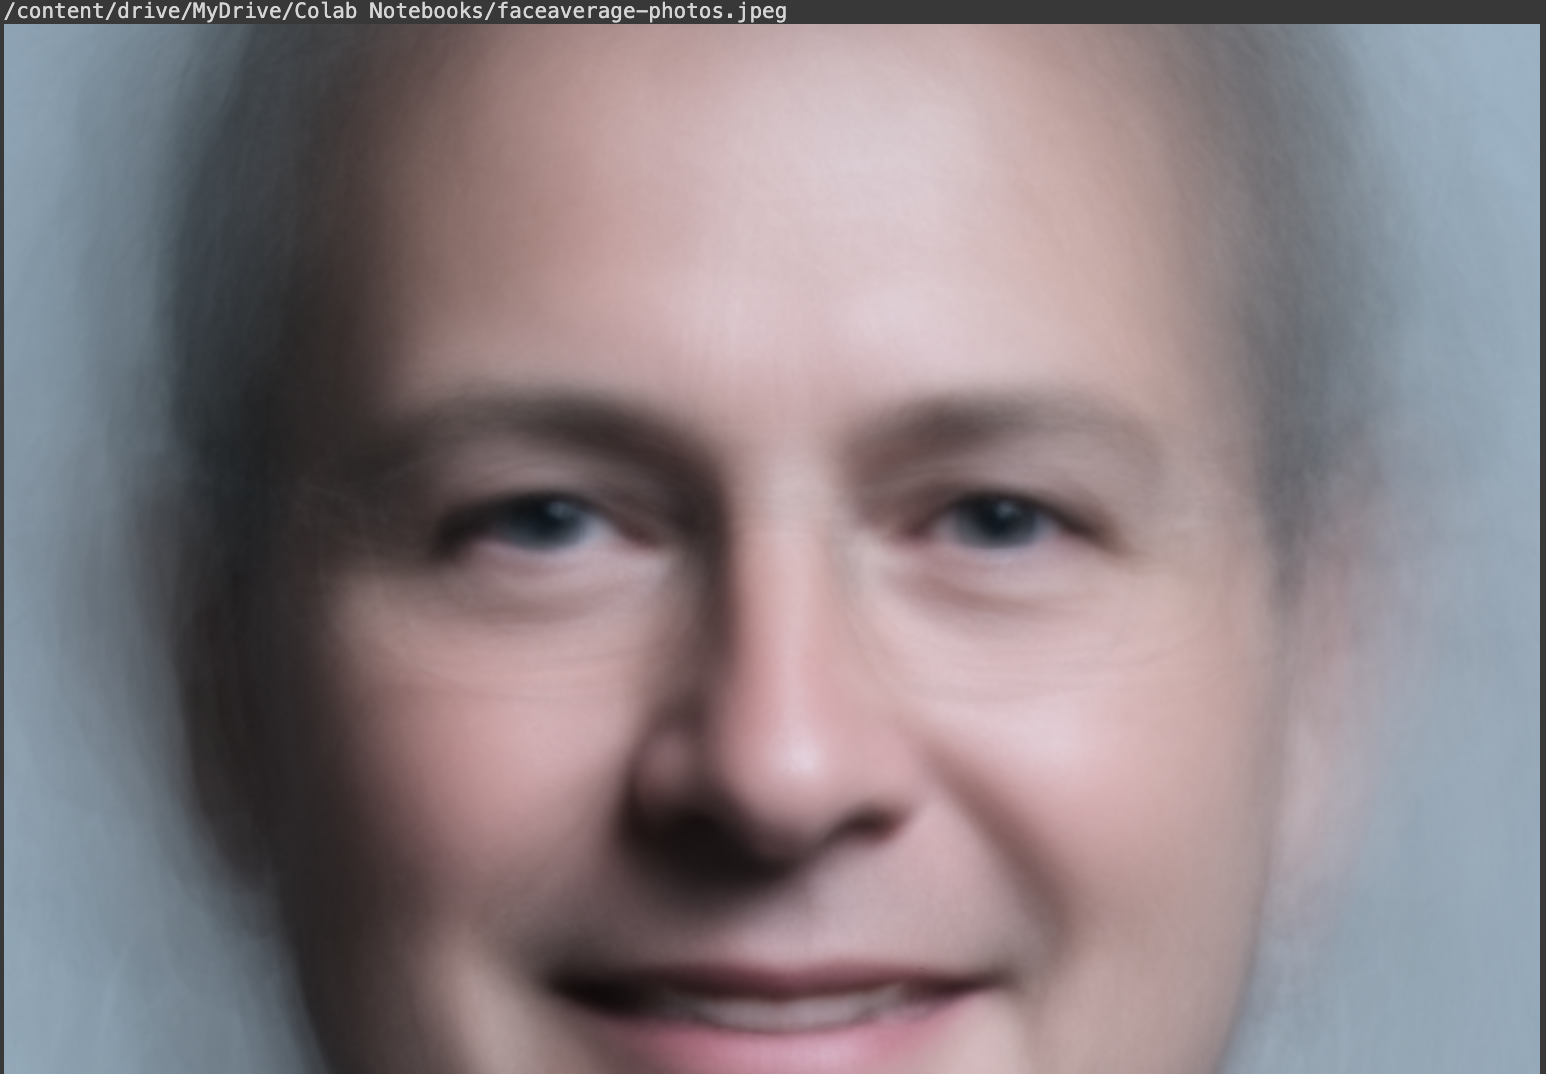
Once you have a set of triangles for two images, the average is fundamentally a geometric problem: you warp the triangles to make them align, and give it an “average colour”. Iterate this over the whole set, and reassemble the resulting image, et voilà, you have an average face like the one below. For better explanations about the process please refer to LearnOpenCV.
The code on Colab
Now, to the specific implementation I’m releasing. The reason for this release is that I always ran this code on an old physical server with a GPU, which however no longer works and is unsupported by recent versions of CUDA. This made me realise I could port the algorithm (which, by the way, doesn’t need a GPU to run) to Colab, which has better guarantees of sustained performance on large images and large datasets.
This required updating the code to Python 3 and OpenCV 3, the latter of which was a little tricky (I’m not an expert at all) but worked in the end. The notebook is structured this way:
- Cell 3 contains simply the set up of a variable to indicate the
path. The path should contain files with extension.jpeg. I suggest this being a Google Drive location so that it’s persistent, but it doesn’t have to be so and for small image sets it might be simpler to just use the local storage on Colab. This cell contains the two functions that make up the process:mainDetectFacePoints()will take each photo in the path and create a corresponding.txtfile with the coordinates of the face found in the picture;mainAverageFace()will take each picture, and do the whole Delaunay triangulation and triangle warping/blending process based on the coordinates found in the files. - Cell 2 contains the implementation of
mainDetectFacePoints()andmainAverageFace(), as explained above. They are split this way for ease of debugging. - Cell 1 contains all the helper functions used by the two main functions. Particularly interesting is, of course,
calculateDelaunayTriangle().
What happens when you run it
Assuming all goes right running cells 1 and 2, let’s assume you run the detection procedure first. You should see a sequence of detections as follows:
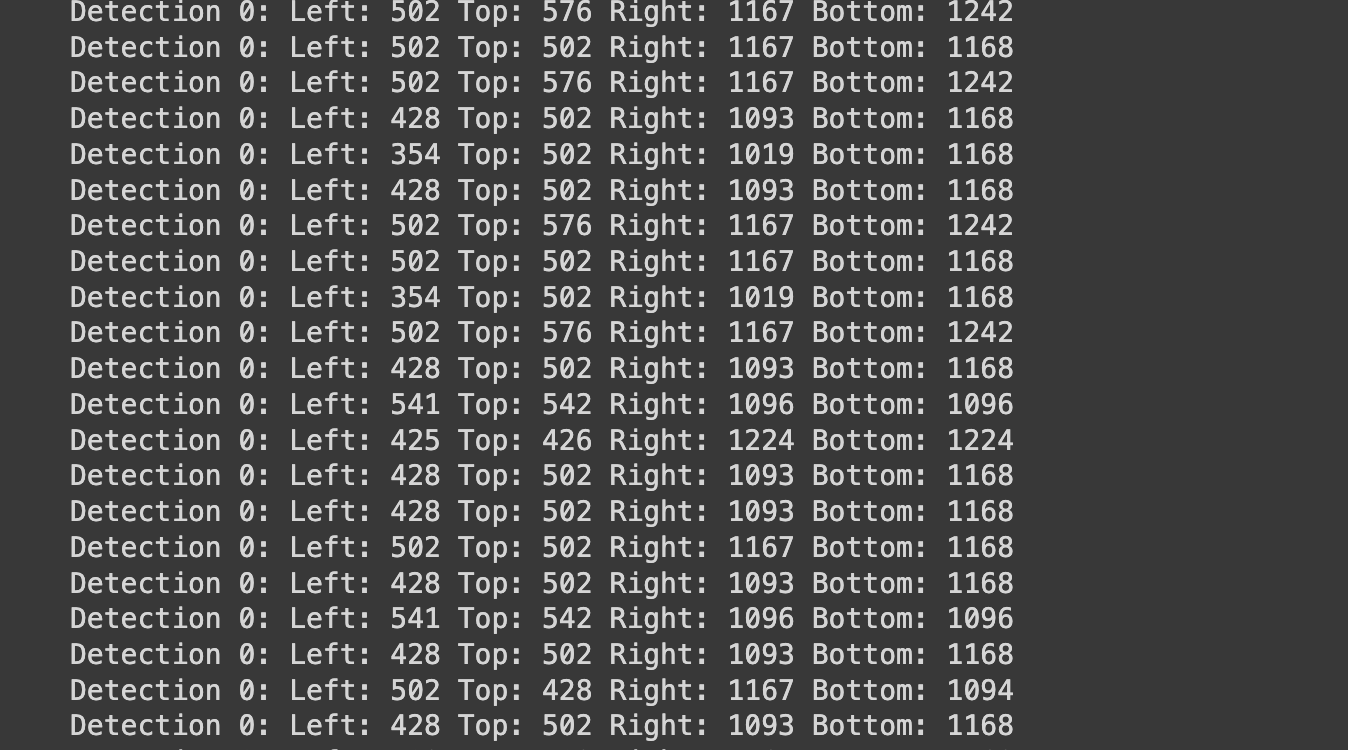
All those lines starting with Detection 0 simply say that a face was found with those coordinates Left/Top/Right/Bottom. On a clean image set, you should have one line per image (more on this in the next section).
Once that’s done, other than debug prints you shouldn’t see much other than, at the end, the location of the average image and the image itself:
Things that might make it fail
Obviously, this is a quick hack and it might not always work. Three potential things to look for
- make sure each
.jpegimage (by the way: not.jpg… because I’m lazy) has a corresponding.txtfile; the code won’t skip images with no corresponding text file, so make sure you have both or remove images for which the detection can’t work. As I say above, there is a way to generate those files manually using any image processing software that gets you the pixel coordinates using the moves, but it’s cumbersome and slow. - there is no face in the picture or no face is detected, which is the most common cause of the problem above. This might be because you genuinely made a mistake and the photo does not contain a face, or maybe the contrast/brightness is not good enough for the
dliblibrary to match the detection. In this case, you can easily amend the image and try again on that picture alone. - The library detects multiple faces in the picture. Do you remember that
Detection 0we saw above? Well, the 0 is just the index of the face that was detected. You could getDetection 1,Detection 2, etc, if you pass it a group photo. However, the algorithm, as defined here, only works with one face per image. A very weird case I found was one of a US Congressman who took his portrait standing in front of a portrait of his wife and children –dlibcaught them too!
I hope you enjoy playing with this. I’m always looking for improvements, so let me know.
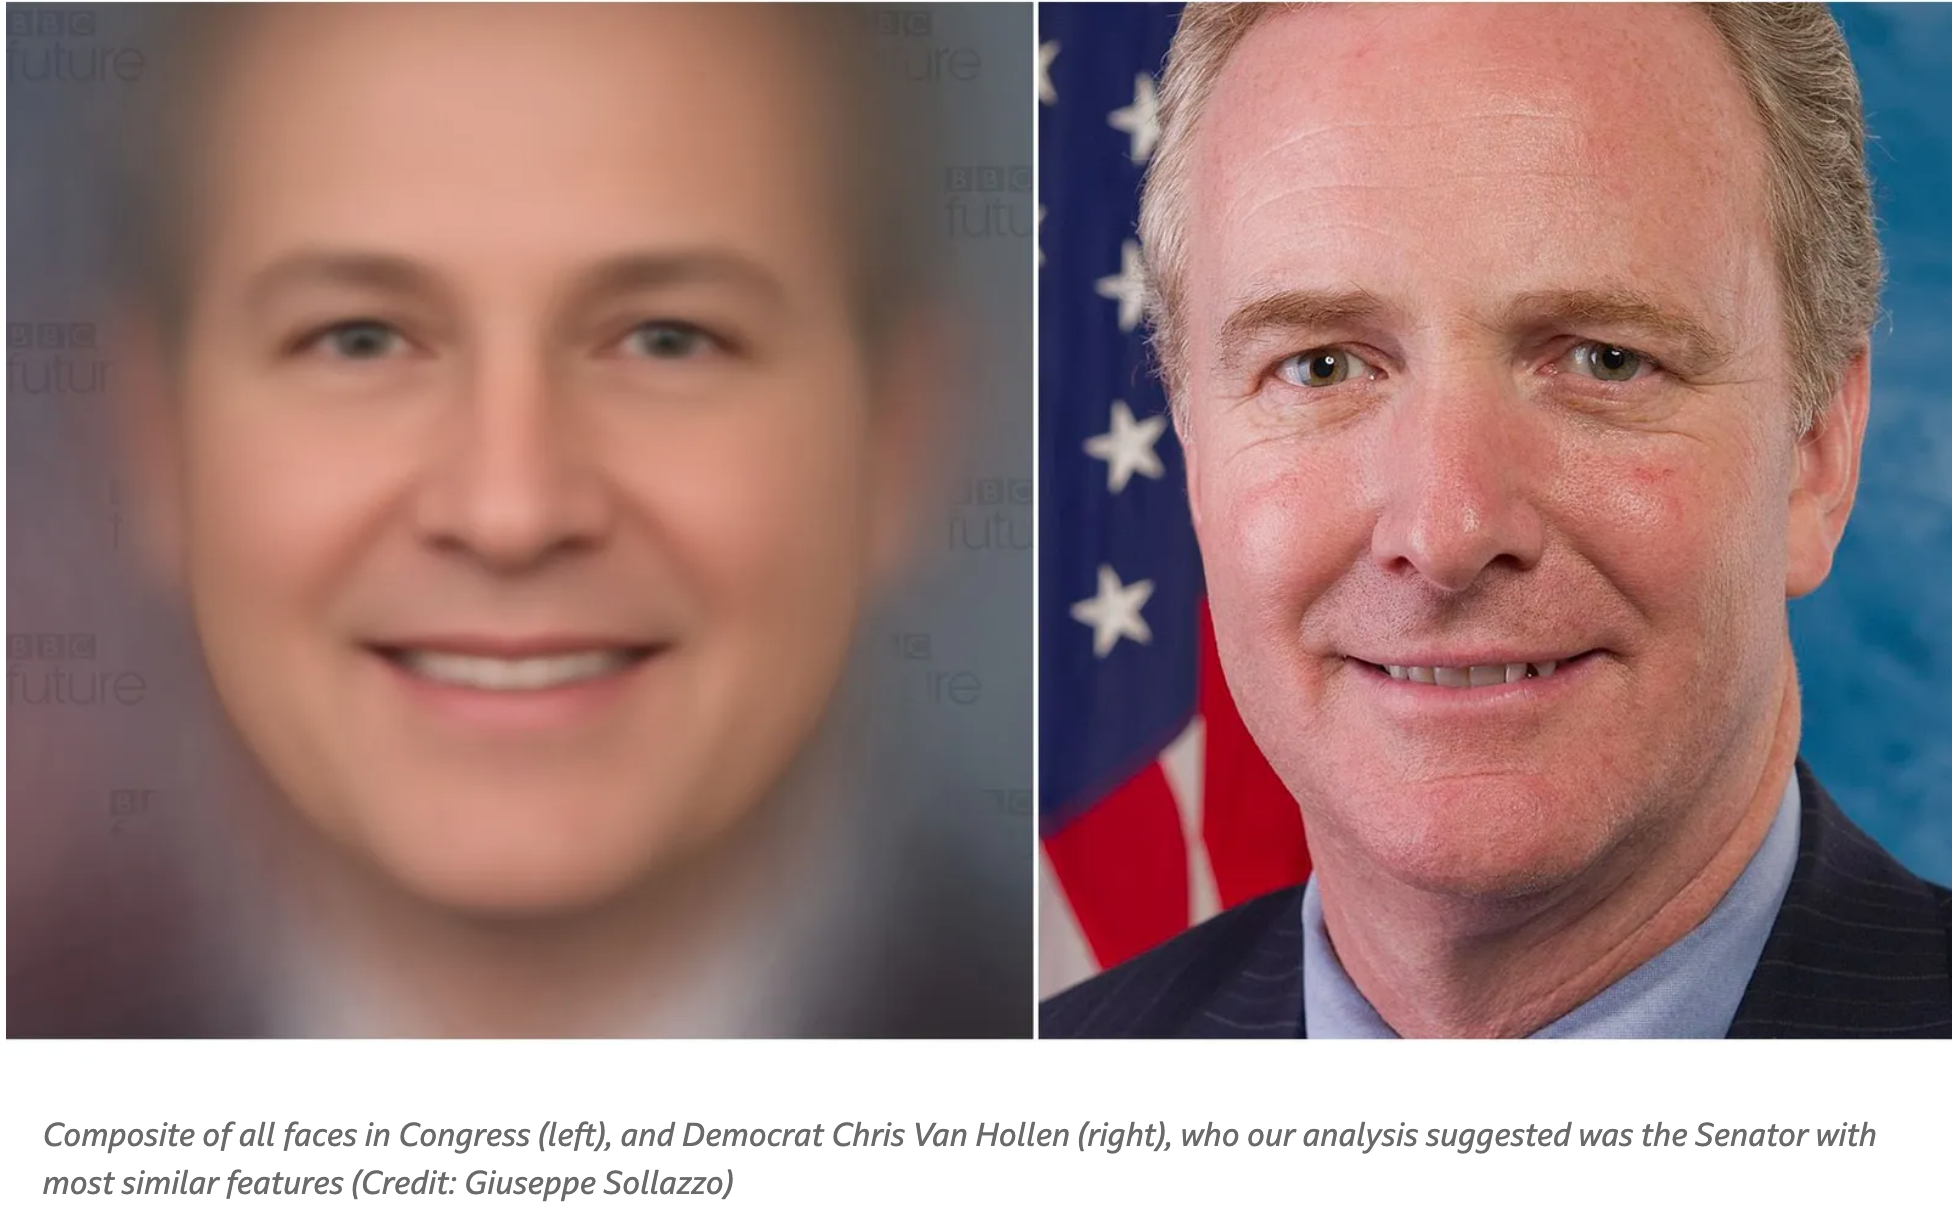
Obviously, you could play with Terence’s code above and… find out which photo in the image set is the most similar to the average. I did this when I implemented this process for this article on BBC Future.