Welcome to WordPress. This is your first post. Edit or delete it, then start writing!
Categories
Welcome to WordPress. This is your first post. Edit or delete it, then start writing!

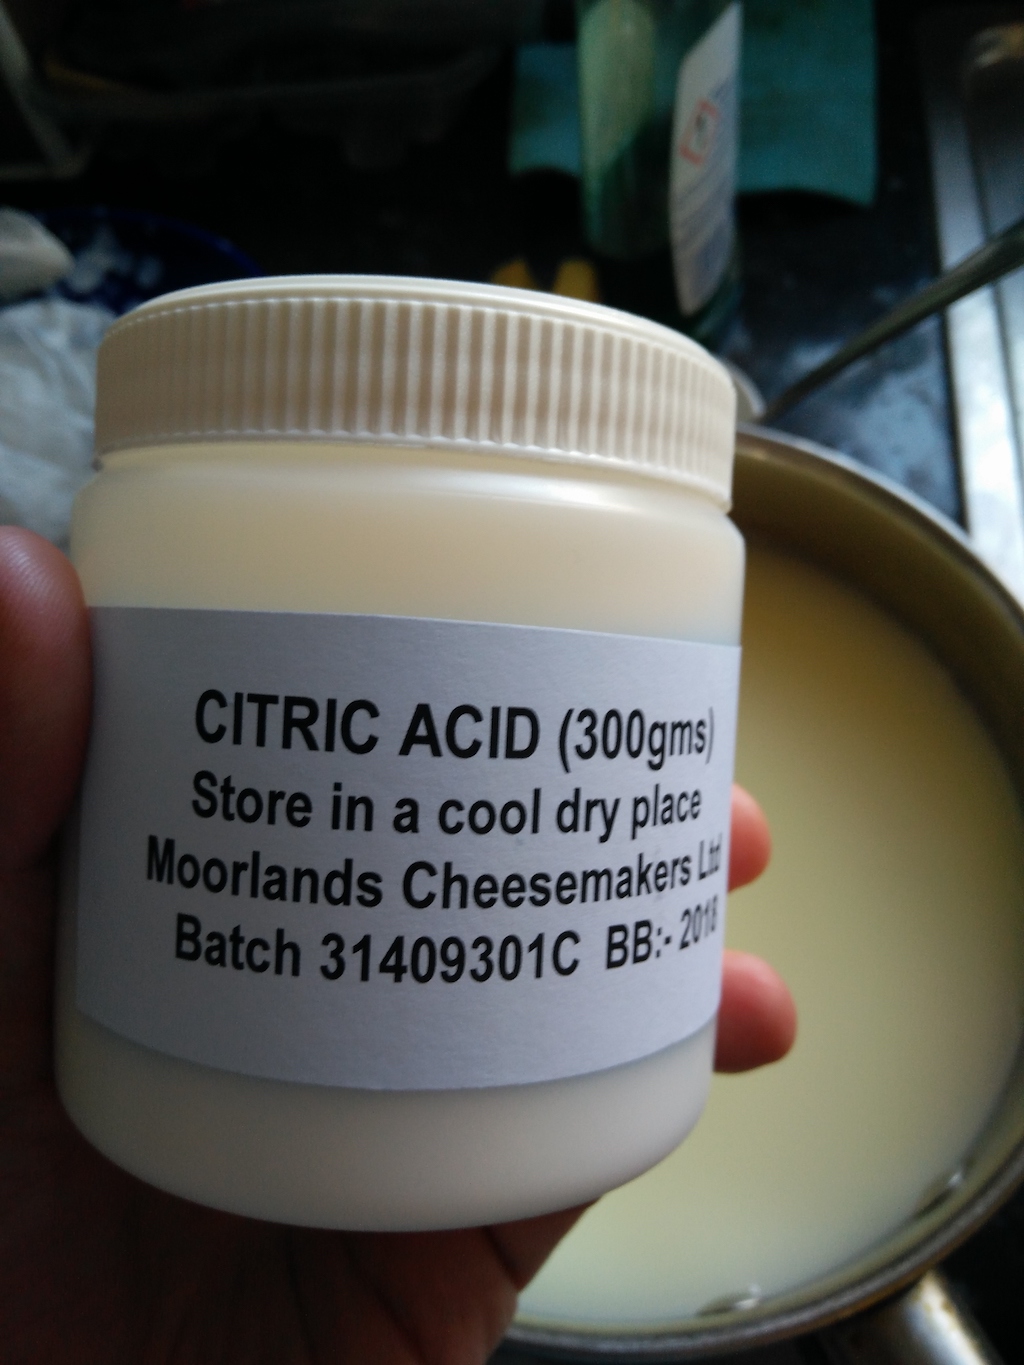
Paneer is a cheese associated with the Indian continent. It is a fresh cheese, often not made, which is entirely vegetarian: it is not made with rennet, but with an acidic curdling agent. Often this is lemon juice or vinegar, but any acid will do, and in industrial preparations powedered citric acid is often used. What’s different from rennet-based curdling is the temperature at which this happens: the milk needs to boil, instead of being at a 30-40C.
First, let me start with a confession: I tried doing Paneer twice. The first time, it didn’t work. I had used some powdered citric acid and it simply wasn’t strong enough. Maybe it was too old? I’m not entirely sure. Fresh lemon juice, however, worked magically. I was worried that the lemon would give the cheese an aftertaste. This was very subtle, and given that most likely you’ll use paneer to prepare a curry, the slightly lemony aftertaste won’t be a problem at all.
Here’s the step to prepare your Paneeer.
Step 1
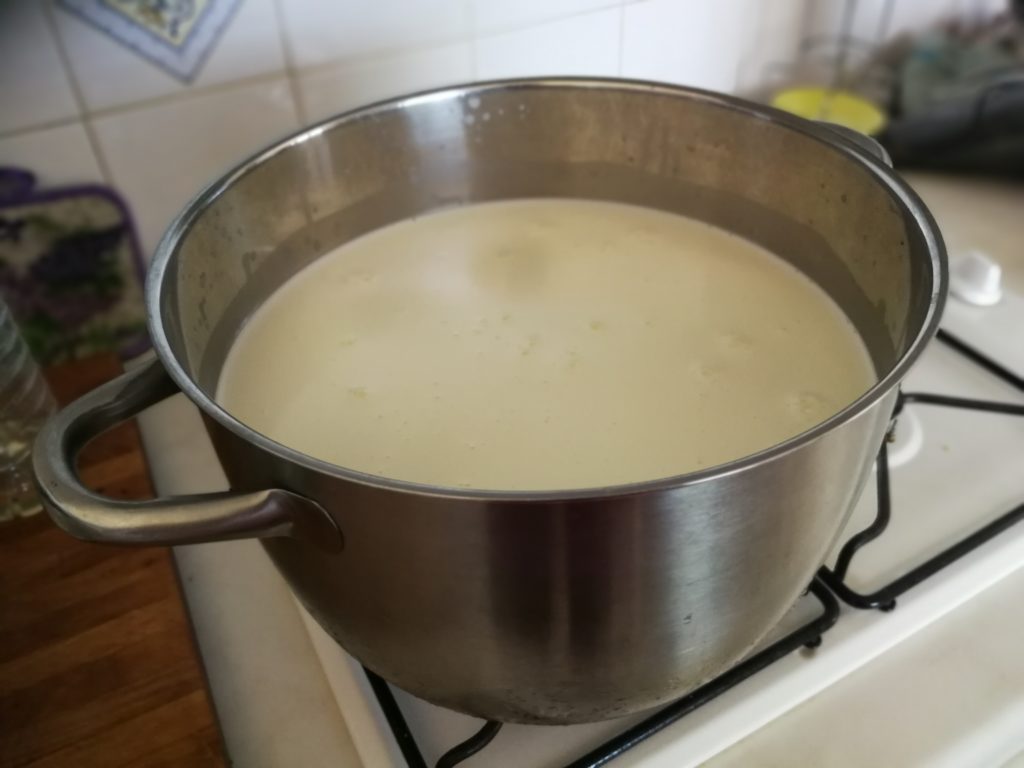
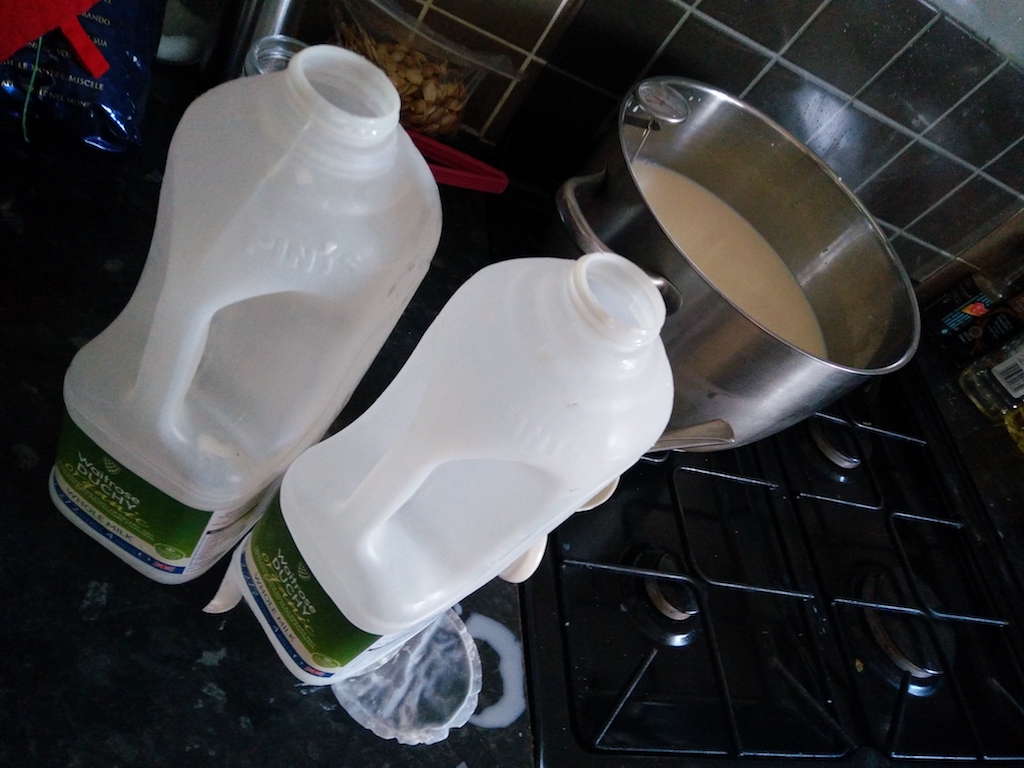
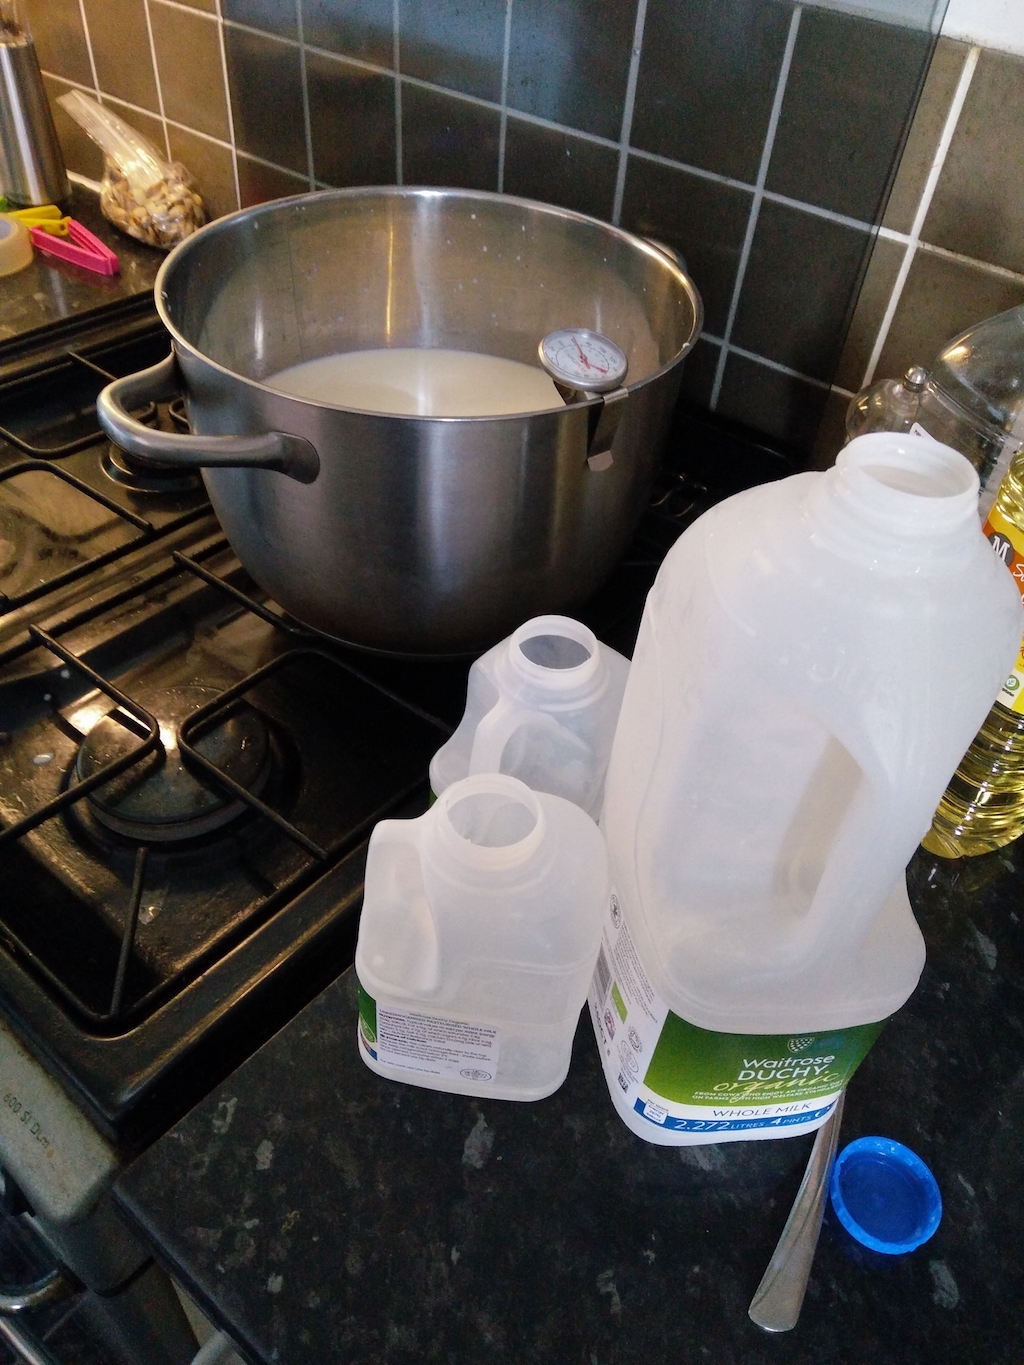
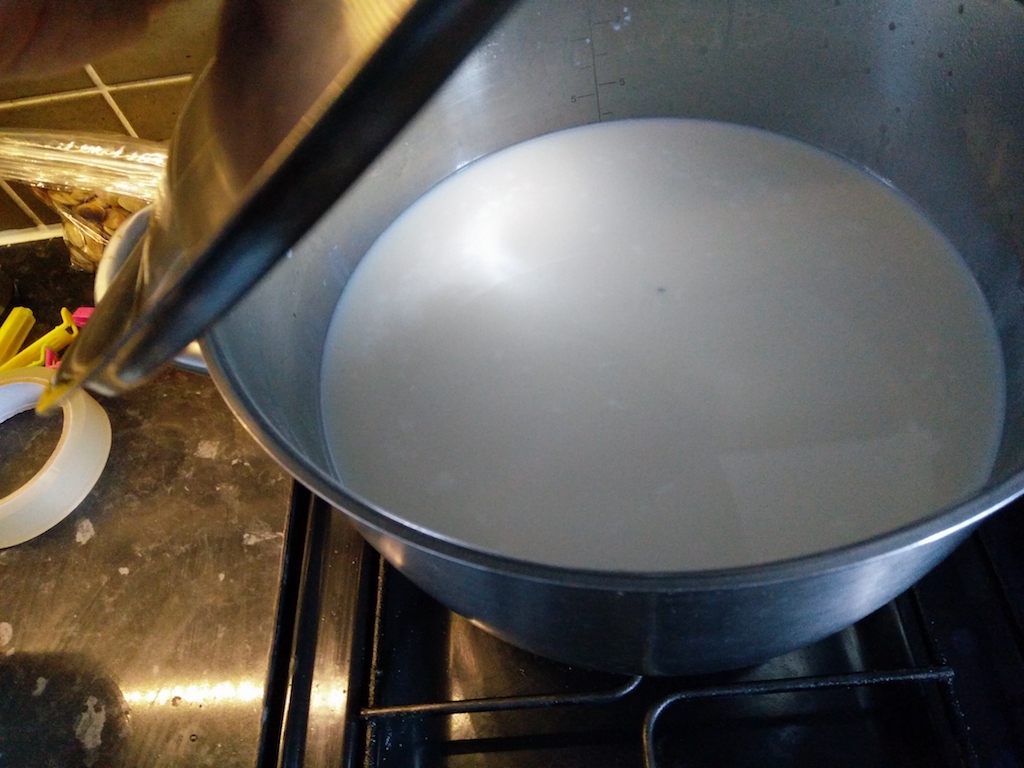
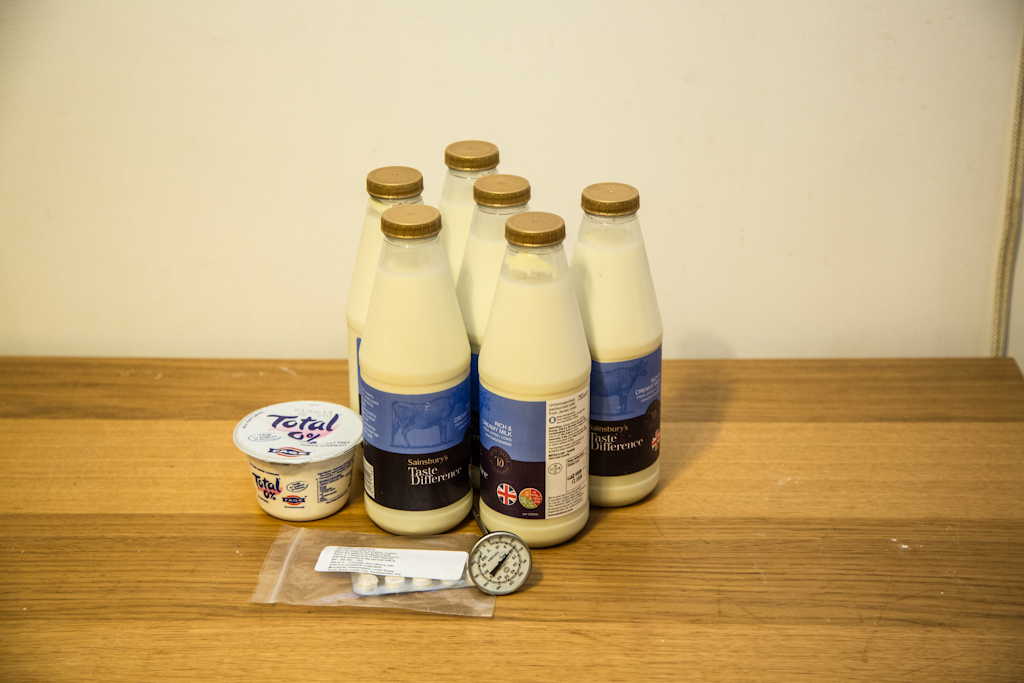
As usual, get some unhomogenised milk (pasteurised is ok). I did this with about 14 pints of milk, roughly 8 litres. I put the milk in a large saucepan on strong heat, mixing constantly to avoid it burning on the bottom.
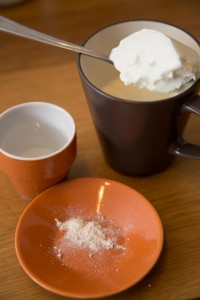
Step 2
While the milk is heating up, squeeze some lemon juice, and get rid of the seeds. You’ll need about one table spoon per pint of milk. If you use more, the reaction will be stronger, but the flavour will, too, so use more only if you like the lemony aftertaste.
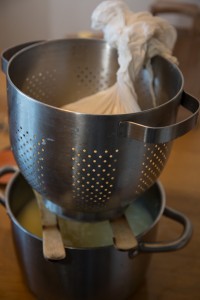
Step 3
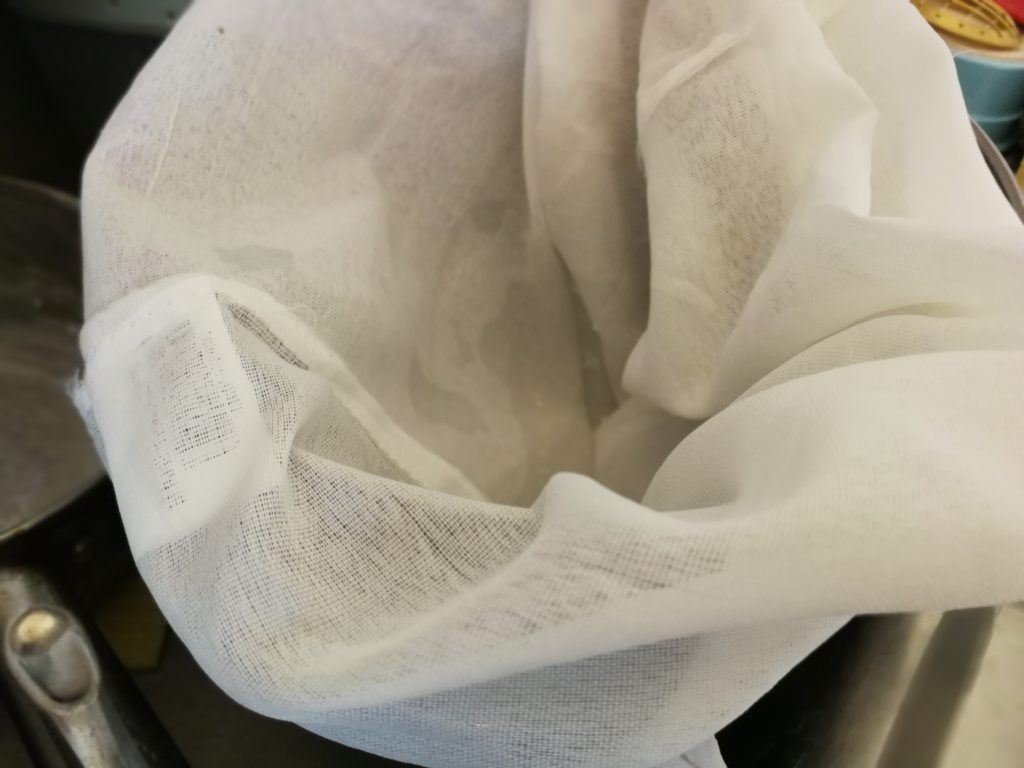
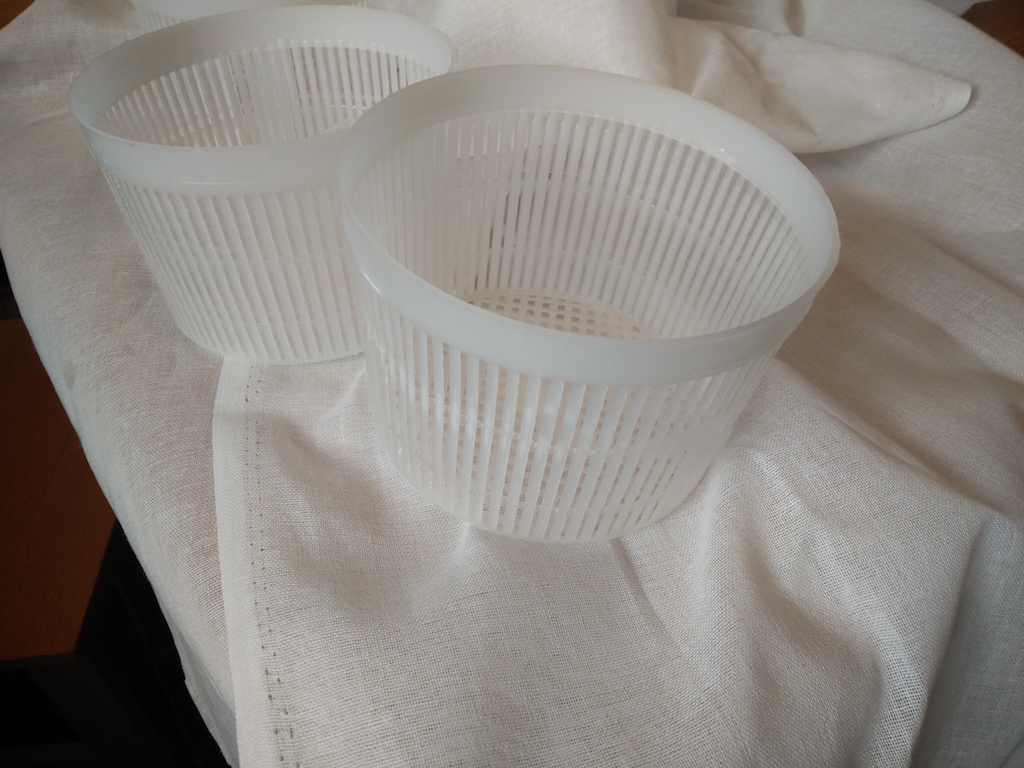
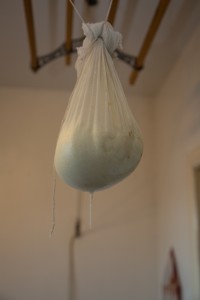
Prepare the drainage tools. A colander with a cheesecloth on top will do. My cheesecloth in this case is a bag, which makes it easier to drain and hang.
Step 4
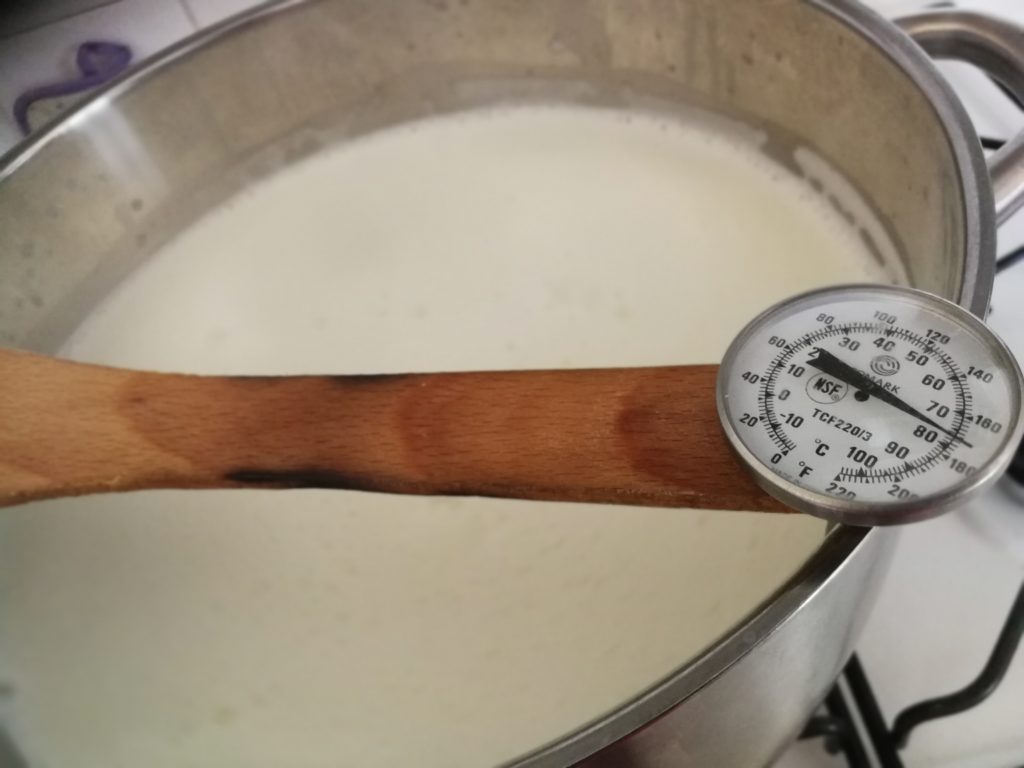
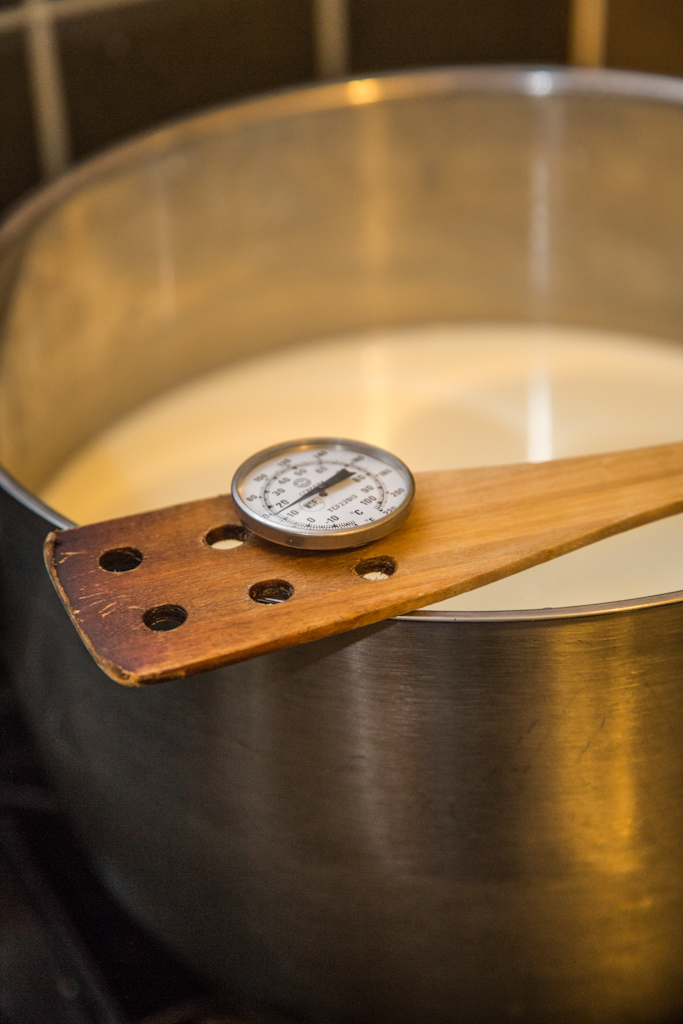
Keep monitoring the milk temperature using a food thermometer. When you get over 80C it’s time to keep monitoring the milk closely and avoid it to burst out of the saucepan. When it starts boiling, add the lemon juice in, and keep the heat up for 10-15 seconds while mixing.
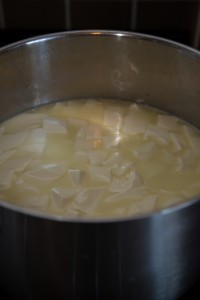
Step 5
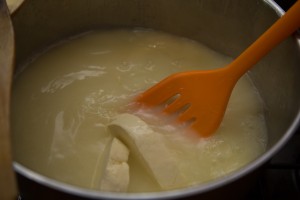
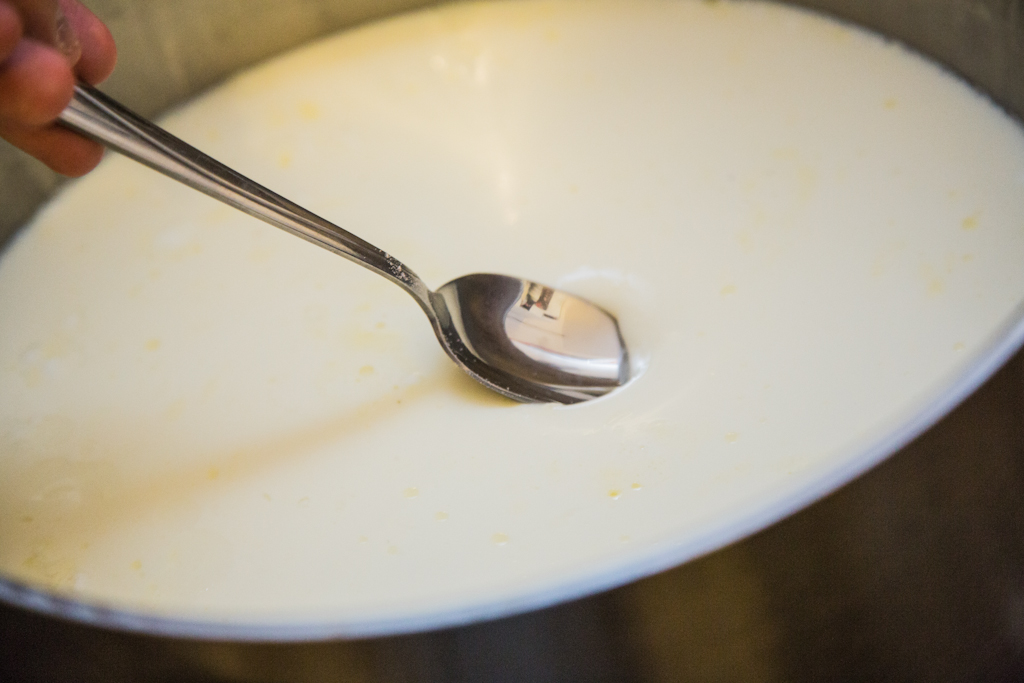
You should see the curdles form with a much stronger and sudden reaction than a rennet-based cheese. Once this happens, stop mixing, and remove the saucepan from the heat. Keep it resting for 10 minutes.
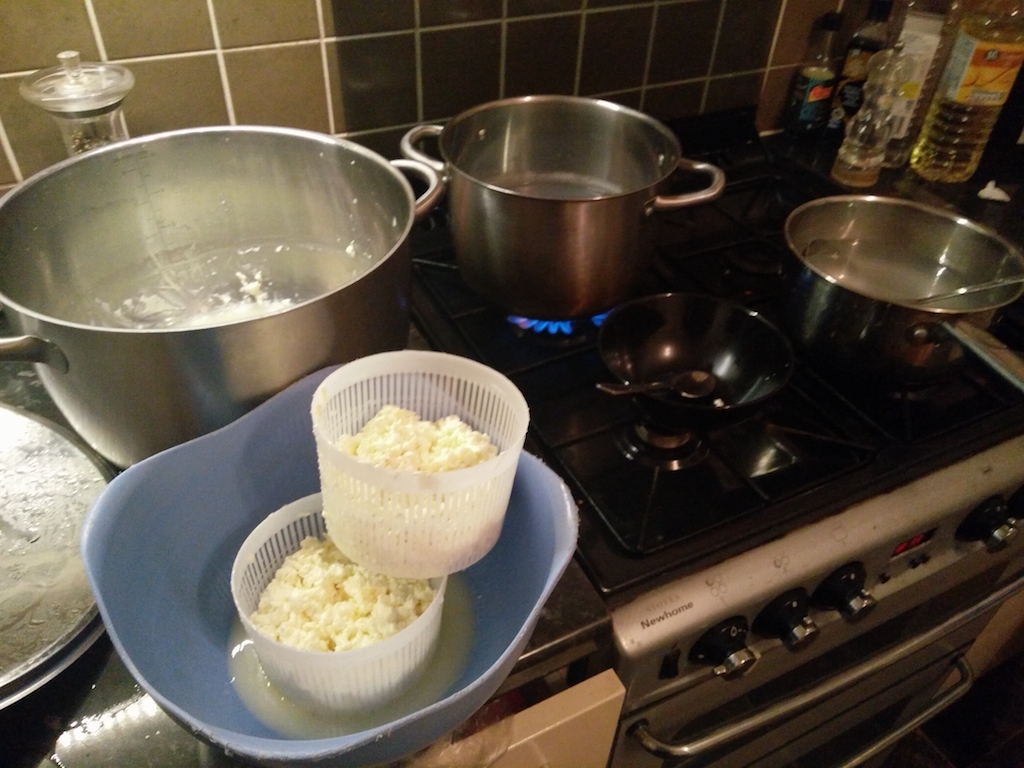
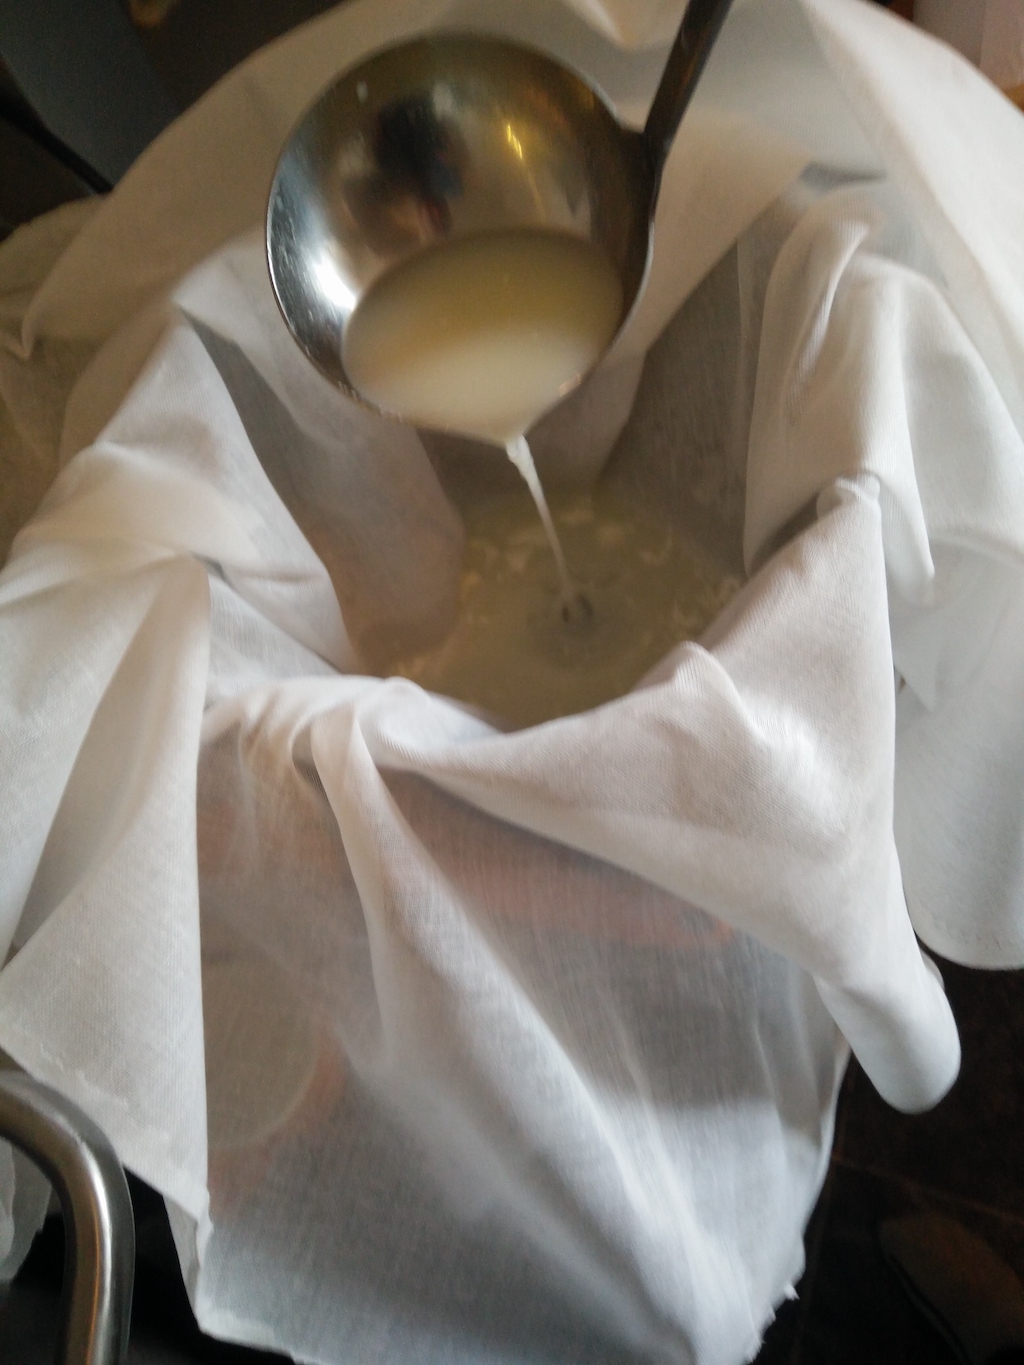
Step 6
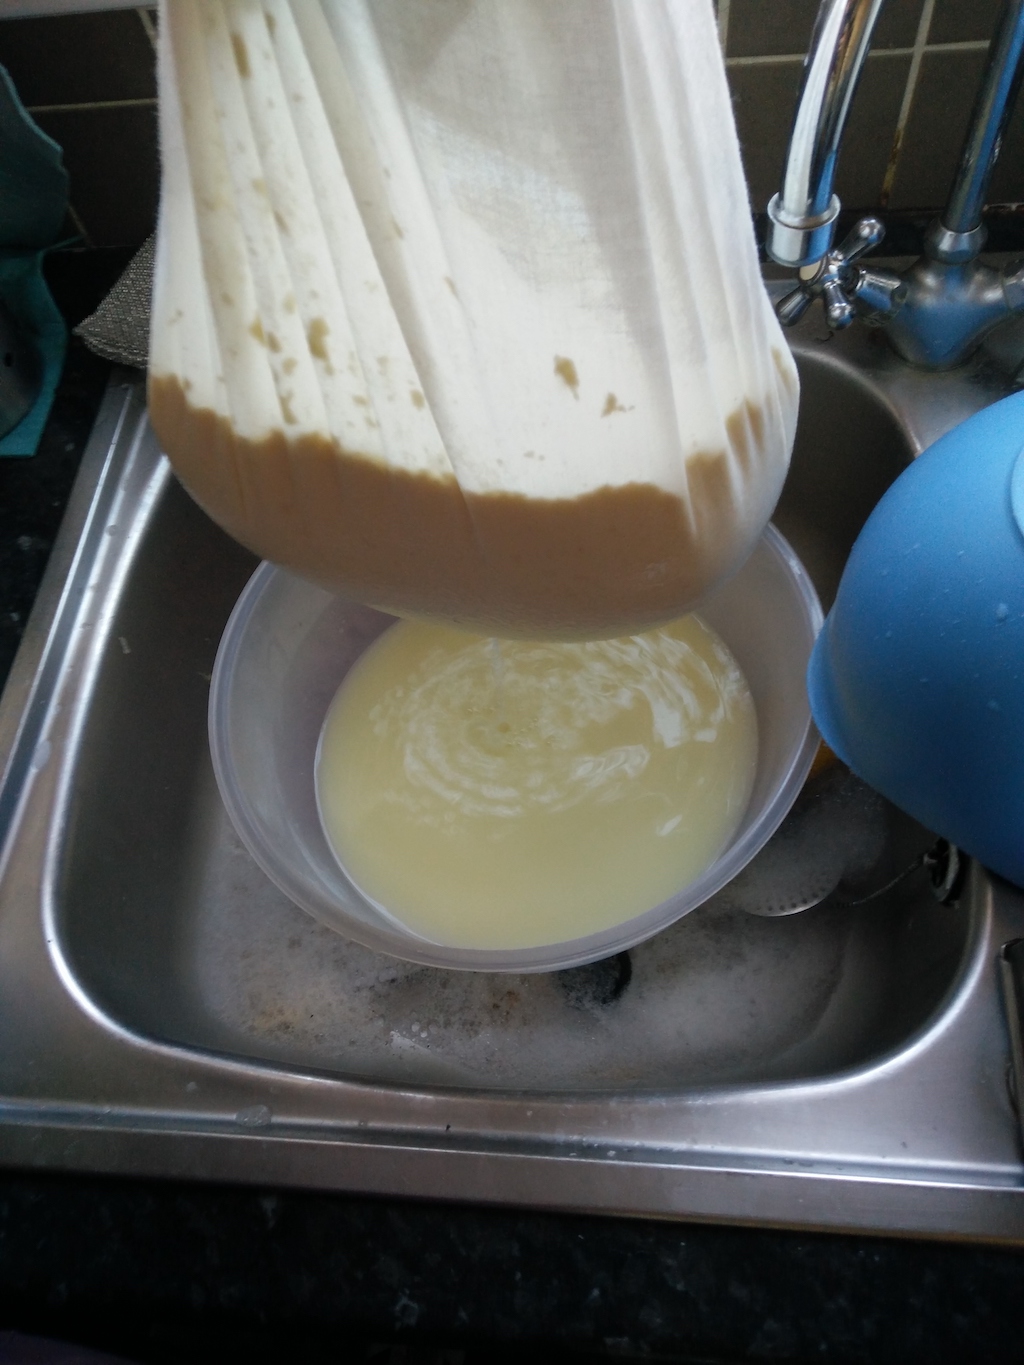
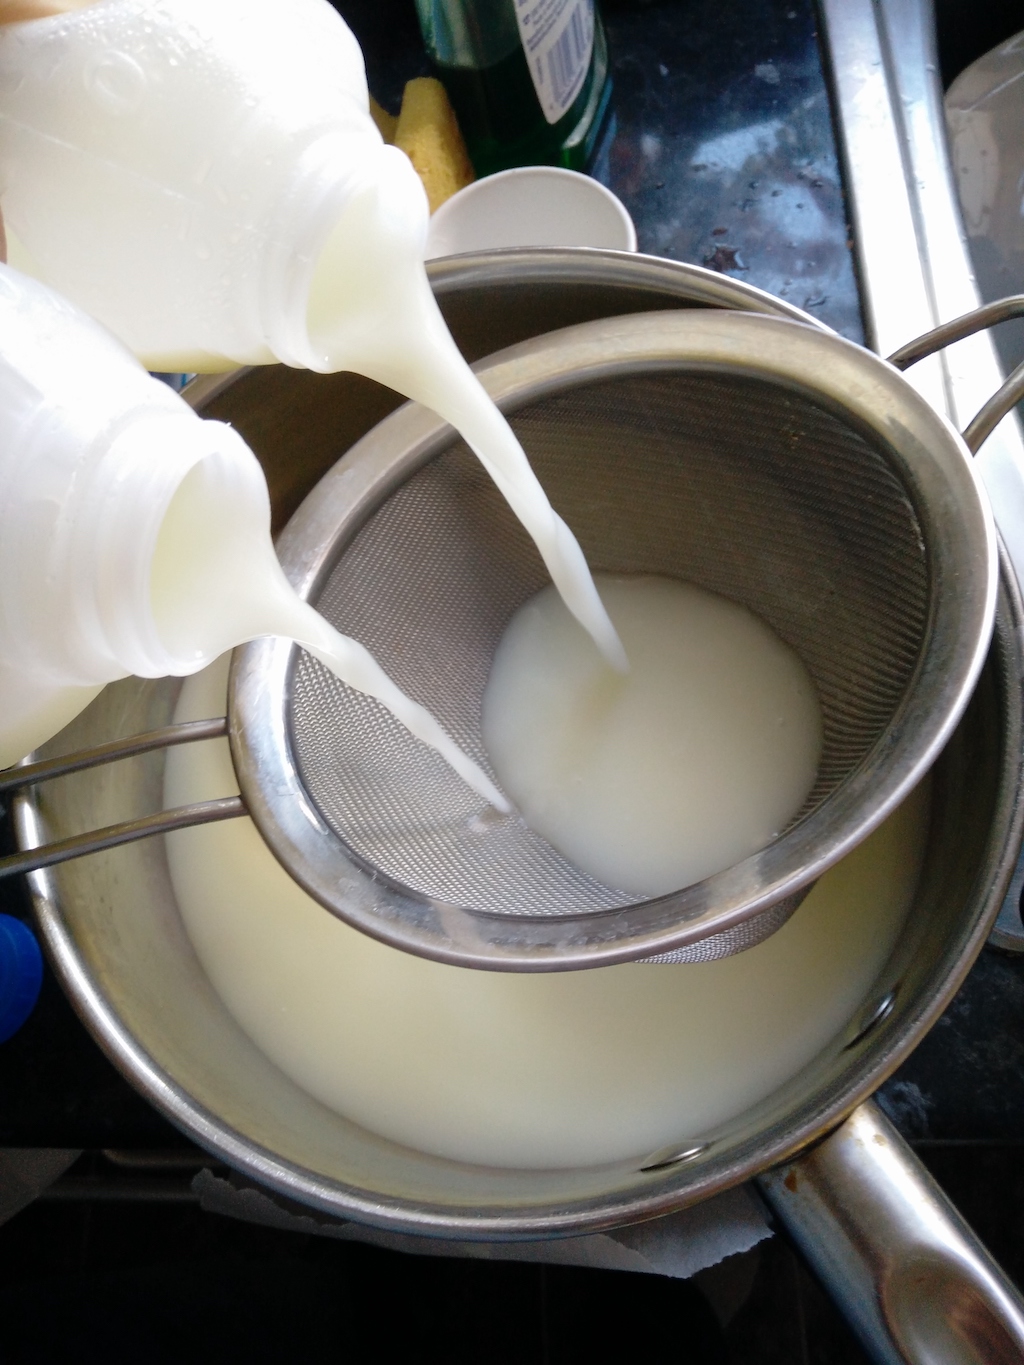
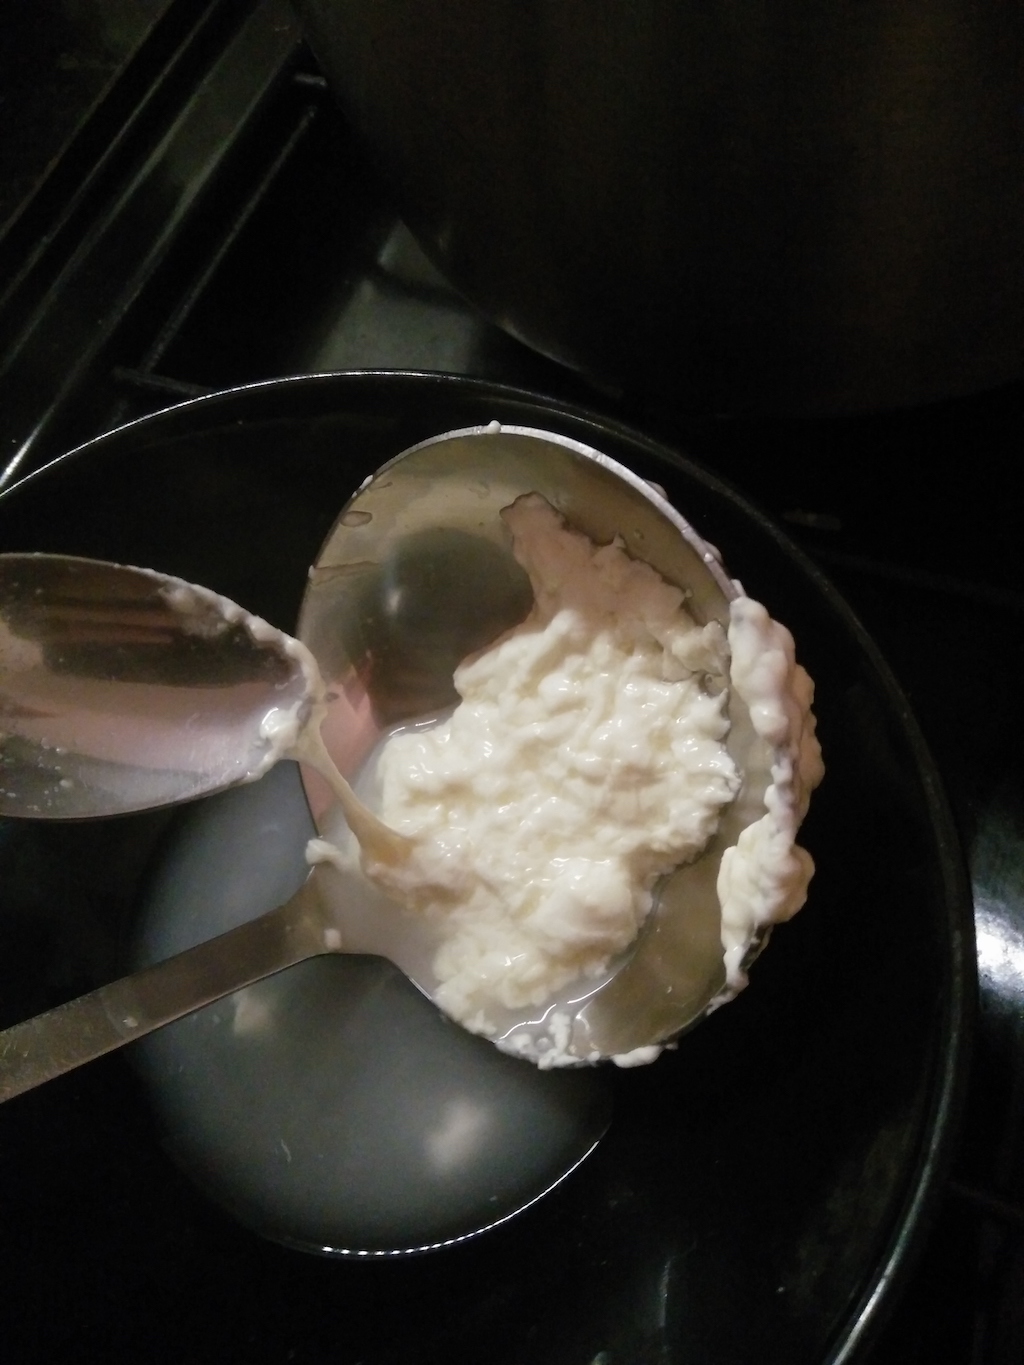
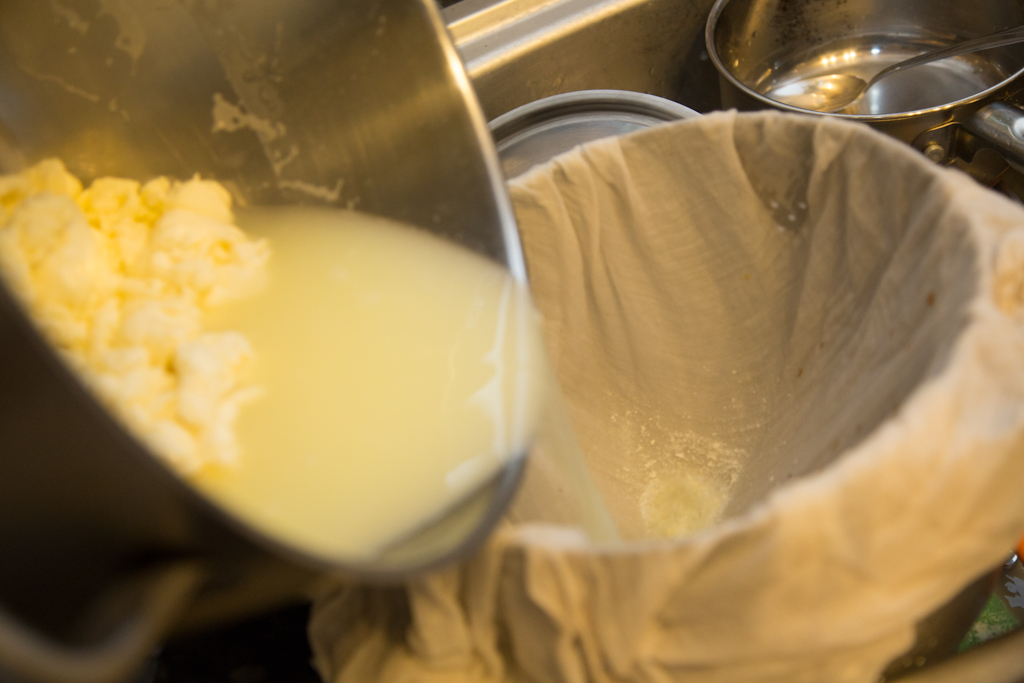
Drain the cheese by pouring slowly the contents of the saucepan in the cheesecloth, then try and get rid of the excess whey from the curdled milk. I didn’t keep the whey this time, but it can be kept for a variety of uses (just don’t forget this is acidic so it’s not quite the same thing as the whey that you keep from the rennet-based process).
Step 7
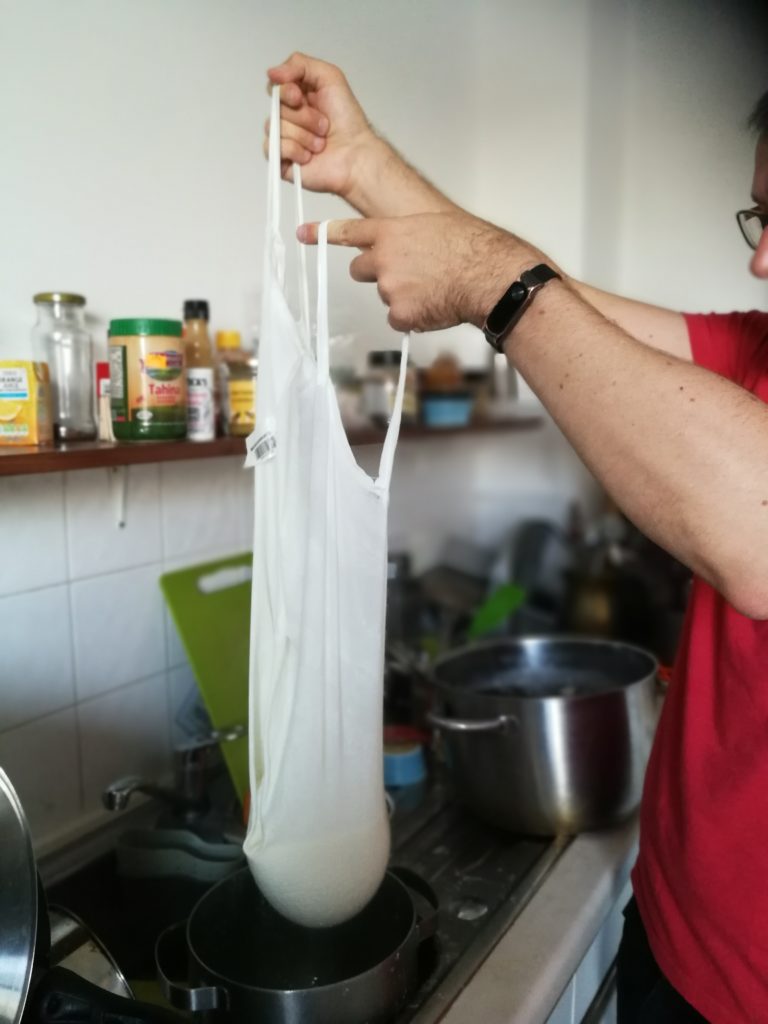
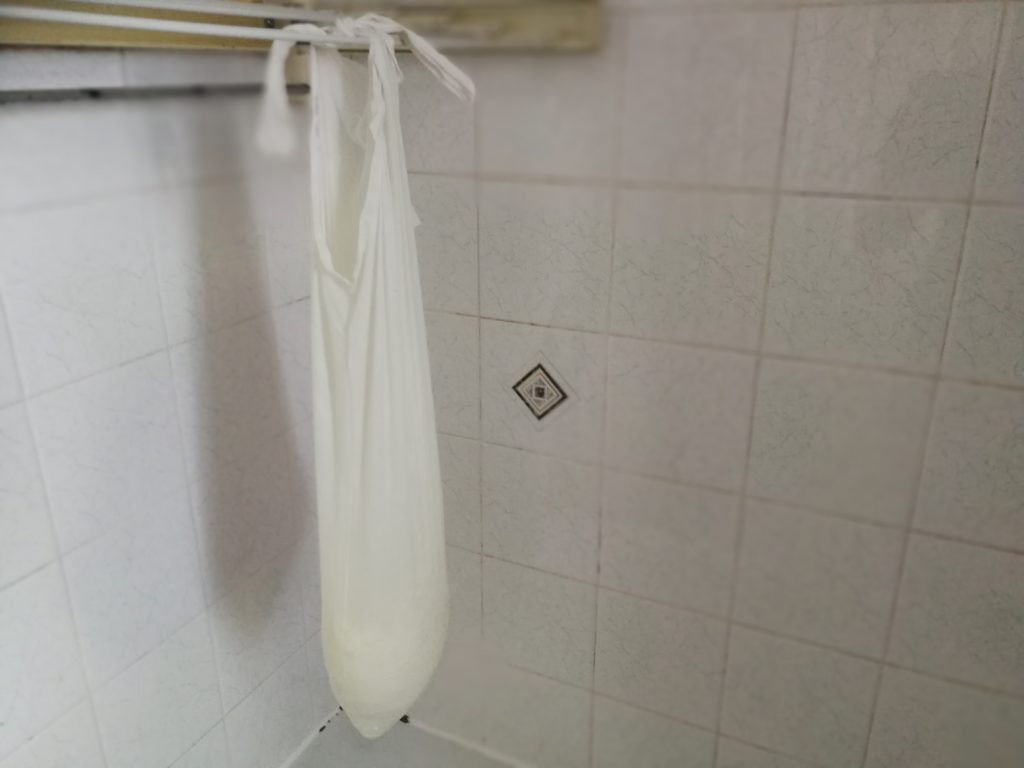
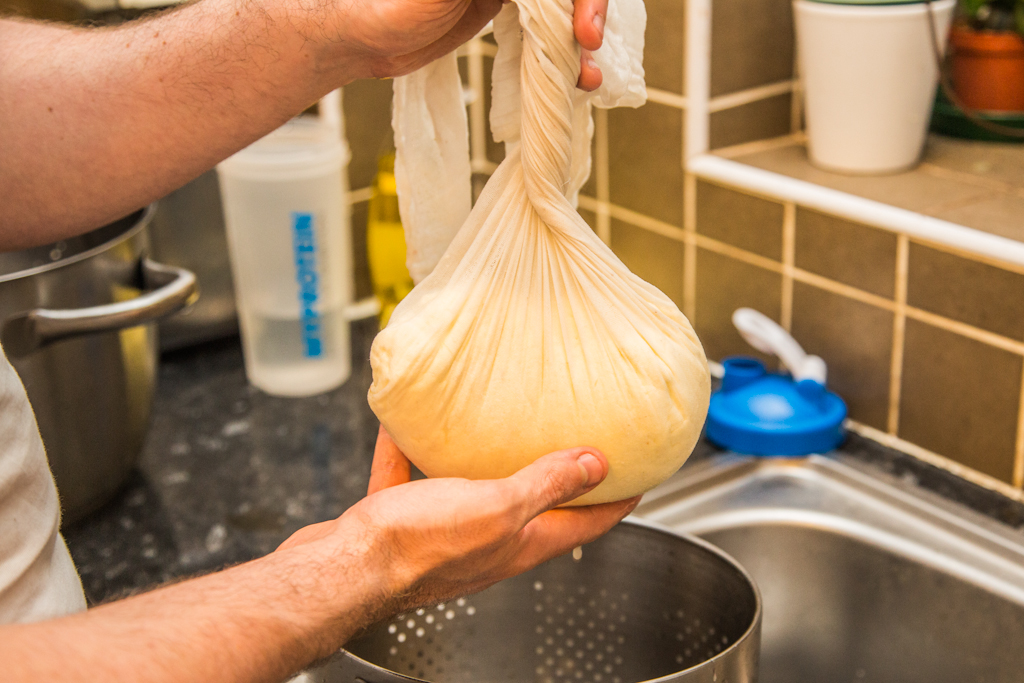
Hang the cheesecloth somewhere and keep draining for a few hours.
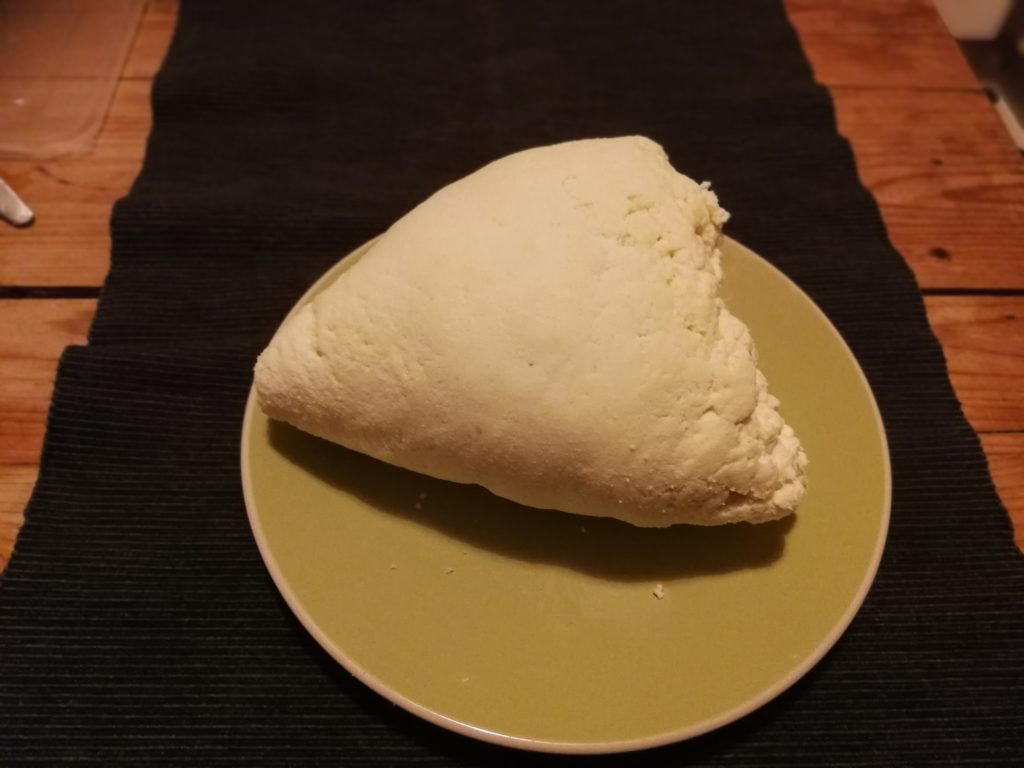
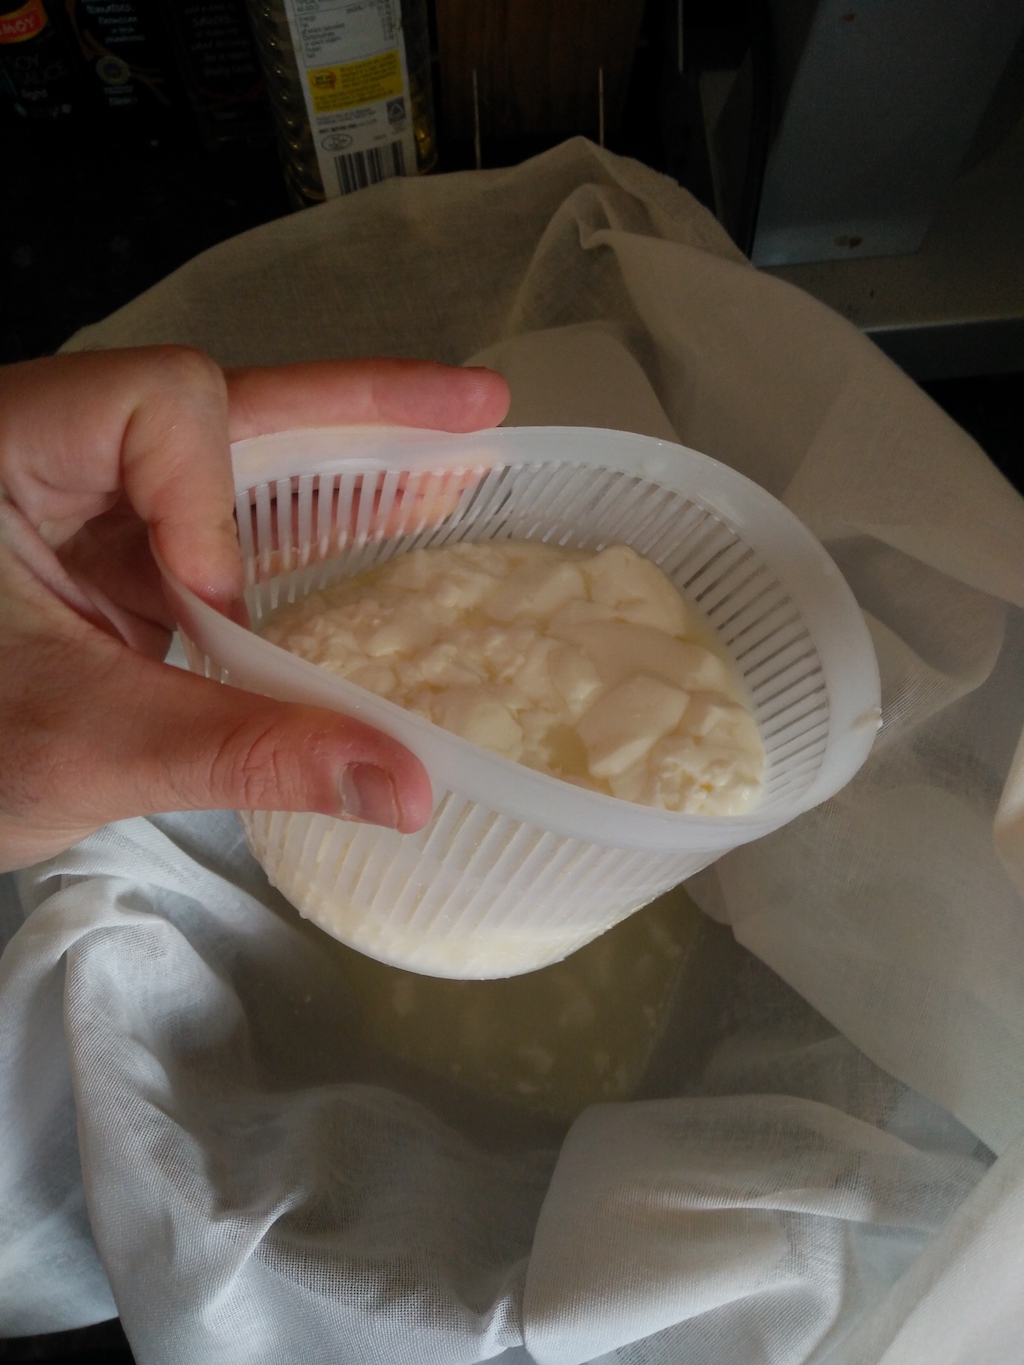
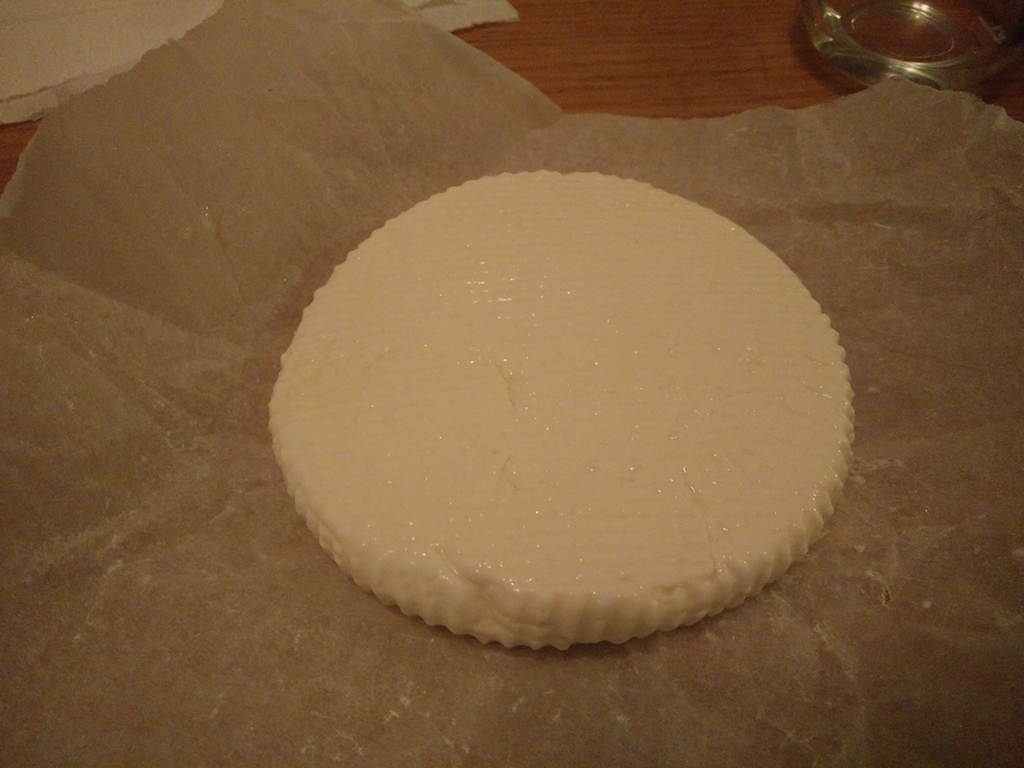
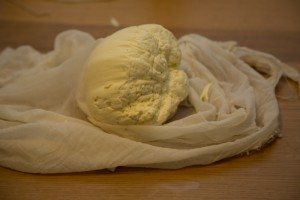
Step 8
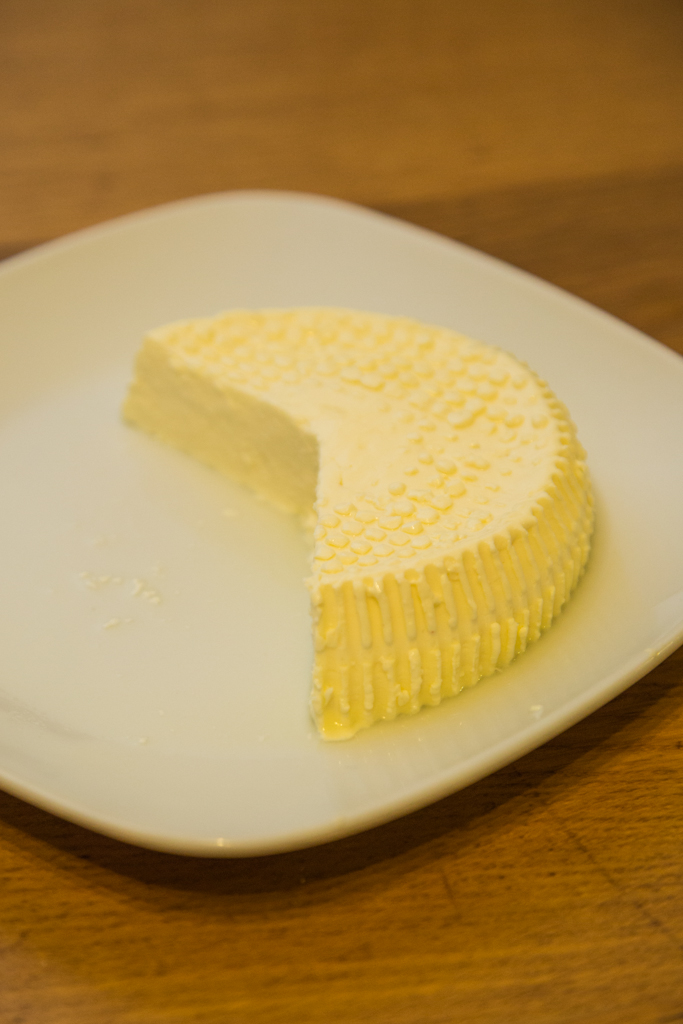
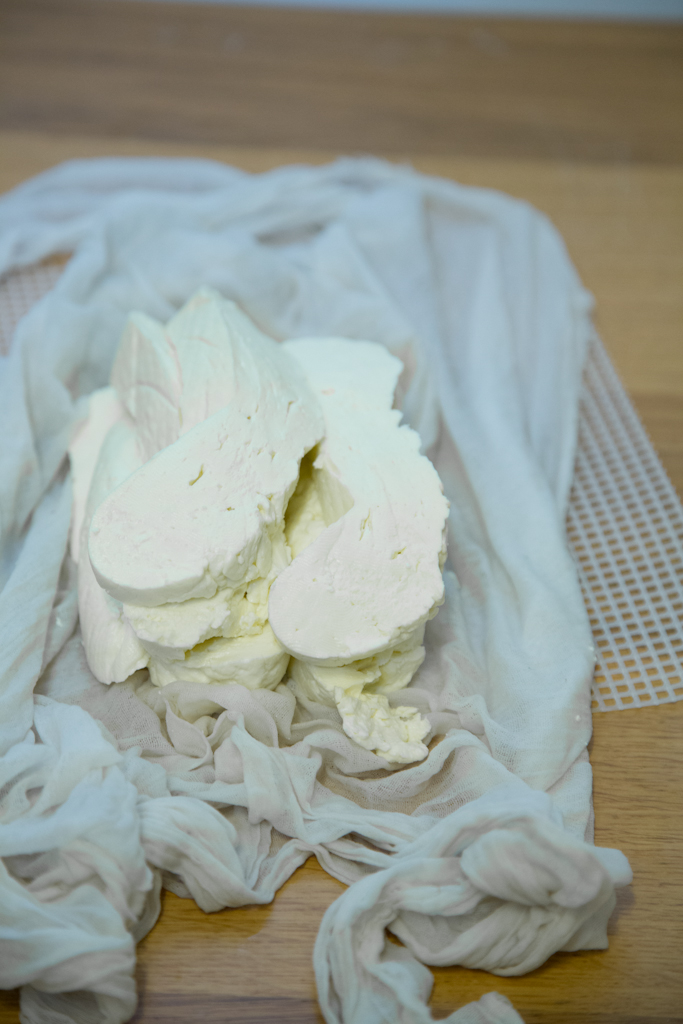
Your paneer is ready! Consume by 2-3 days. Ideally, prepare a paneer curry on the first day, and let the paneer soak it for a day or two before eating.


Bel Paese (Italian for “Beautiful Country”), or Italico, is a relatively recent cheese. It was invented by Egidio Galbani (founder of one of the biggest industrial cheese-making companies in Italy) in 1906, as a response to the overwhelming quantities of French cheeses found in the shops in Milan. That’s where the vaguely nationalistic name comes from.
It’s not a particularly difficult cheese to make, which suits both the home and the industrial cheesemakers. It is a fresh cheese, which goes under a short period of maturation. I took inspiration from two recipes: one from Giallo Zafferano and one from Atlante Caseario.
As usual, start by preparing some brine, as you will need it later. For this recipe use 3 liters of water and 333g of salt, bring it to the boil, and let it cool until ~10C.

Do the usual trick: about 8 pints of milk with 70g of yogurt, bring this to 39C and let it cool for about 20 minutes.
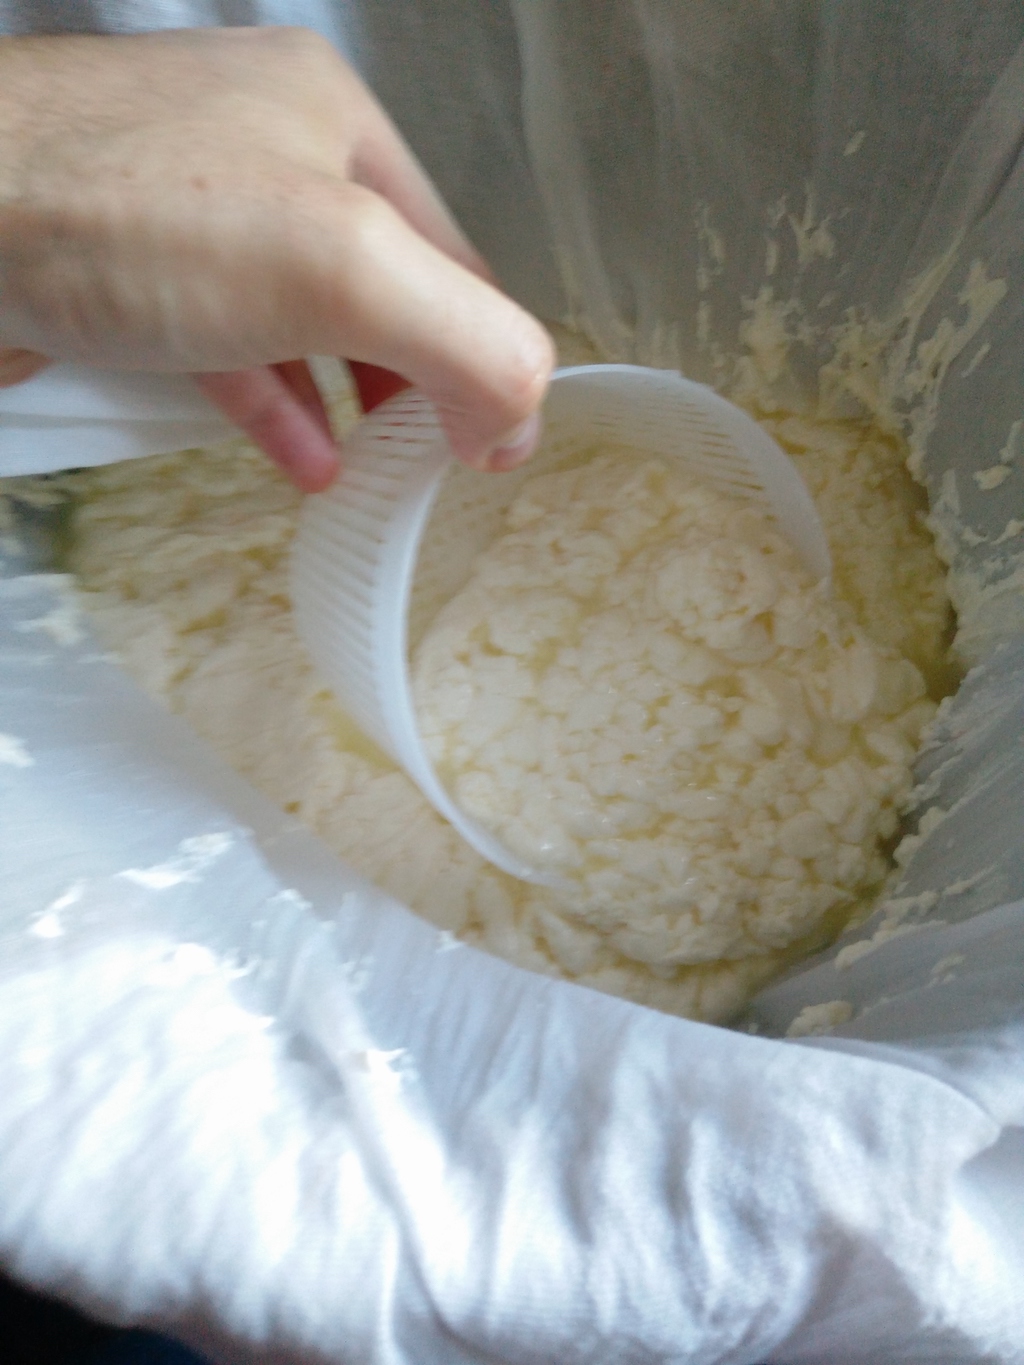
At this stage, add rennet, cover up, and wait for 40 minutes. Break the curd in 4x4cm cubes, cover again, and let it set for 10 minutes. After this, take a whisk and give the whey and curd a good stir.

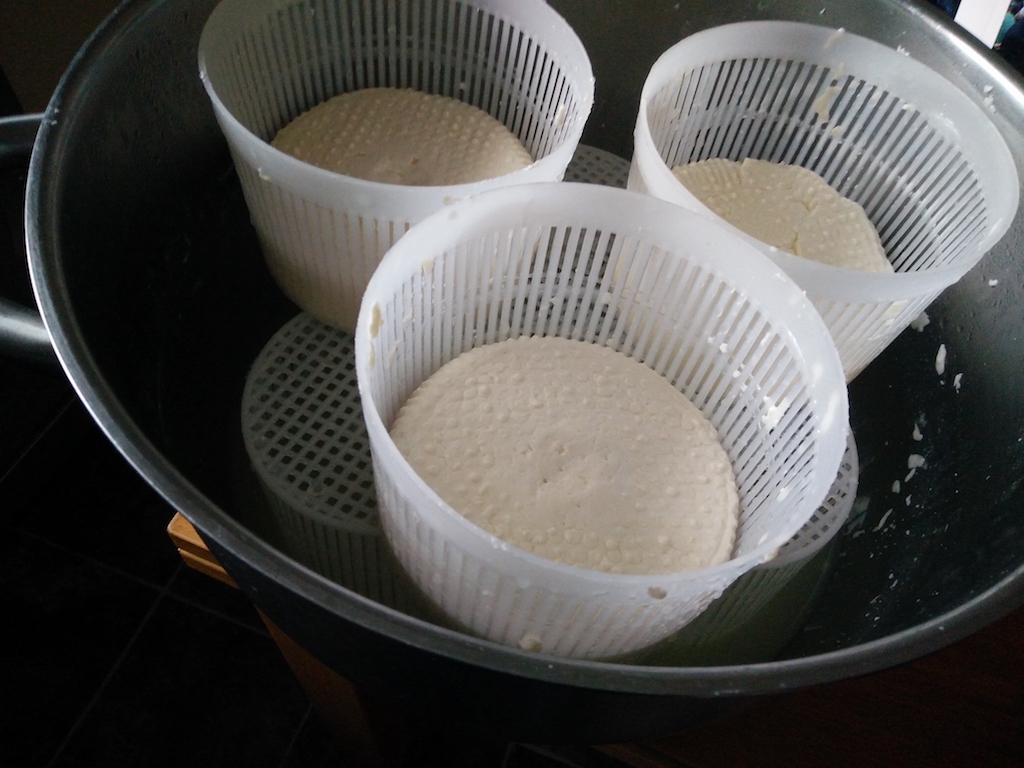
Wait about 5 minutes to let it gently set, then start filling your molds. You might use a cheese cloth if there is too much whey.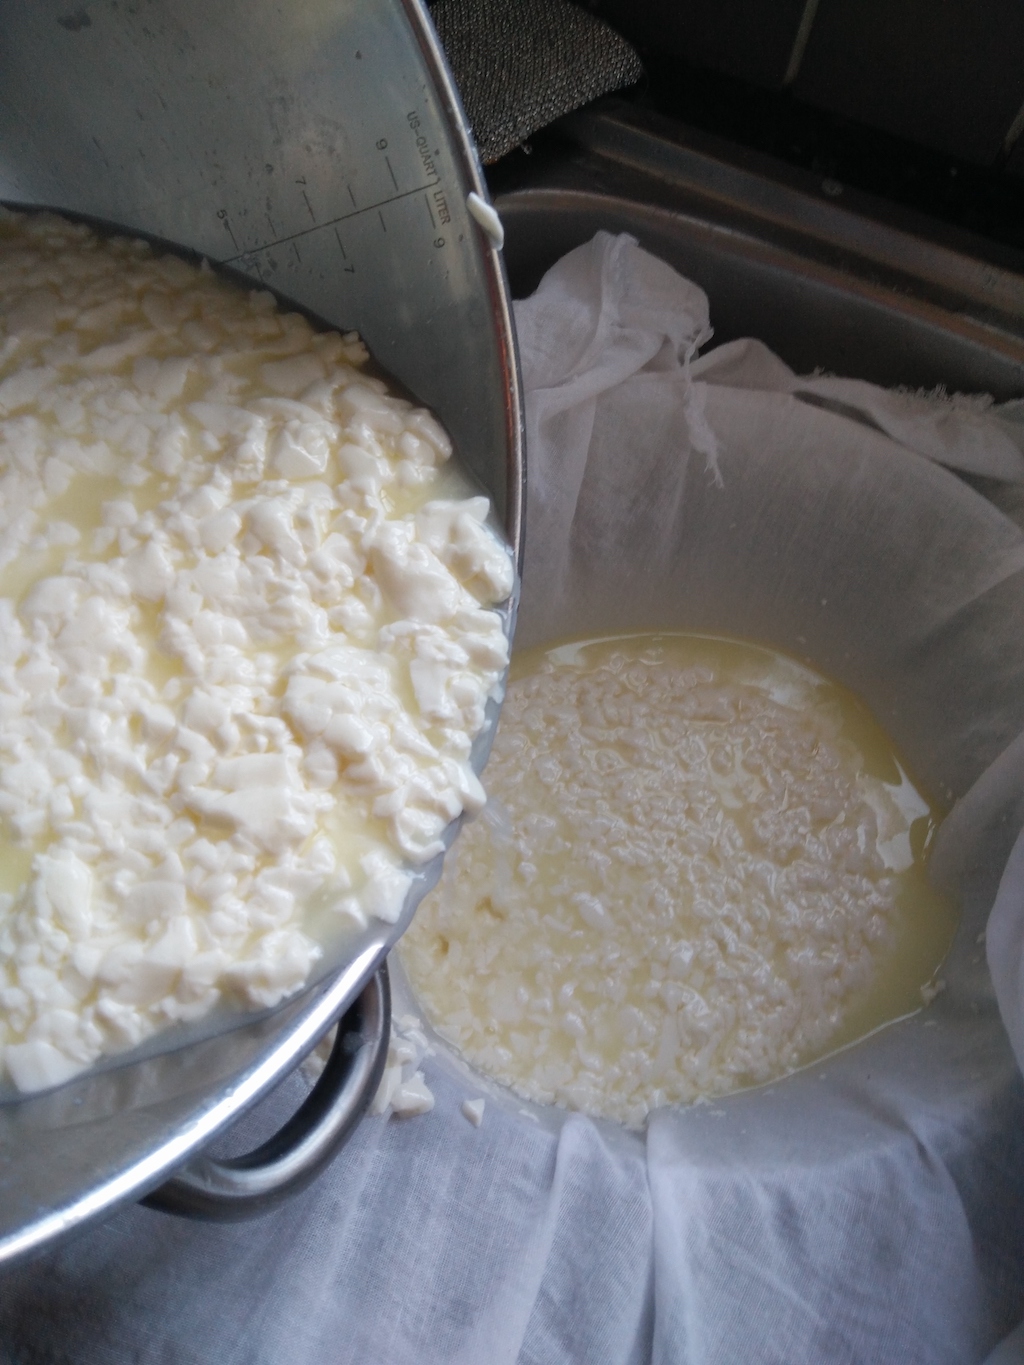
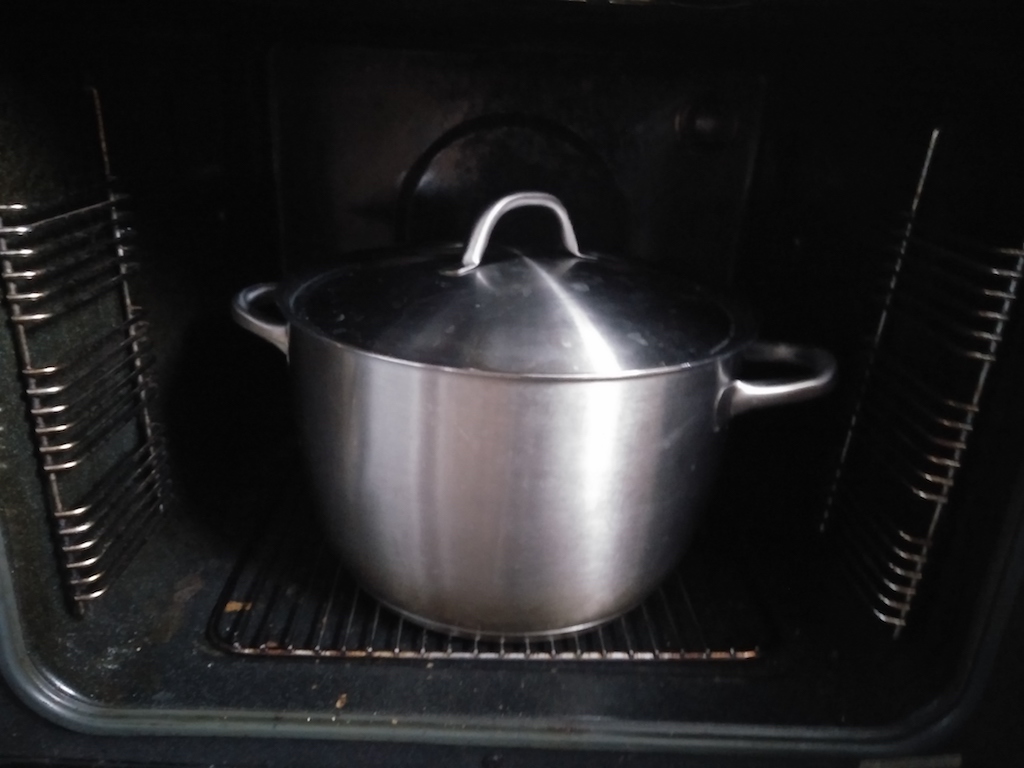
It’s time to stew the curd. Place it as usual in the switched off oven to drain the whey, as seen for example in my Crescenza recipe. In this case, I’ve put quite a bit of hot water below to make sure temperature and humidity are high.
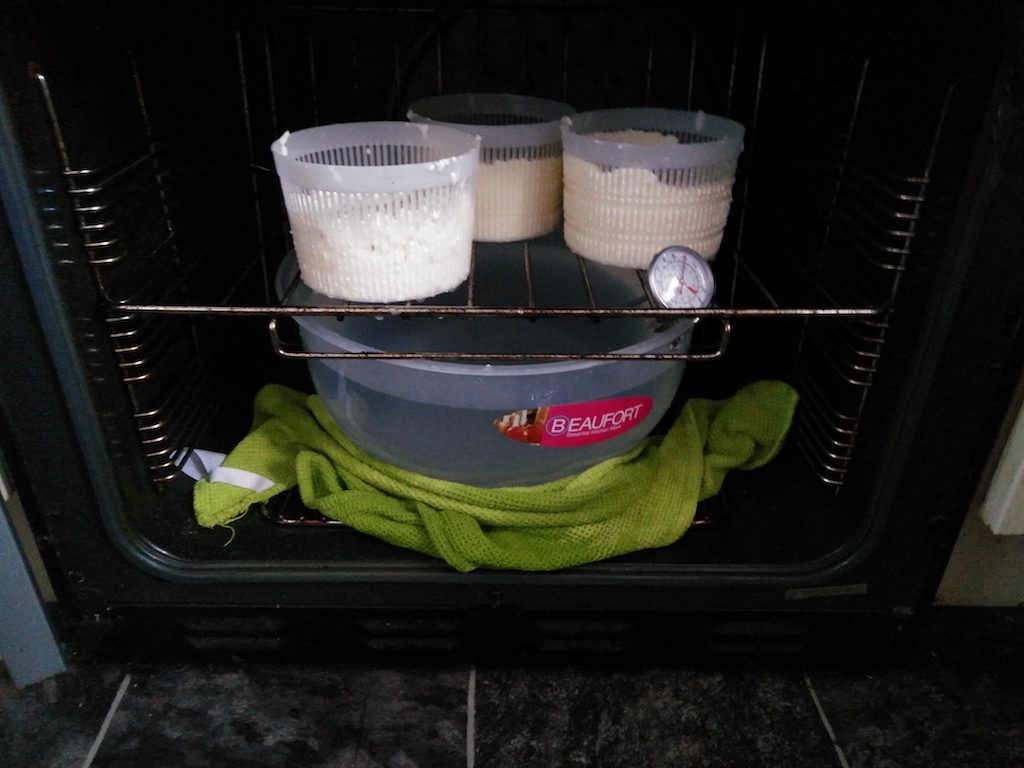
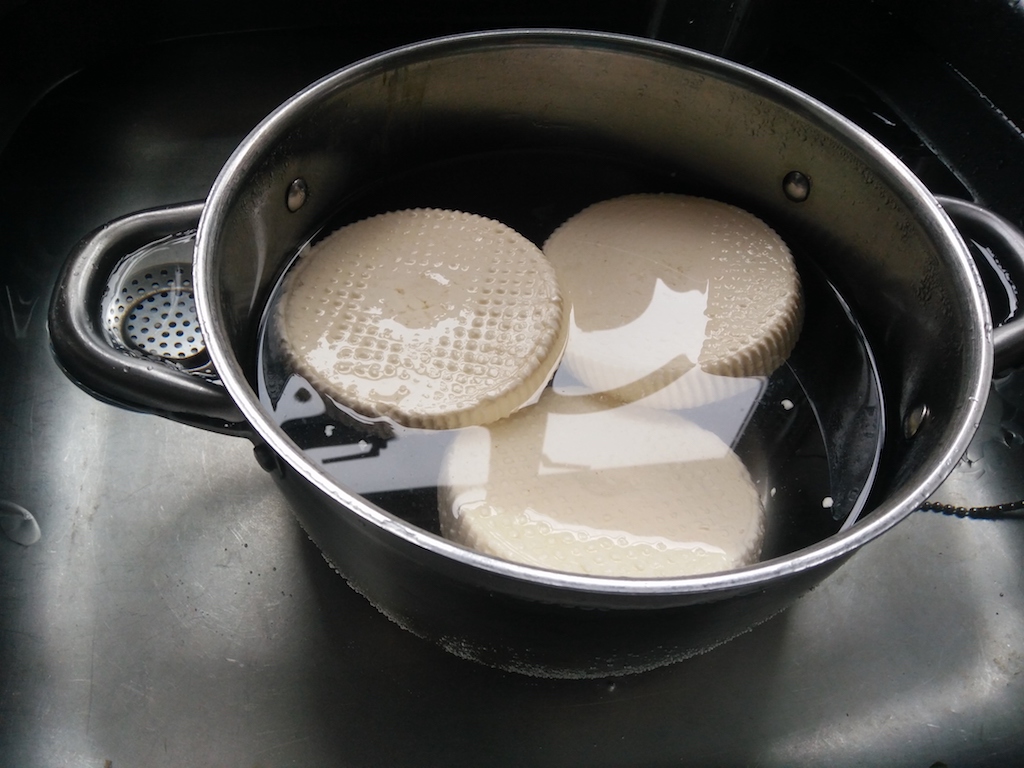
Turn it over after 30′, then after 60′ from the first turning it, then after another 60′, then after another 60′. Wait 30′ and put it in brine for 4-5 hours, after which you can put the cheese in the molds, and in the fridge, covered.
For the first 3 days, turn it over twice a day, throw away the whey, and if the surface of the cheese is too wet, dry it with a cloth.
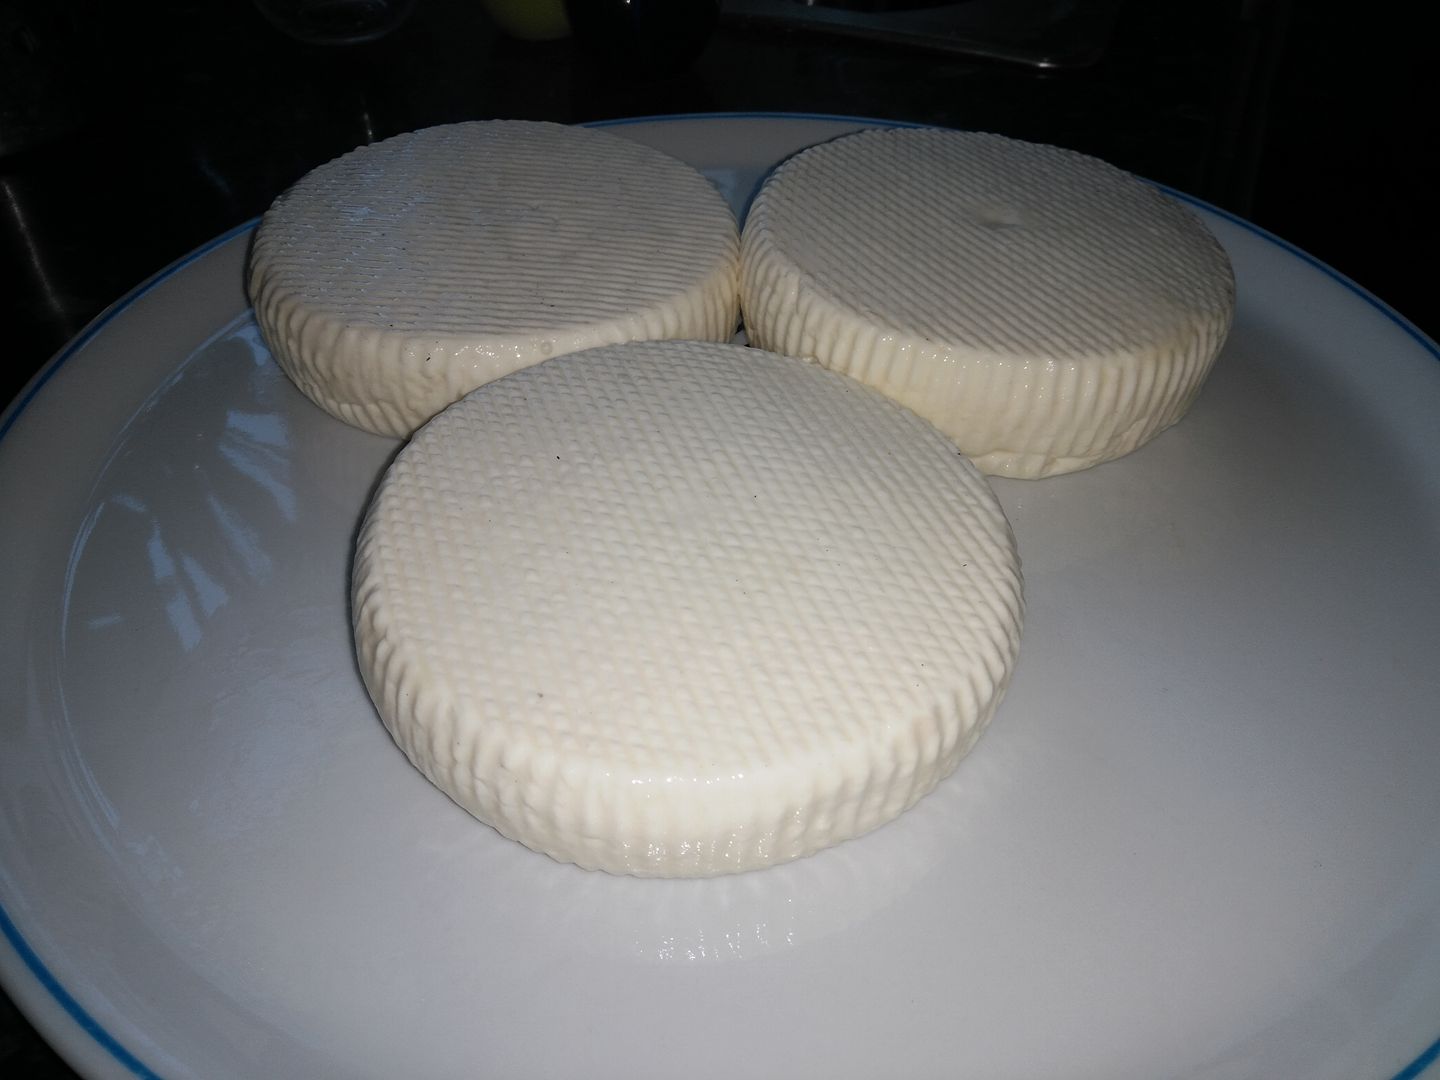
After this, turn it over every 1-2 days. Your Bel Paese is ready to eat after 20 to 40 days.
UPDATE: Two weeks later, this is how it looks. I’ve kept turning it every 1-2 days. It’s definitely more “wet” than crescenza, so I’ve also had to dry it a little with a clean cloth sometimes.
When I decided to move to the UK, one of the first issues I thought was the lack of “proper” mozzarella. Coming from Puglia, a region known for an extensive production of cow-milk mozzarella, I was truly addicted.
As a consequence, mozzarella was one of the first cheeses I researched into; and, as difficult as it sounds, it is entirely possible to make mozzarella at home.
It’s not easy, but with some practice it will start becoming clear what to do. The main complication of making mozzarella is the requirement of the curd to mature in acidic whey for some time. Maturation in acidic whey causes the curd to become elastic when brought to the right temperature, giving mozzarella its texture. As much as science gives some hints as to the right moment to stop the maturation, this is mostly down to experience as it changes with milk, temperature, density of the curd, and loads of other variables.
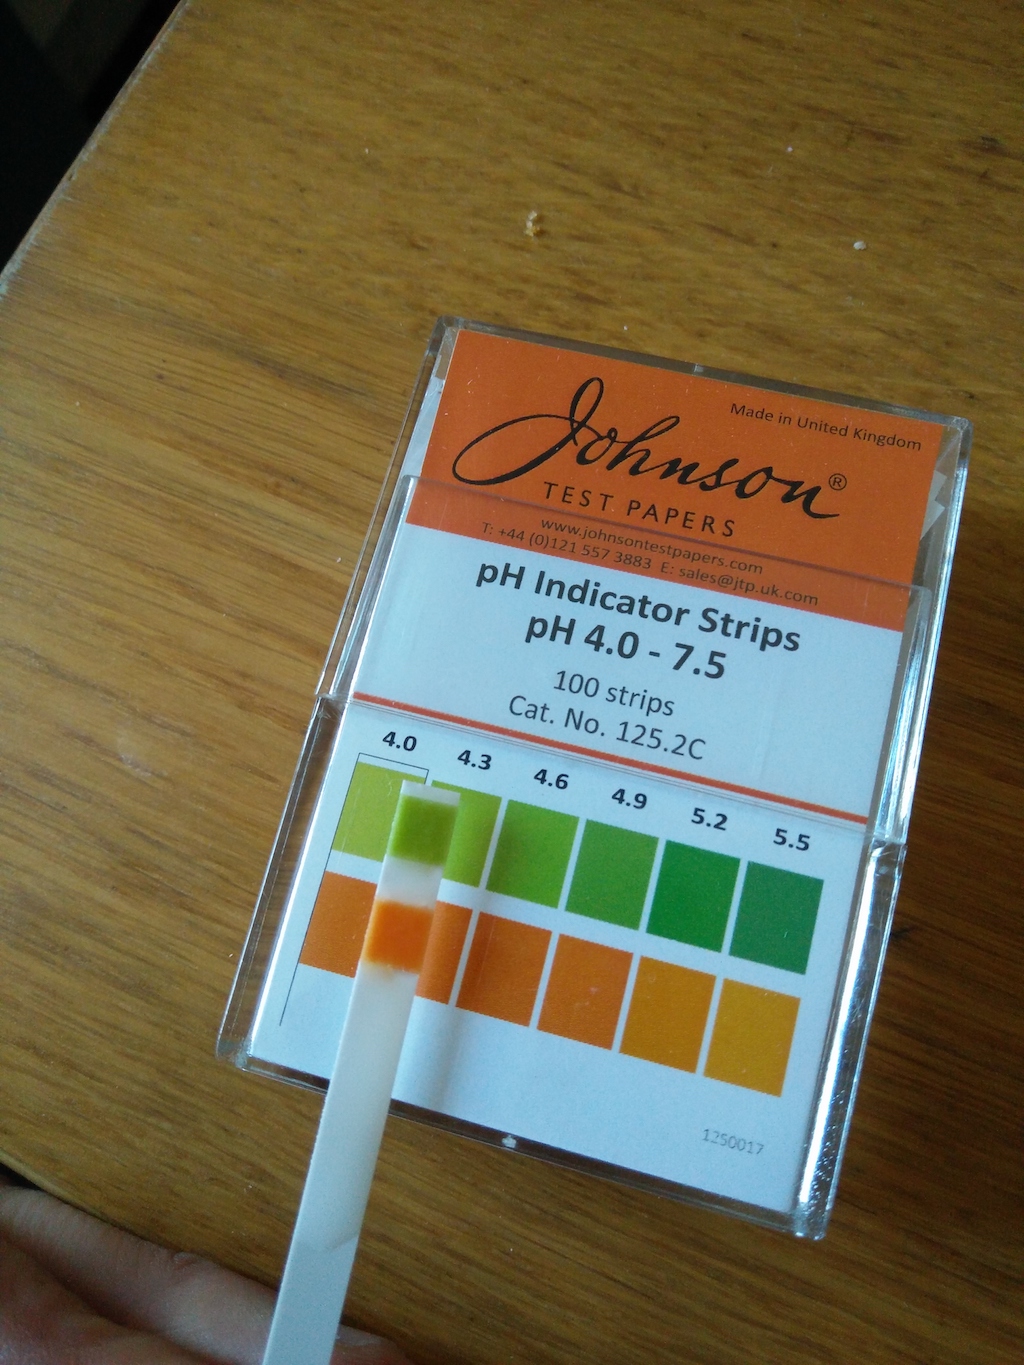
Before you embark making mozzarella, remember you need some whey from your previous cheesemaking adventure. Ideally, you will make some cheese a couple of days before and let the whey spend 24h at room temperature so it gets a bit acidic. pH testing is ok, although it’s not too accurate at this scale. I do use some testing papers, and as my whey had pH 6.1, I brought it down by adding some citric acid.
You will proceed as usual mixing some yogurt into about 3lt of milk (for example as seen in my Crescenza). Bring the milk to 37-39C, switch the heat off and wait for 20min.
Meanwhile, make sure your whey is at about pH 5-5.5. If higher, you need to add some citric acid.
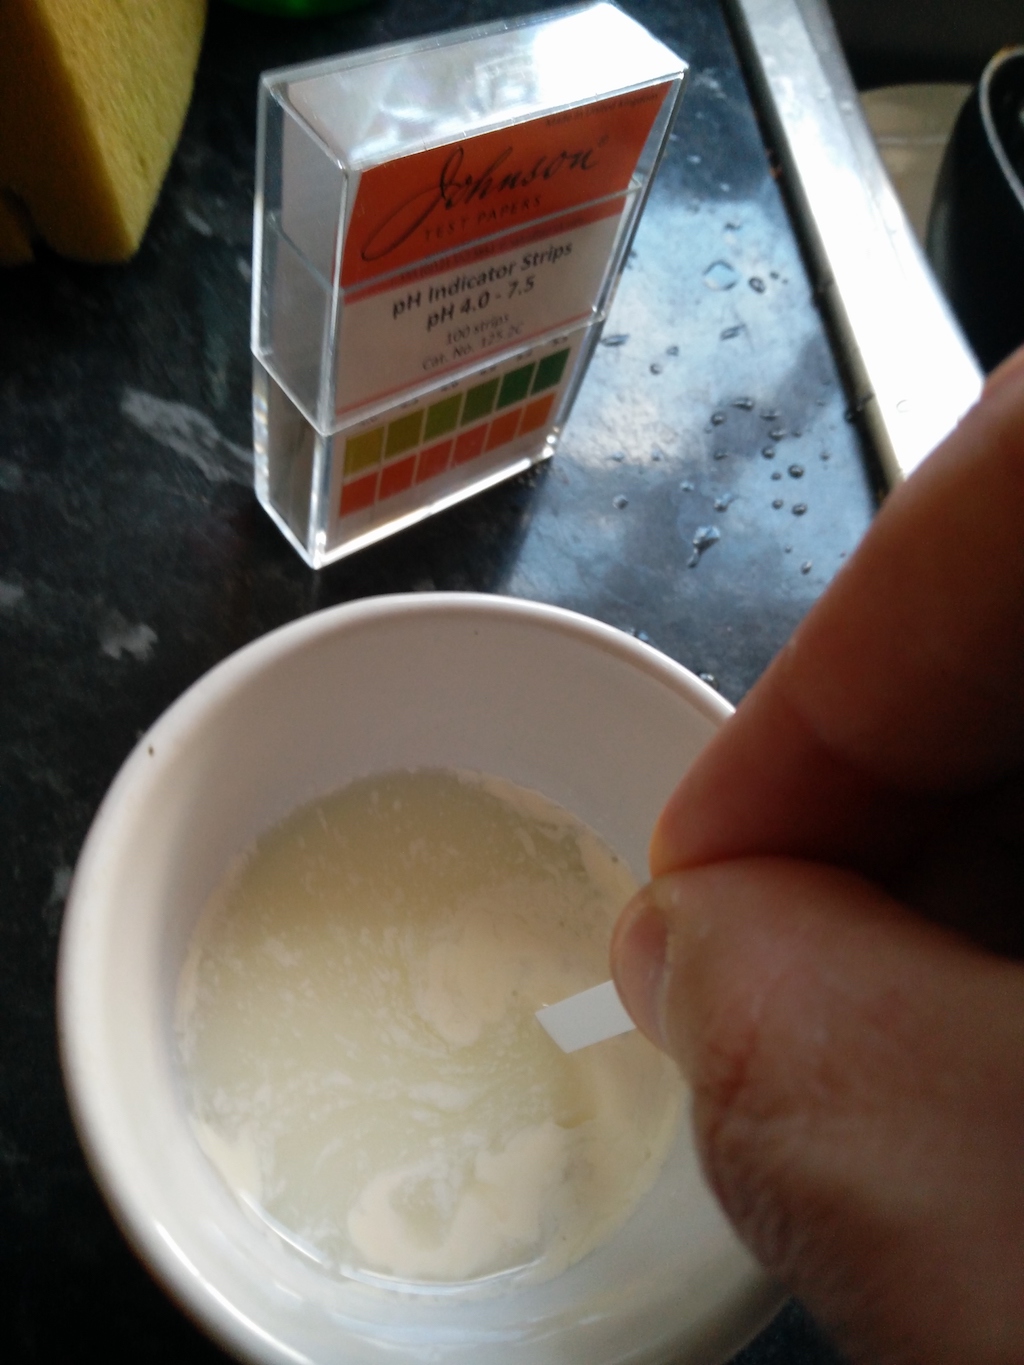
pH indicator sticks are not great, but they work.
Wait for the milk to get down to 32C, add 1.5 cups of acidic whey into the milk, add rennet in the quantity advertised on its label, cover and wait for about a hour.

At this stage, break the curd into 4x4cm cubes, cover again, and wait for 15 minutes. Break the curd again. It’s time to put the curd to mature. This should be done at relatively high temperature (30C) and humidity. I use the usual technique of putting the pan in the switched off oven, checking here and then that the temperature stays around 30C.
Every here and then I check the pH. On this occasion, it started at about 6.1, was down to 5.4 after about 2 hours, and finally 5 after 3 hours. If you want to speed things up, you can add citric acid, but this is an operation that needs to last 3-5 hours in order to produce its results: without some time spent in acidic whey, the mozzarella paste will not be elastic enough.

Now, be careful as you’re going to work with scalding water. Bring some water to 90C: just short of boiling and keep it at that temperature. What you’re going to do next is to take a little bit of curd, soak it in the hot water, then work it (probably with a some tools first, then by hand) as if it were play dough. The combination of acidic whey and hot water will make the curd become elastic, and you will pull it, create a little pocket, and push some paste inside the pocket.
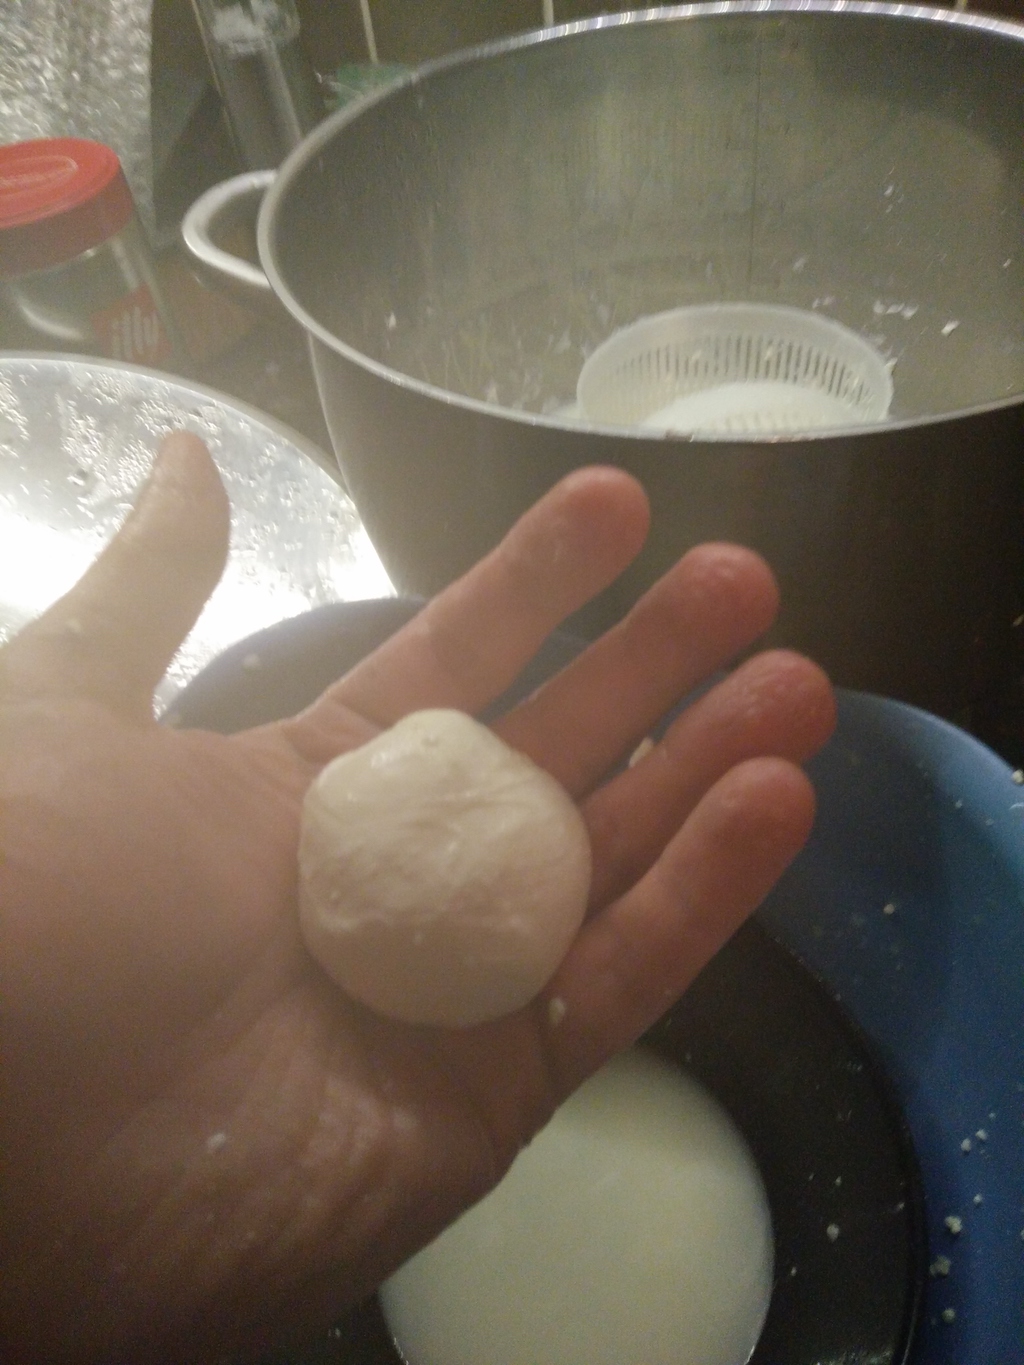
It sometimes helps to take the curds out of the whey, but just do it minutes before you start. The setting looks like in the following photo. The pan on the right contains brine or whey in which you will keep the mozzarella balls. Make sure it’s cold, possibly ~10C.
What I do to simplify my life: I use a little filter, or cheese cloth. I put some curd in it, then lower the filter in the hot water, and start touching the curd with a wooden spoon. When I feel it’s ready, after 10-15 seconds, i take it out, let the water drip through the cheese cloth or filter, and work the paste by hand, being very careful not to burn myself.


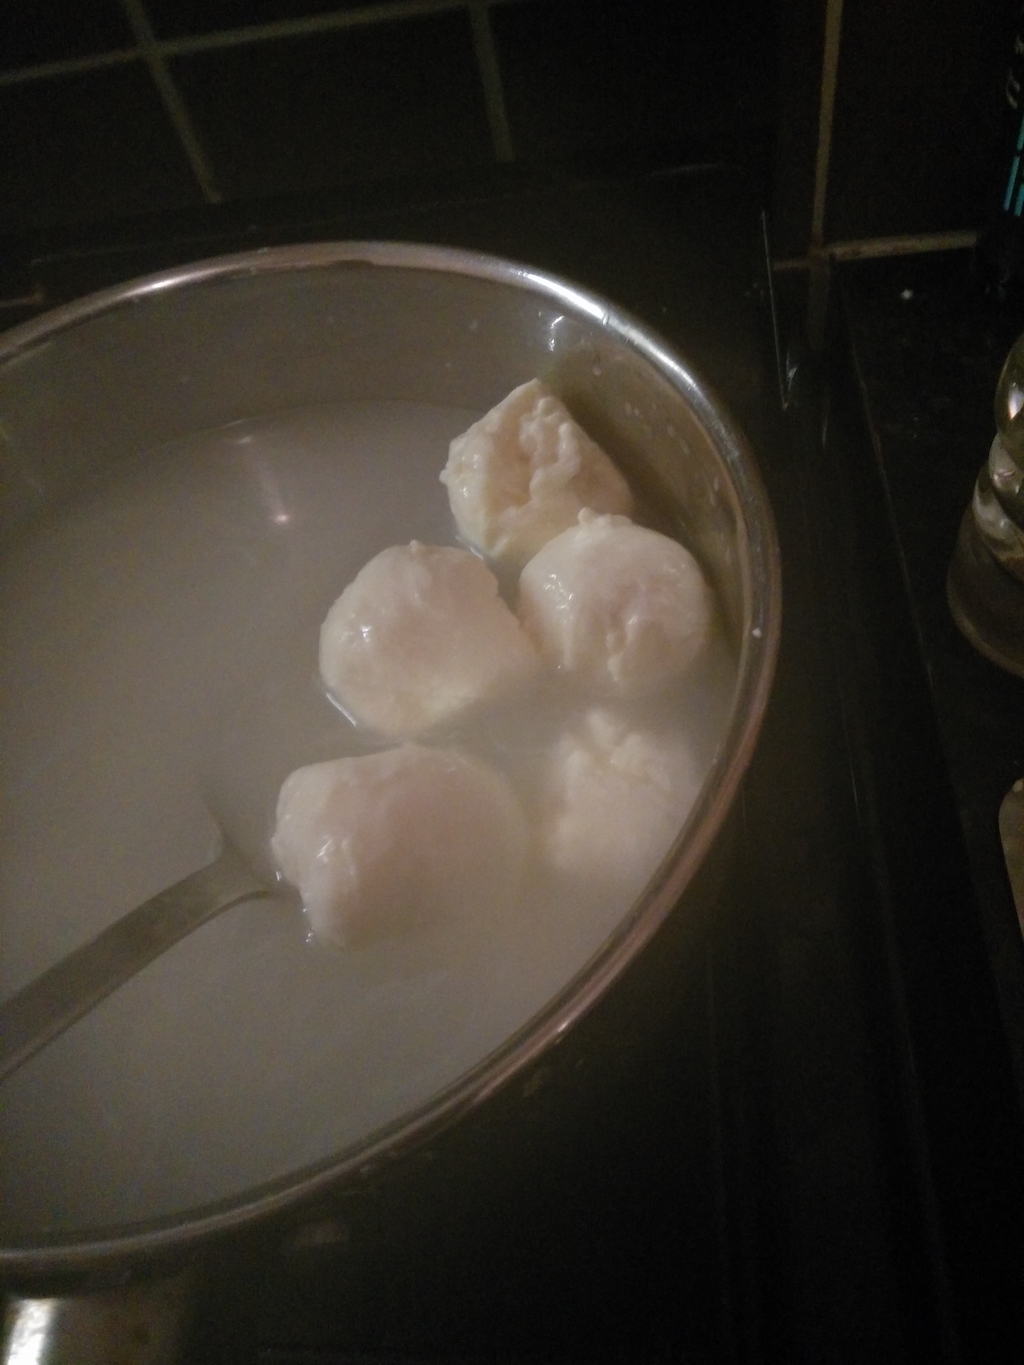
Throw the mozzarella in the cold whey/brine. They are ready to eat!
Crescenza is a type of Stracchino (in my future plans). It differs from it because of a shorter maturation time: Crescenza doesn’t go through the 20-30 days of (cold) maturation prescribed for Stracchino, and it is ready to eat after about a week. It is quite creamy, but less creamy than Stracchino, which is generally spreadable.
It is not too difficult to make at home, and its cold maturation allows the cheese to develop an acidic flavour while maintaining its softness.
A short review of the ingredients: as usual, I use animal rennet. The shopping list is simple:
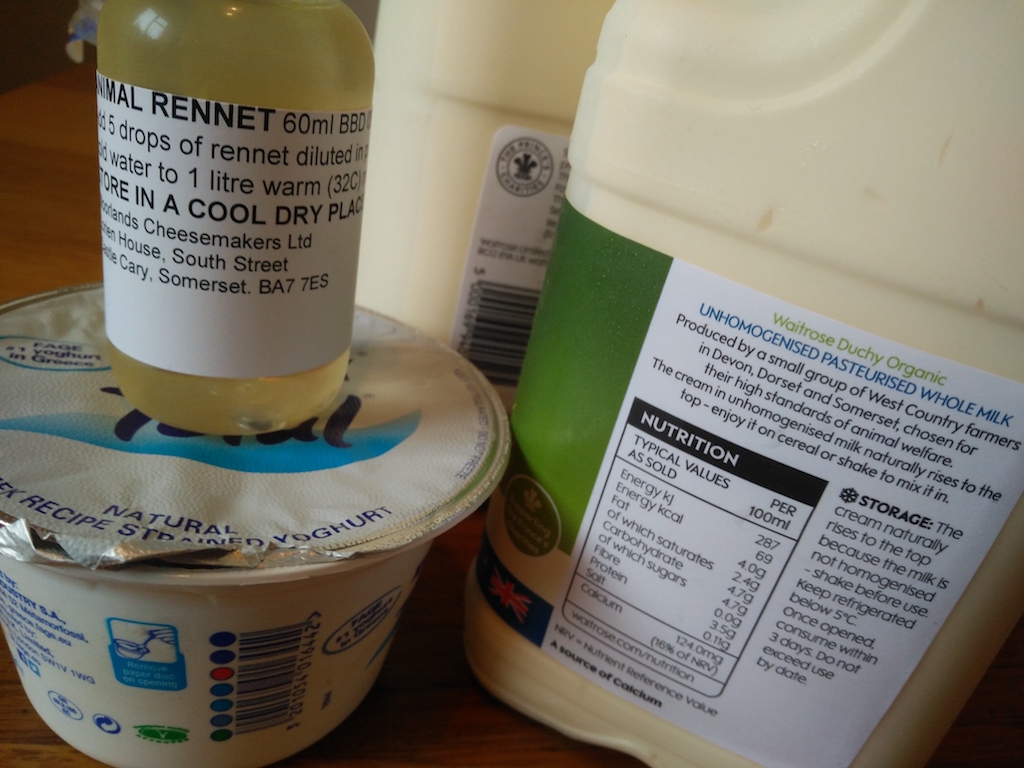
Before you start, prepare some brine. Although it is sufficient to fill a pan with 3 lt of water and putting in 150-300g of pure salt, I recommend you let the water boil and then cool down. The brine needs to be used cold (room temperature will do in most cases, but bear in mind it will take hours to cool down once you boil it).
To begin with, fill a cup with some milk and put the yogurt into it. Make sure it’s perfectly mixed in the milk.
Put the rest of the milk in a pan, add the cream, mix, and bring the milk to 39C. At this point, switch off the heat and pour in the milk/yogurt solution, covering it up. This will encourage the bacteria in the yogurt to start some fermentation process. Now wait until the temperature goes down to 32C, add the rennet and cover up again.

After about 60 minutes, the milk will have curdled. As usual, this varies, but let’s say you know by now that the curdled milk is ready to be cut when it’s a bit like a creme caramel.
Cut the curd in large cubes of 4-5cm, and don’t mix or disturb them. Cover up again, and wait 20 minutes.

After this, the curd will have started separating from the whey. 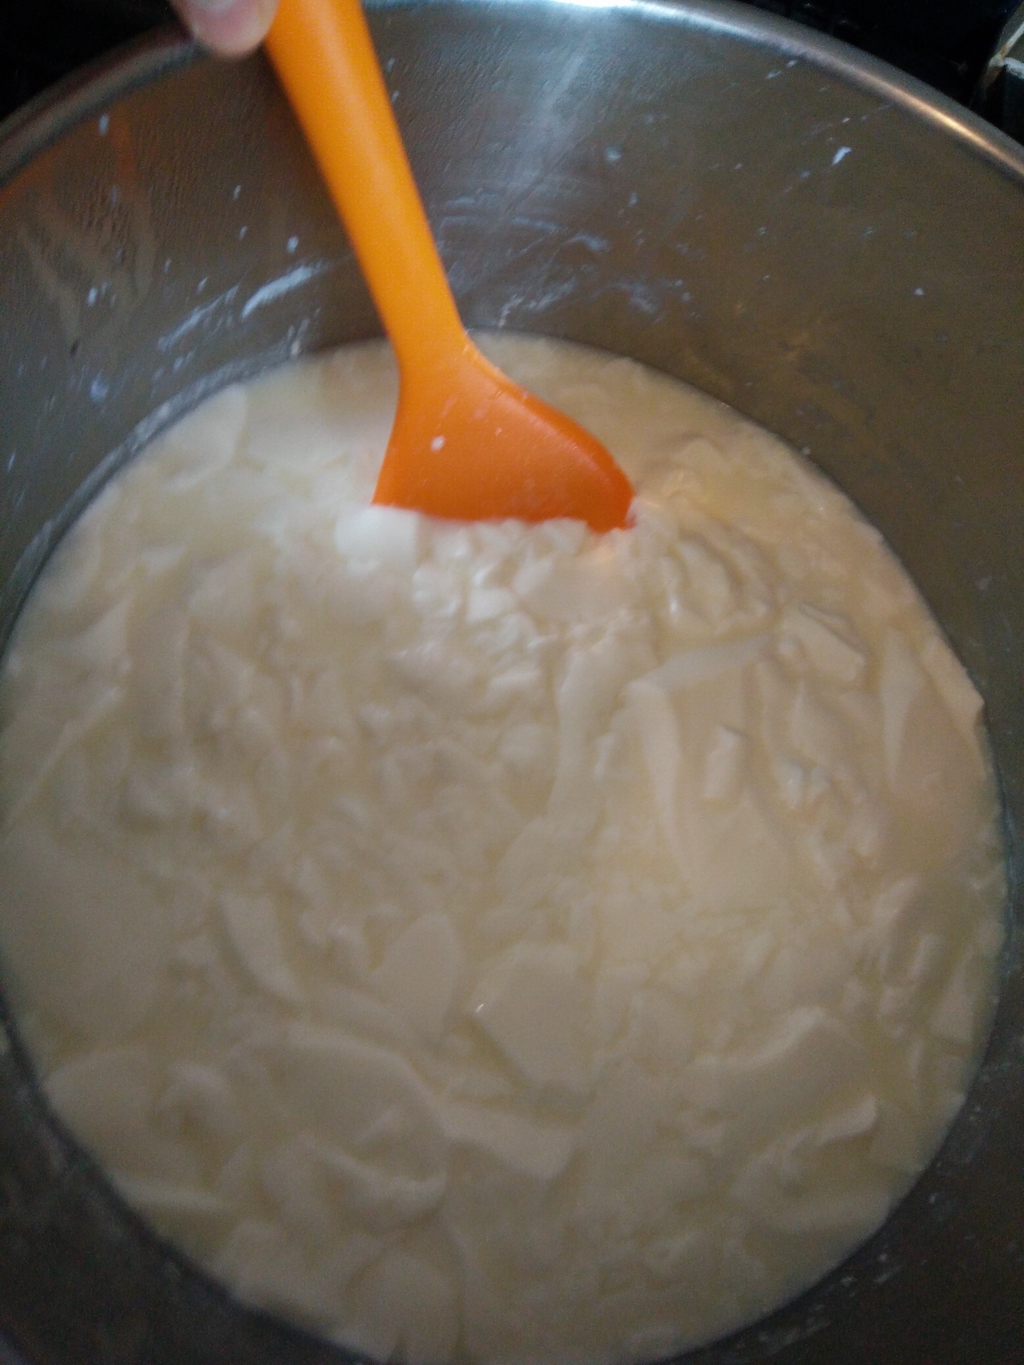
Give it a good stir, then start filling your molds. If there is a lot of whey, you can also filter using a cheese cloth.
One good suggestion is to filter and store the excess whey, as this is useful for the preparation of other cheeses. If you are not making, say, mozzarella in the next few days, you can also freeze it.

It’s time to do the so-called stewing (stufatura in Italian) of the curd. Interestingly, I haven’t found a proper English equivalent. This operation consists of leaving the curds to drain for some hours in a high temperature / high humidity environment. What many home cheesemakers do is to leave the curd to drain in the switched-off oven, making sure the temperature stays around 30C, and putting some equally warm water below the cheese.

During the next few hours you will need to turn the curd around 3-4 times. The first after 30′, then after 60′, and again after 60′. After a few hours, the curd will have lost most of its whey.
At this point, let’s prepare the crescenza for the cold maturation. This involves storing it in brine, which you will have prepared before hand. Leave it in there for a couple of hours.
We’re basically done. Put the molds on a cheese mat (or something else that allows some airflow), wrap them in cling film and store them in the fridge. You will need to turn them around twice a day for the first couple of days, then just once a day. This will let some more whey out of the cheese, which you will throw away once a day.
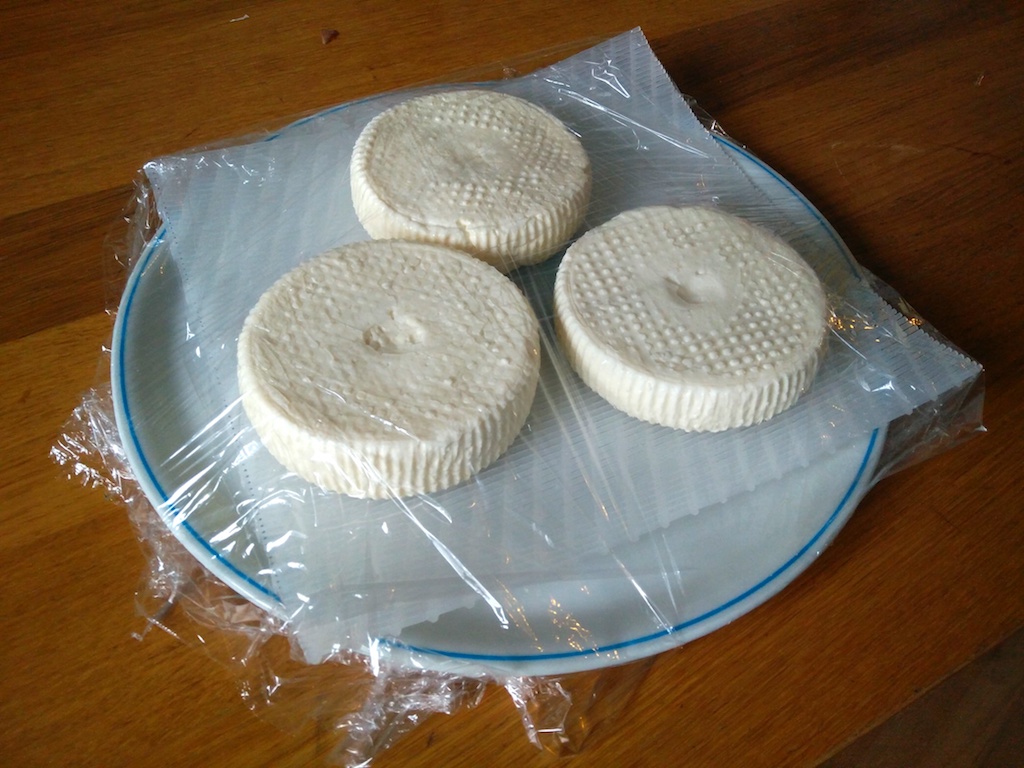
After 5-6 days, you can wrap them in cling film, oven paper or, better, the waxed cheese paper you find in specialised shops
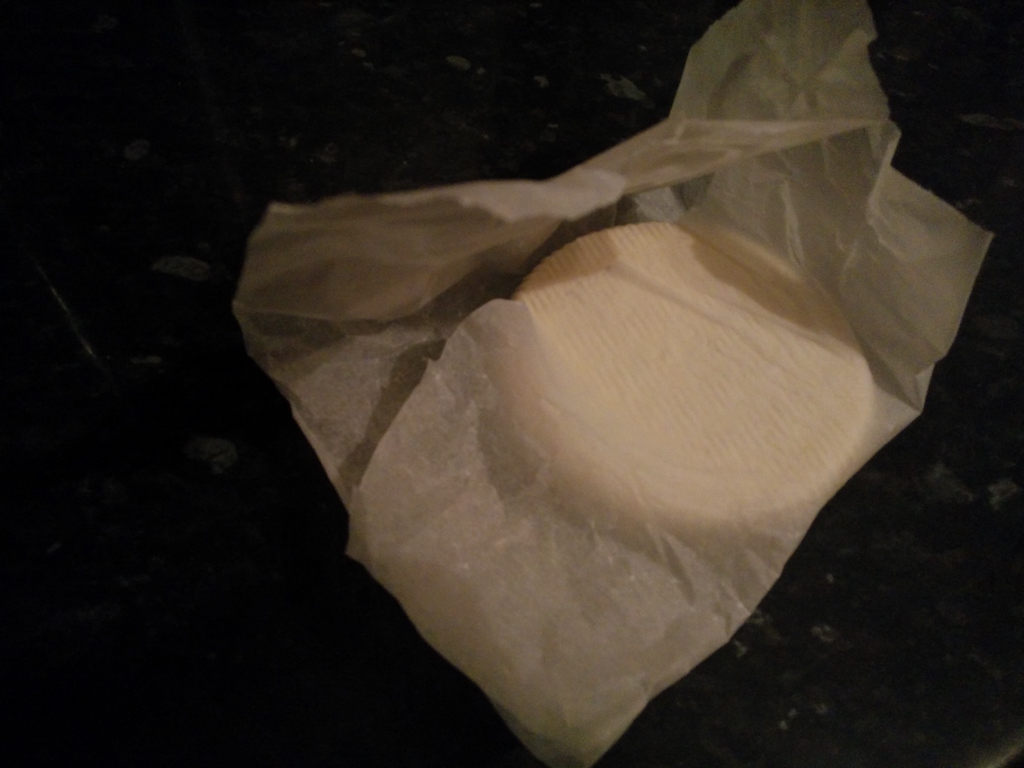
After 7-10 days from preparation, Crescenza is ready to eat. Enjoy!
Halloumi has always been on one of my favourite cheeses for its versatility: you can eat it cold, you can warm it up in the microwave or, best than all, grill it. It grills as if it was meat: given its very low water contents, it’s basically a solid piece of lactose and casein.
One of the best surprises I’ve ever had was discovering how easy – albeit a bit long – is to home make halloumi.
Halloumi is from Cyprus and was originally made – and traditionally still made – with half sheep and half goat milk. However, most of the Halloumi you find outside of Cyprus is made from cow milk – and this is what we are going to make today.
Ingredients
That’s it! Let’s start.
4. When the milk on the hob has reached 32C, pour together the rennet and the dissolved yogurt, stir, cover and wait for more or less an hour. The curd is ready when it breaks cleanly as we’ve seen in previous recipes.
5. When ready, cut the curd as usual, stir, and wait for 15-20 minutes in order to release some water.
6. After this, pour the curd through a cheese cloth but do not throw the whey away. I generally use a colander to make sure I don’t lose any curd. The whey will be needed later, so keep it in a bowl.

7. Tie a knot on the cheese cloth and prepare for the best part 🙂
8. Using some thread, hang the cloth with the curd. Put a bowl below it and let it drip. Leave it for about 5-6 hours, until no more water is dripping.
Beautiful, isn’t it? 🙂
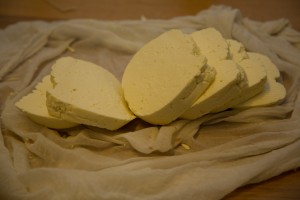
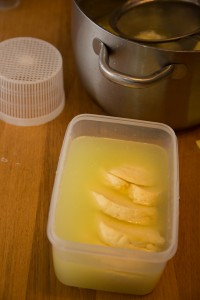
9. After 6 hours or so, take the cheese out of the cloth and cut it in 5-6 pieces.
Try doing this in a way that keeps the slices more or less of the same size.
10. It’s time for the scalding of the cheese-to-be. Bring the whey you saved earlier to 45C, then put the slices into it and keep them at 45C for about a hour.

Stir every 5-10 minutes, and check nothing is sticking to the bowl.
11. When done, get the slices out of the whey (but once again do not throw the whey away!) and leave them to cool down for some time. Salt them on the surface on both sides.
Ideally, leave them like this for several hours.
 \
\
12. Add 50g of salt to 2.5 litres of whey and bring to the boil, stirring until it dissolves. When the whey is boiling, switch the fire off and leave it to cool down to room temperature.
13. Put the cheese with the whey/salt brine in an air-tight container, put in the fridge and…
… your Halloumi is ready to be eaten 🙂
Of course, the more you wait the better. Halloumi can keep for several weeks in the fridge, and it will become better as it ages.
The reason for all this salt used is the climate in Cyprus: Halloumi was traditionally made in a country that is hot and humid, and salt was used to preserve it.
Just remember Halloumi is still not a hard cheese in strict sense, and it’s not made for dry ageing, so I’d recommend not exceeding a month or so.
I didn’t have any patience this time, and decided, after just 3 weeks, to eat my simil-Cheddar cheese.
One of the reasons of this is that I didn’t manage to mature it in a room cool enough, so certain ageing processes proceeded very quickly, turning the cheese hard enough to be ready for eating.
Here it is:
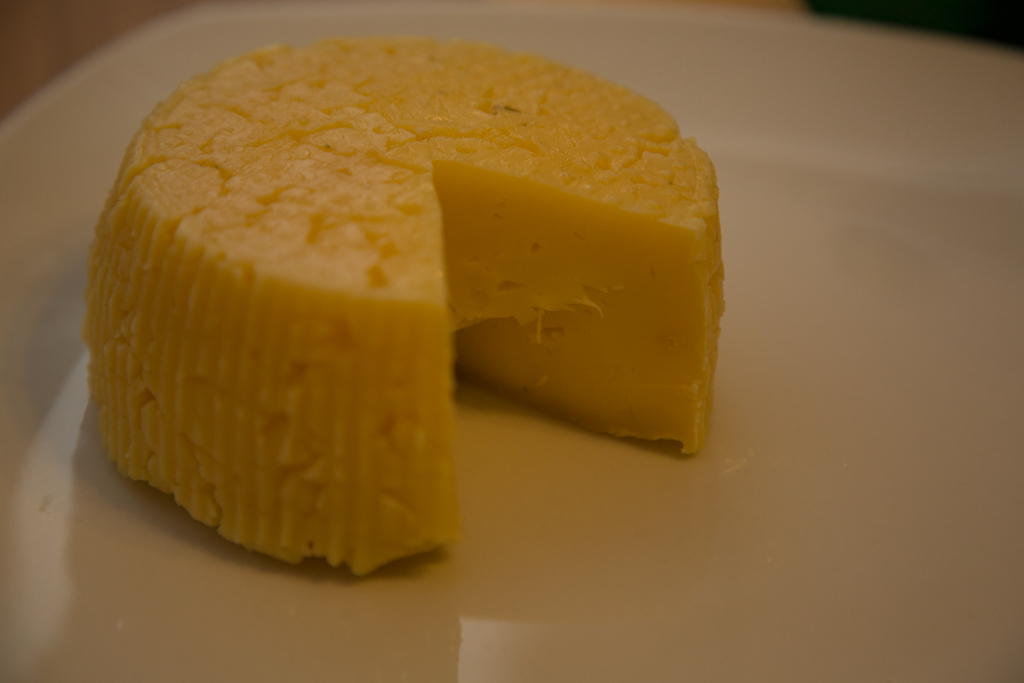
Firm on the inside, but not hard enough to be grated. With a little spicy flavour, and some bubbles, I might speculate that the some thermophile bacteria managed to thrive shortly in it, and the resulting flavour, more similar to a Leerdammer or Emmentaler than to a Cheddar would confirm.
If the last paragraph sounds intriguing, stick with this blog, as I plan to explain, in steps, a little bit of what goes behind the scenes in cheesemaking, as this is, after all, what gives any cheese its specific flavour.
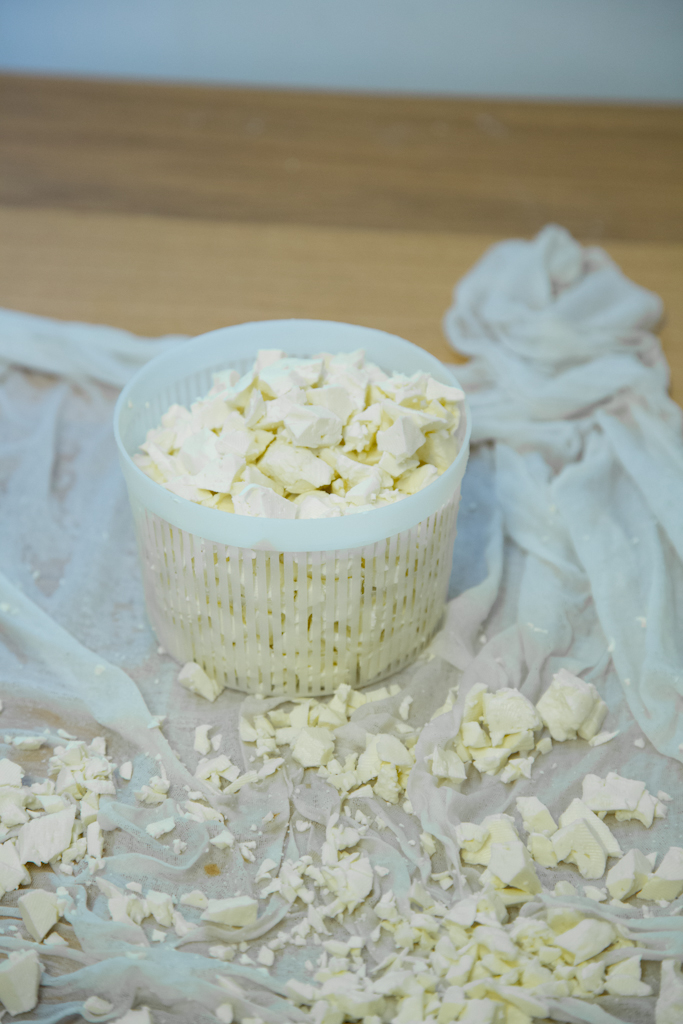
In the previous post, I presented a procedure to make some cheese that we would mature as cheddar. The same procedure, cut shorter, can be used to make some very simple fresh cheese.
In this blog post I will show you how to adapt the procedure explained in the previous blog post and make some cheese you can consume in a couple of days.
In fact, I generally follow the recipe with a little bit more milk and use part of it to make fresh cheese and the rest to prepare for ageing.
A quick recap of the ingredients and tools:
In this case the procedure is much simpler. I leave in bold the phases in common with the previous blog post.
Let’s assume you’ve done your homework and followed the previous blog post until you’ve cut the curds. You should have a bowl full of 3D 1-2cm long rhomboids.
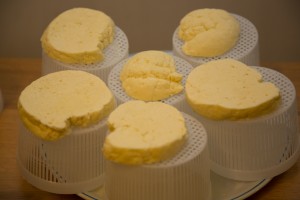
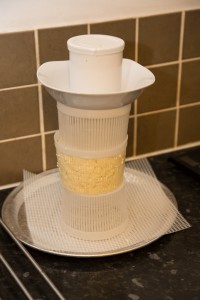
Next, you drain them into a cheese cloth, and then fill your plastic mould.
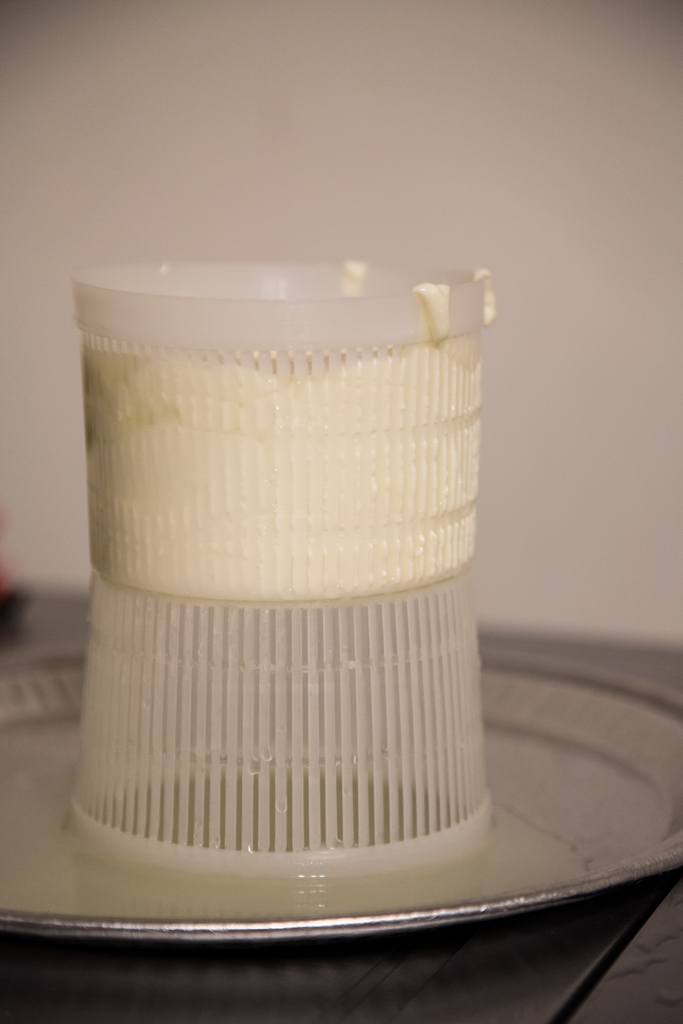
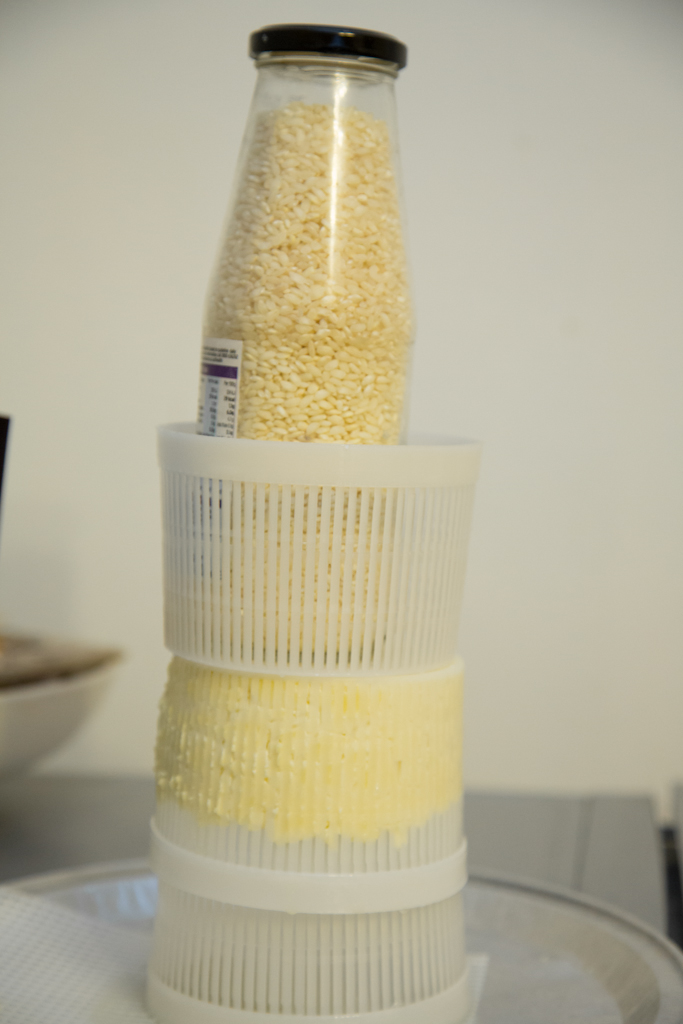
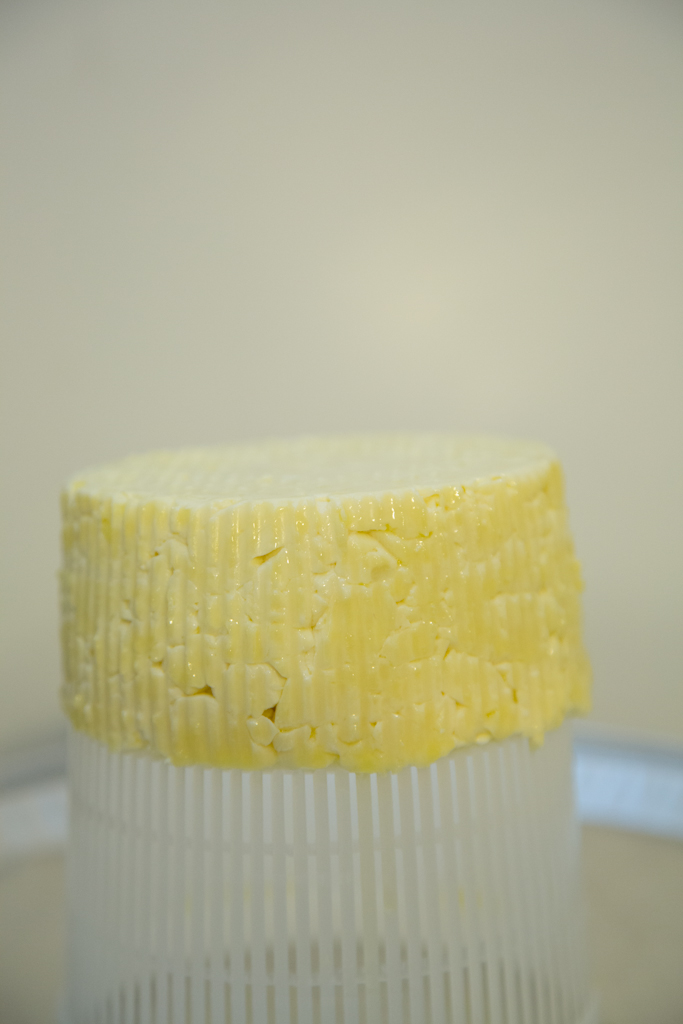
Turn the mould around often, and after some hours (or the morning after, if you’ve done this at night) you will end up with a semi-solid mould of cheese.
At that stage, it’s important to sprinkle some salt around the cheese, while turning around.
Finally, put it on a dish, cover with cling film, and put into the fridge. You can eat it after 2-3 days.
I’m always in two minds about what to consider a good “for dummies” introduction to cheese-making. The problem with very simple recipes is that they don’t capture a full view of all the possible processes and phases of cheese-making, so I prefer to go through a slightly more complex procedure to give a general idea, then come back to more simple recipes.
This time I will follow one procedure to get two cheeses: one ready and fresh, one to be matured. This post in two parts will show the general preparation required for these two cheeses; I will focus first on the one to be matured, and I’ll explain what to do with the fresh cheese in the next post.
What I’m going to show you is how to make some cheese that resembles Cheddar.
Note: I will go through the whats and whys of each tool or ingredient in future blog posts. For the moment, just get yourself the following:
We will go through the following phases:
Are you still with me? 🙂 Let’s start.
Adding a starting culture
Milk can coagulate directly with some rennet. However, rennet works at its best in an acidic environment. Adding a starting culture is useful to create this specific environment and ensure that the curds are strong enough. Moreover, with experience, you will see that starting cultures can be used to give your cheese a bouquet of different flavours. Finally, “good bacteria” protect your cheese from pathogens.
Curdling
Our cultured milk is almost to go through its second phase.
If not ready, just wait some more, but don’t let the curd become too hard.
Cutting the curd
At this stage, we’re ready to cut the curd into smaller curds. There are multiple ways of doing this, and even purposely made tools. I generally do this in a very easy way: I take a long knife and cut in a diagonal grid, orthogonally. This helps the curds expel more whey.
You should aim at obtaining 3D rhomboids as a result, about 1-2cm long.
Scalding the curds
The operation known as “scalding” basically consists of slow-cooking the curds. This is done for several reasons, including making the curds smaller and drier as they expel more whey, and to keep the starting culture active for longer.
Switch on the hob and slowly bring the temperature between 40C and 50C. You should aim at reaching 50C in about 45 minutes, then keep going for an extra 15 minutes. Keep stirring every 5-10 minutes.
Draining
Draining the curd is a simple operation, yet one that should be dealt with carefully. Especially as this is a cheese you want to age, the curds need to expel as much whey as possible, to prevent pockets of water forming in the maturing cheese, with possible effects on the overall quality of your final product.
Cheddaring
There are several things you could do with your cheese now. For example, some cheeses require a brine bath. In the case of cheddar, we do what goes under the name of cheddaring.
Maturation
Finally, we are ready to get the cheese out of the plastic mould and let it mature. In this phase it’s important that the cheese stays clean and dries throughout.
There are several options: you can leave the cheese as it is, or wax it, oil it, …
For this example I’ve slightly oiled its surface, so to make sure it doesn’t break.
Remember to turn it around every 2-3 days. I generally put it on a mould or cheese mat until it becomes dry on the exterior, then replace the mat. You can also use a clean cheese cloth.
You might see molds growing on the surface of the cheese. This is upsetting, but up to a point is normal. When it happens, I remove the mold and wash the surface with some white vinegar. It generally solves the problem for good. We will go through other options in future.
Here we go. We have prepared our first cheese for maturation. Are you happy?
Hello, lost readers. You might wonder what you’re doing on a blog about cheese-making.
Well, as you probably know I’ve been making cheese for some time. Some friends have become quite curious about it, and someone has even asked me to do a talk at a conference.
I’ve realised, in short, that cheese-making is something that triggers the attention of my geek friends. Furthermore, I’ve realised I was not keeping an accurate note of my cheese-making attempts.
Hence, here we are. This blog wants to be an attempt at collecting my cheese-making activities and start a discussion with other hobbyists.
I hope I’ll be able to give you a… taste of cheese-making 🙂