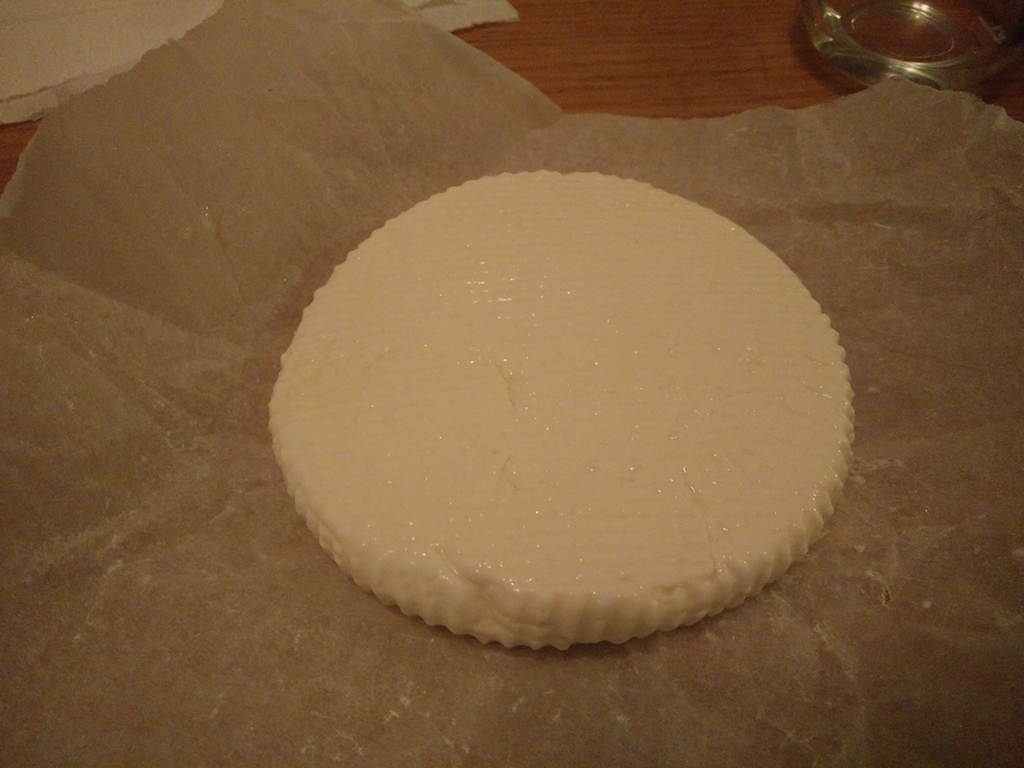
Crescenza is a type of Stracchino (in my future plans). It differs from it because of a shorter maturation time: Crescenza doesn’t go through the 20-30 days of (cold) maturation prescribed for Stracchino, and it is ready to eat after about a week. It is quite creamy, but less creamy than Stracchino, which is generally spreadable.
It is not too difficult to make at home, and its cold maturation allows the cheese to develop an acidic flavour while maintaining its softness.
A short review of the ingredients: as usual, I use animal rennet. The shopping list is simple:
- 3.5lt milk
- rennet
- 100ml cream
- 50g strained yogurt
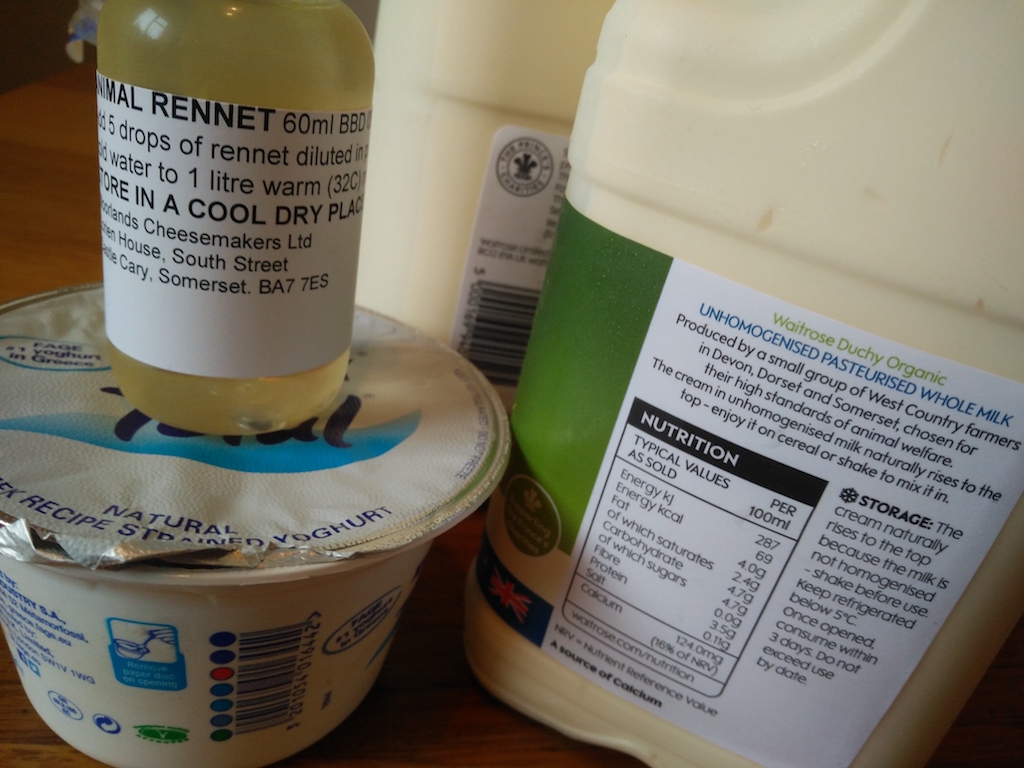
Before you start, prepare some brine. Although it is sufficient to fill a pan with 3 lt of water and putting in 150-300g of pure salt, I recommend you let the water boil and then cool down. The brine needs to be used cold (room temperature will do in most cases, but bear in mind it will take hours to cool down once you boil it).
To begin with, fill a cup with some milk and put the yogurt into it. Make sure it’s perfectly mixed in the milk.
Put the rest of the milk in a pan, add the cream, mix, and bring the milk to 39C. At this point, switch off the heat and pour in the milk/yogurt solution, covering it up. This will encourage the bacteria in the yogurt to start some fermentation process. Now wait until the temperature goes down to 32C, add the rennet and cover up again.

After about 60 minutes, the milk will have curdled. As usual, this varies, but let’s say you know by now that the curdled milk is ready to be cut when it’s a bit like a creme caramel.
Cut the curd in large cubes of 4-5cm, and don’t mix or disturb them. Cover up again, and wait 20 minutes.

After this, the curd will have started separating from the whey. 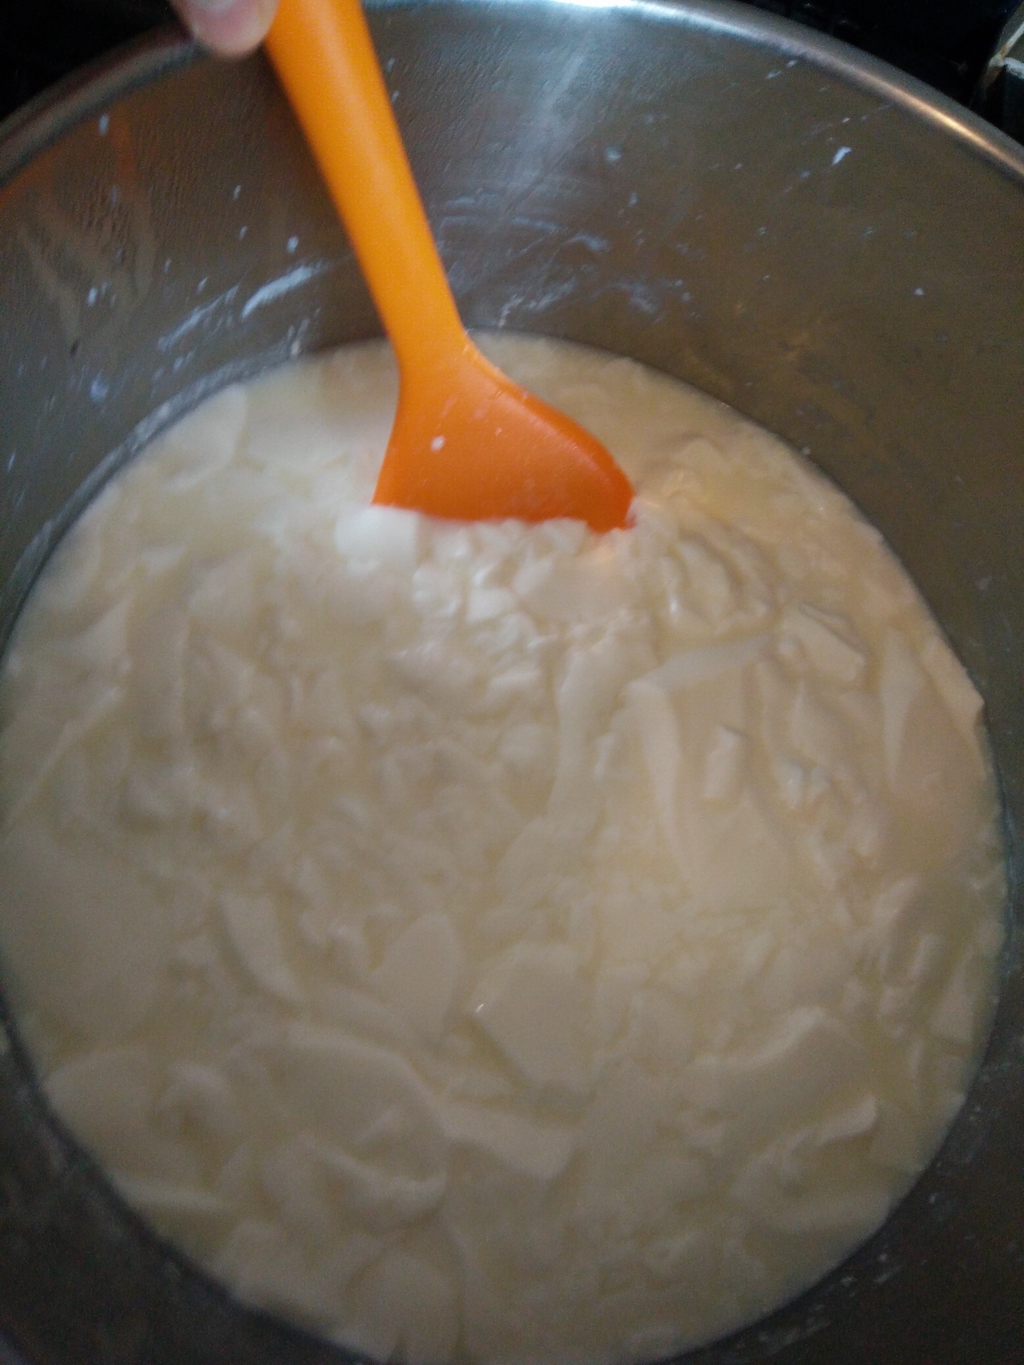
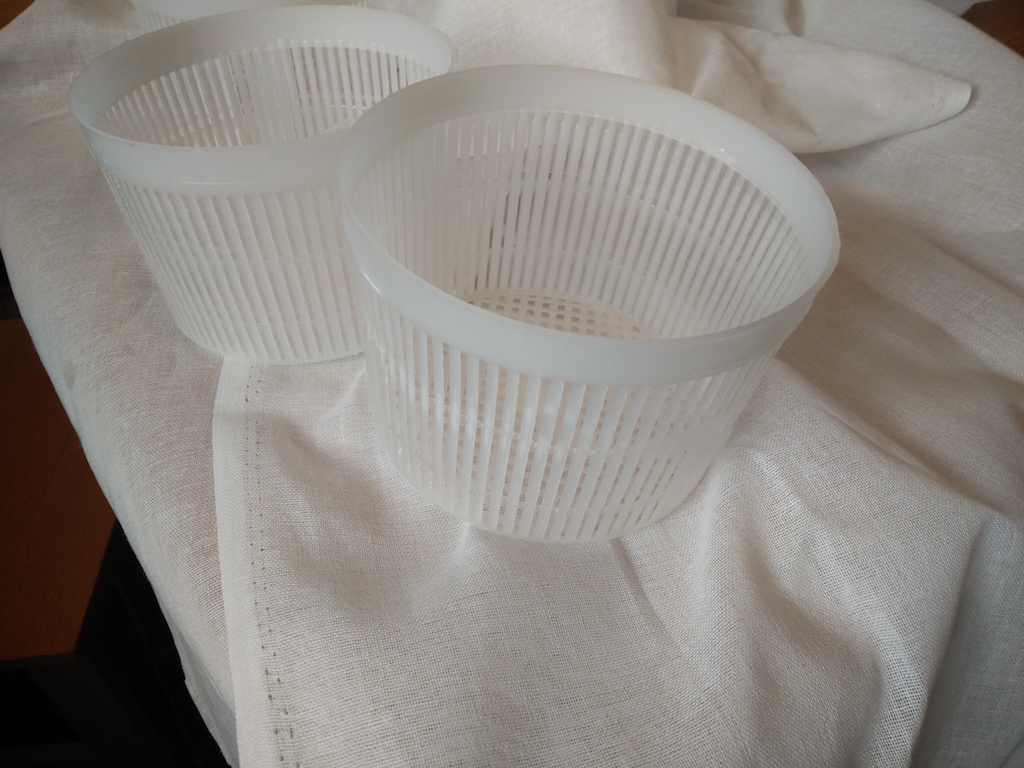
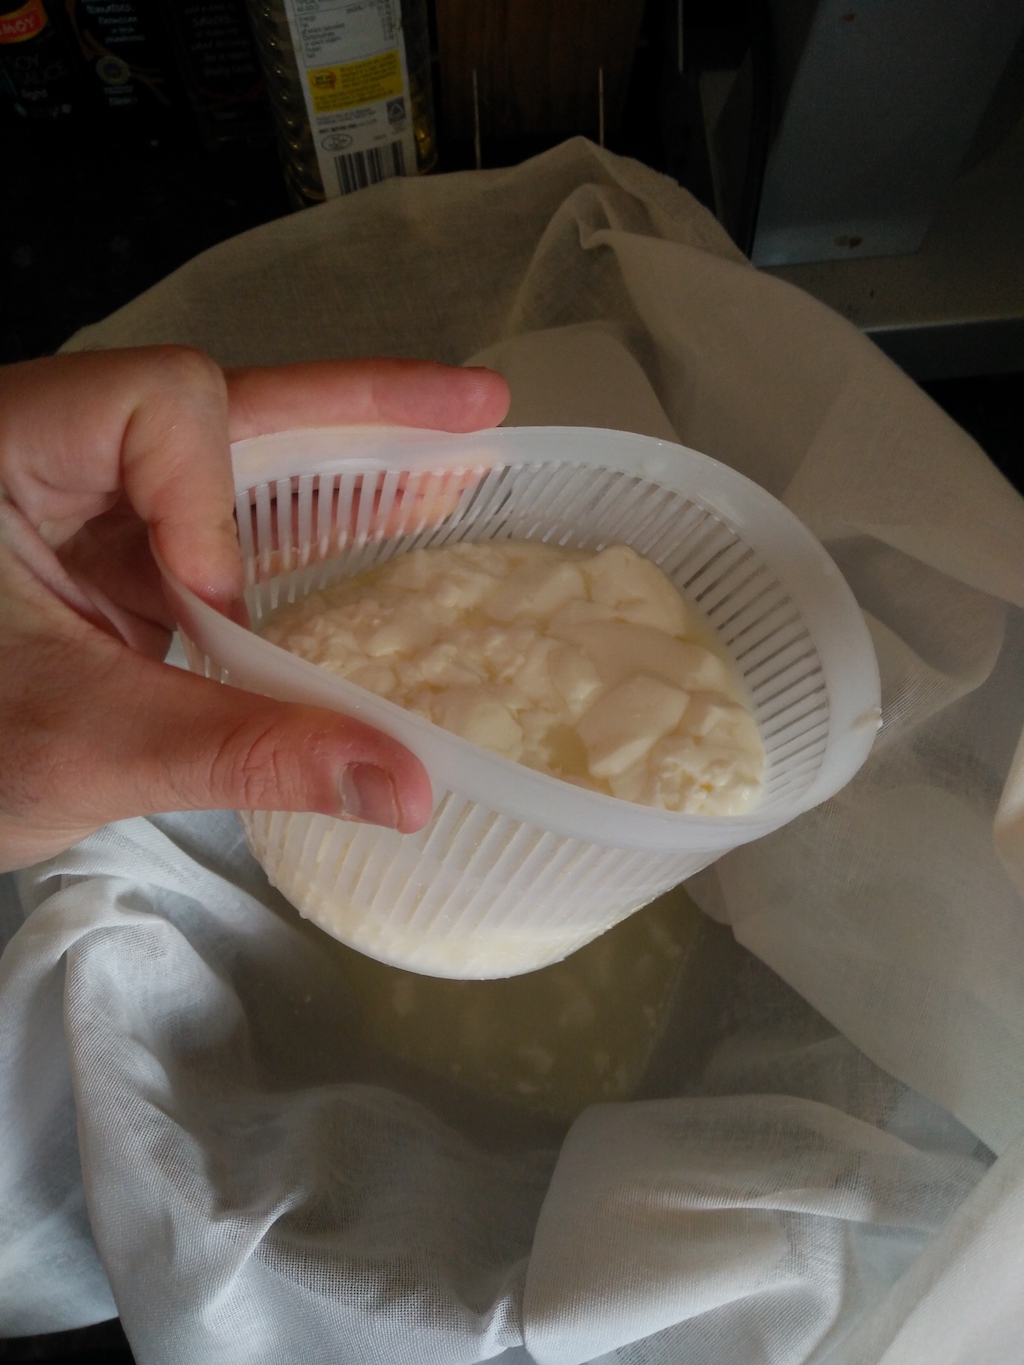
Give it a good stir, then start filling your molds. If there is a lot of whey, you can also filter using a cheese cloth.
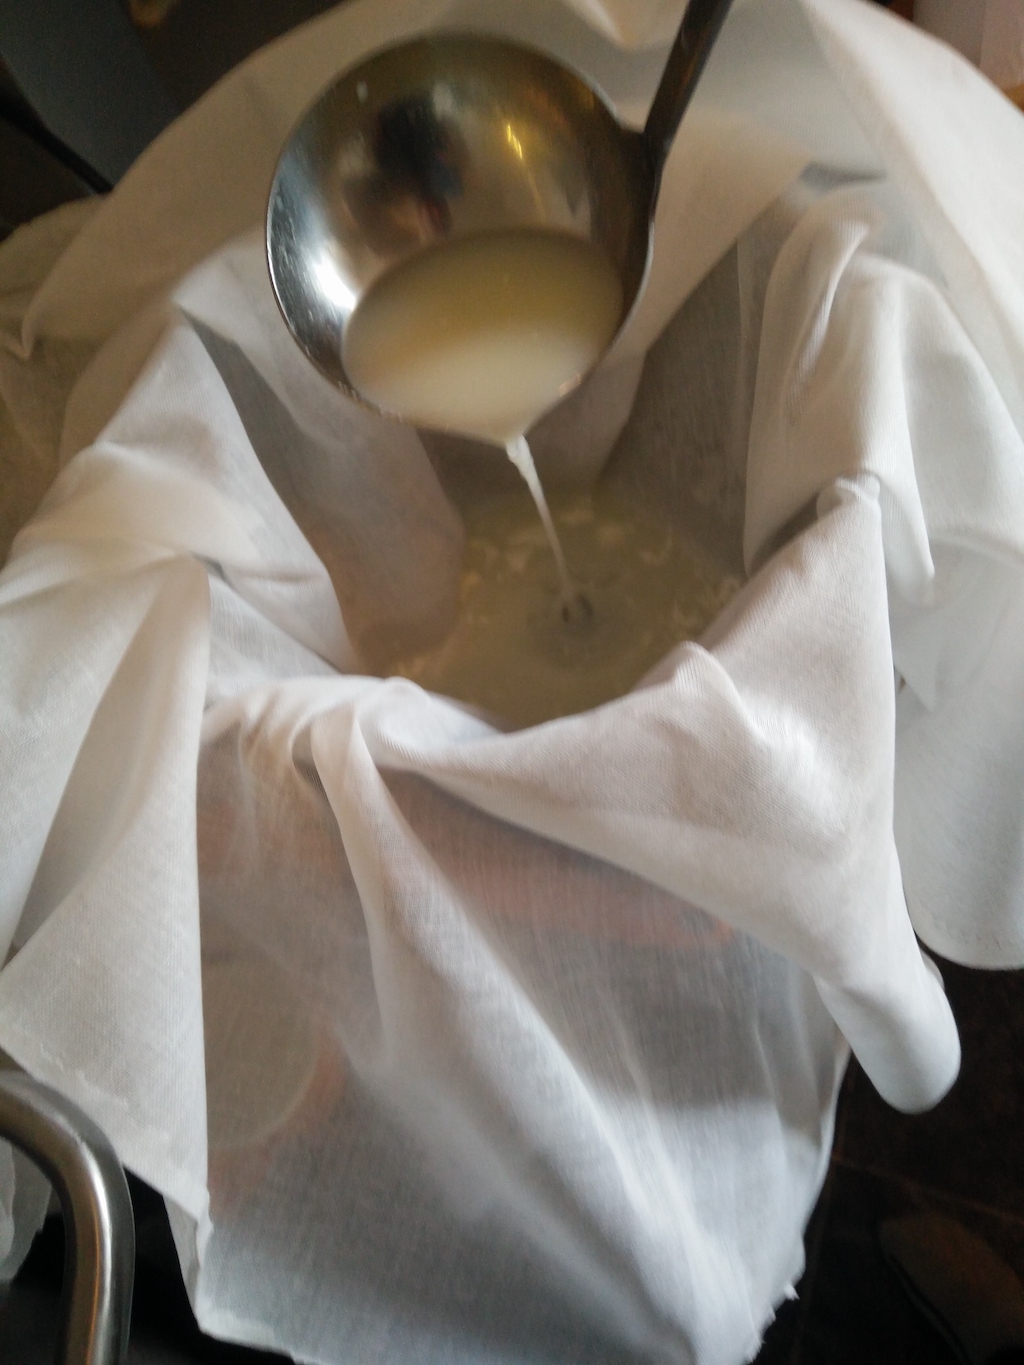
One good suggestion is to filter and store the excess whey, as this is useful for the preparation of other cheeses. If you are not making, say, mozzarella in the next few days, you can also freeze it.

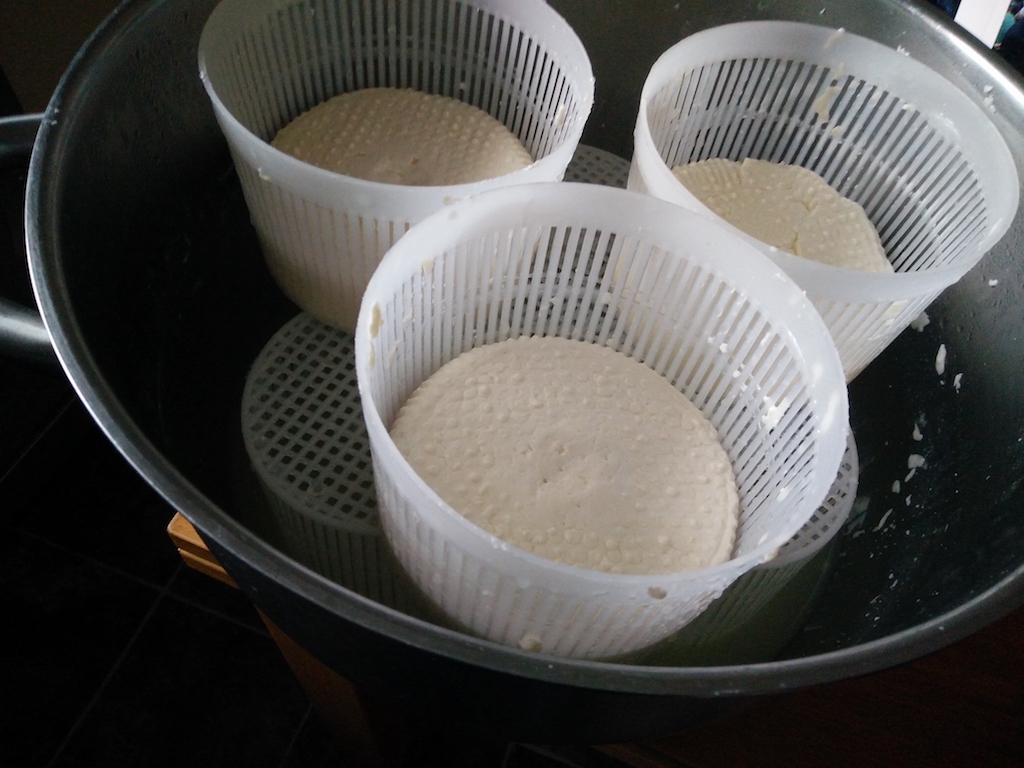
It’s time to do the so-called stewing (stufatura in Italian) of the curd. Interestingly, I haven’t found a proper English equivalent. This operation consists of leaving the curds to drain for some hours in a high temperature / high humidity environment. What many home cheesemakers do is to leave the curd to drain in the switched-off oven, making sure the temperature stays around 30C, and putting some equally warm water below the cheese.

During the next few hours you will need to turn the curd around 3-4 times. The first after 30′, then after 60′, and again after 60′. After a few hours, the curd will have lost most of its whey.
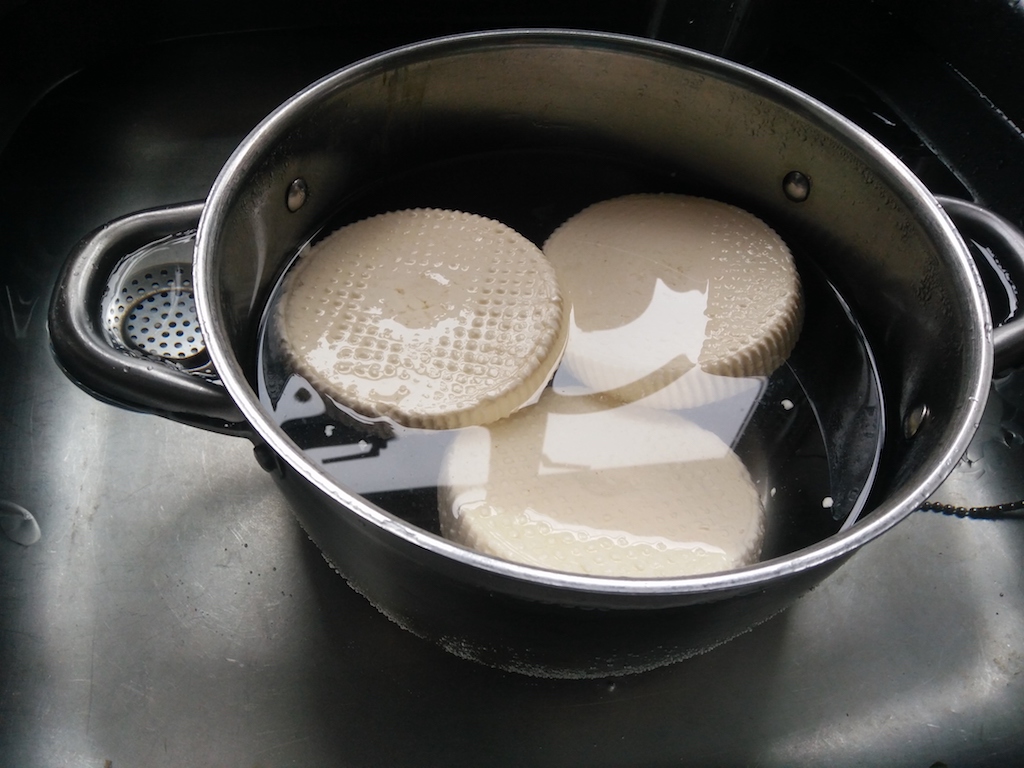
At this point, let’s prepare the crescenza for the cold maturation. This involves storing it in brine, which you will have prepared before hand. Leave it in there for a couple of hours.
We’re basically done. Put the molds on a cheese mat (or something else that allows some airflow), wrap them in cling film and store them in the fridge. You will need to turn them around twice a day for the first couple of days, then just once a day. This will let some more whey out of the cheese, which you will throw away once a day.
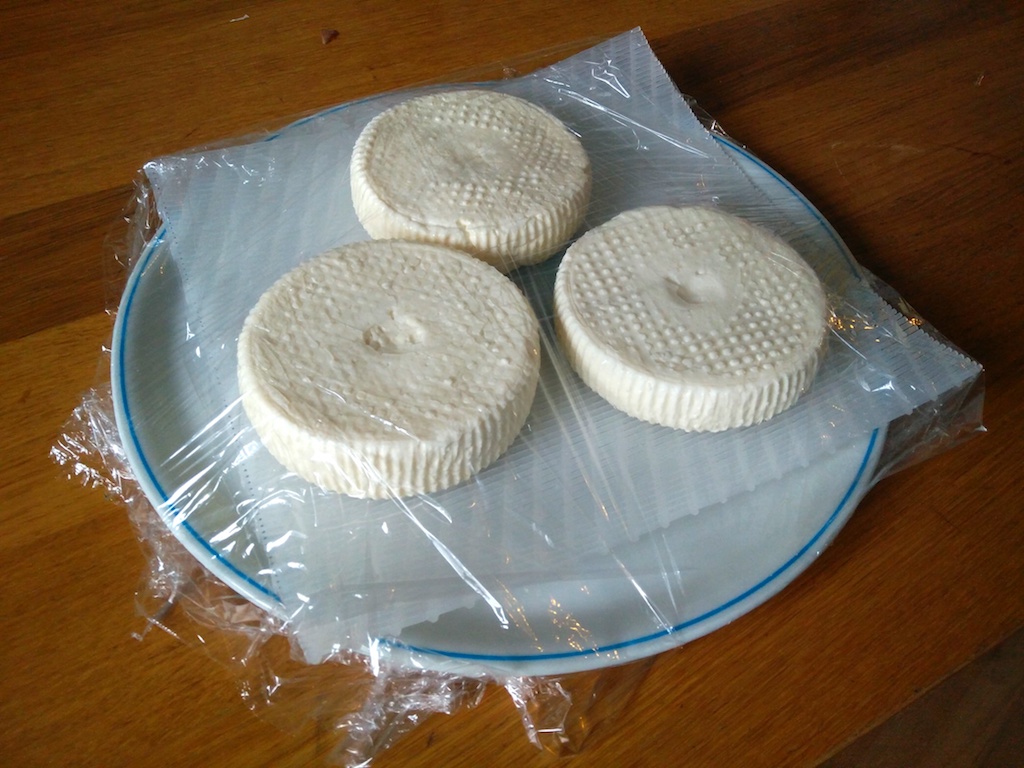
After 5-6 days, you can wrap them in cling film, oven paper or, better, the waxed cheese paper you find in specialised shops
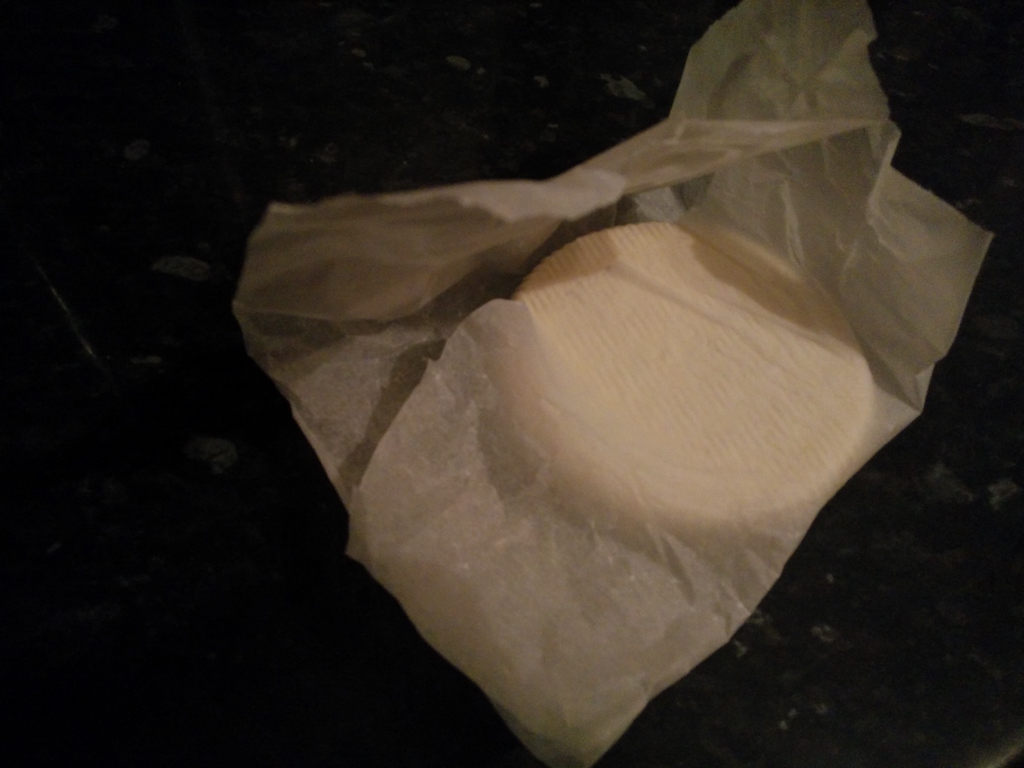
After 7-10 days from preparation, Crescenza is ready to eat. Enjoy!