
Paneer is a cheese associated with the Indian continent. It is a fresh cheese, often not made, which is entirely vegetarian: it is not made with rennet, but with an acidic curdling agent. Often this is lemon juice or vinegar, but any acid will do, and in industrial preparations powedered citric acid is often used. What’s different from rennet-based curdling is the temperature at which this happens: the milk needs to boil, instead of being at a 30-40C.
First, let me start with a confession: I tried doing Paneer twice. The first time, it didn’t work. I had used some powdered citric acid and it simply wasn’t strong enough. Maybe it was too old? I’m not entirely sure. Fresh lemon juice, however, worked magically. I was worried that the lemon would give the cheese an aftertaste. This was very subtle, and given that most likely you’ll use paneer to prepare a curry, the slightly lemony aftertaste won’t be a problem at all.
Here’s the step to prepare your Paneeer.
Step 1
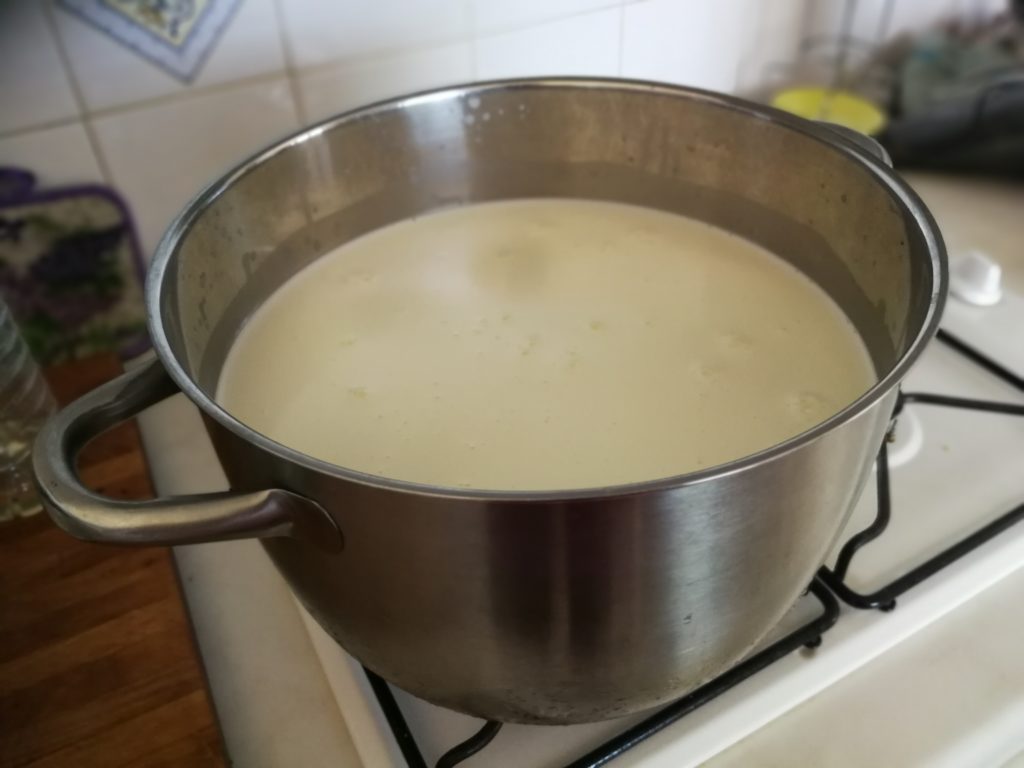
As usual, get some unhomogenised milk (pasteurised is ok). I did this with about 14 pints of milk, roughly 8 litres. I put the milk in a large saucepan on strong heat, mixing constantly to avoid it burning on the bottom.
Step 2
While the milk is heating up, squeeze some lemon juice, and get rid of the seeds. You’ll need about one table spoon per pint of milk. If you use more, the reaction will be stronger, but the flavour will, too, so use more only if you like the lemony aftertaste.
Step 3
Prepare the drainage tools. A colander with a cheesecloth on top will do. My cheesecloth in this case is a bag, which makes it easier to drain and hang.
Step 4
Keep monitoring the milk temperature using a food thermometer. When you get over 80C it’s time to keep monitoring the milk closely and avoid it to burst out of the saucepan. When it starts boiling, add the lemon juice in, and keep the heat up for 10-15 seconds while mixing.
Step 5
You should see the curdles form with a much stronger and sudden reaction than a rennet-based cheese. Once this happens, stop mixing, and remove the saucepan from the heat. Keep it resting for 10 minutes.
Step 6
Drain the cheese by pouring slowly the contents of the saucepan in the cheesecloth, then try and get rid of the excess whey from the curdled milk. I didn’t keep the whey this time, but it can be kept for a variety of uses (just don’t forget this is acidic so it’s not quite the same thing as the whey that you keep from the rennet-based process).
Step 7
Hang the cheesecloth somewhere and keep draining for a few hours.
Step 8
Your paneer is ready! Consume by 2-3 days. Ideally, prepare a paneer curry on the first day, and let the paneer soak it for a day or two before eating.
Step 1 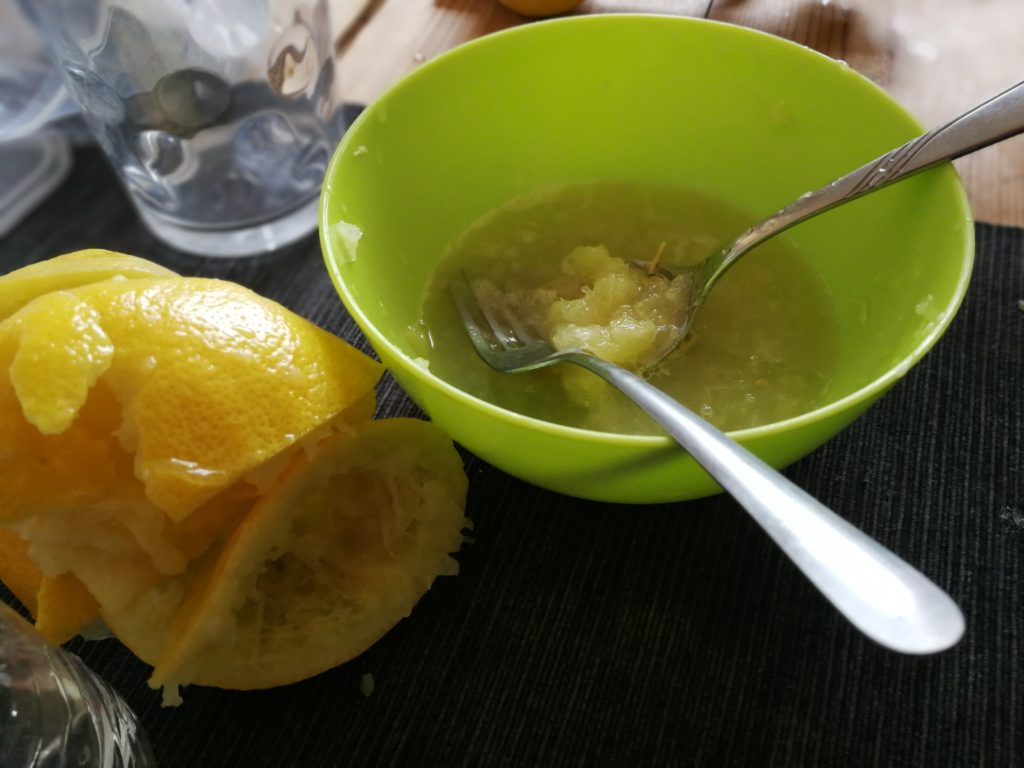
Step 2 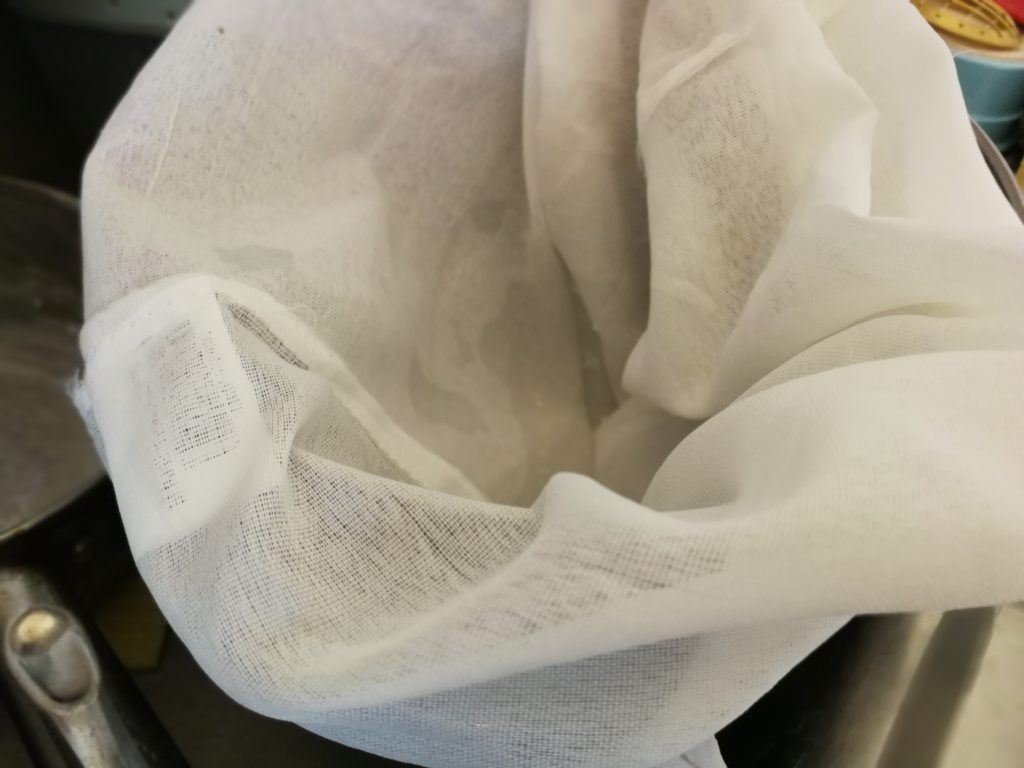
Step 3 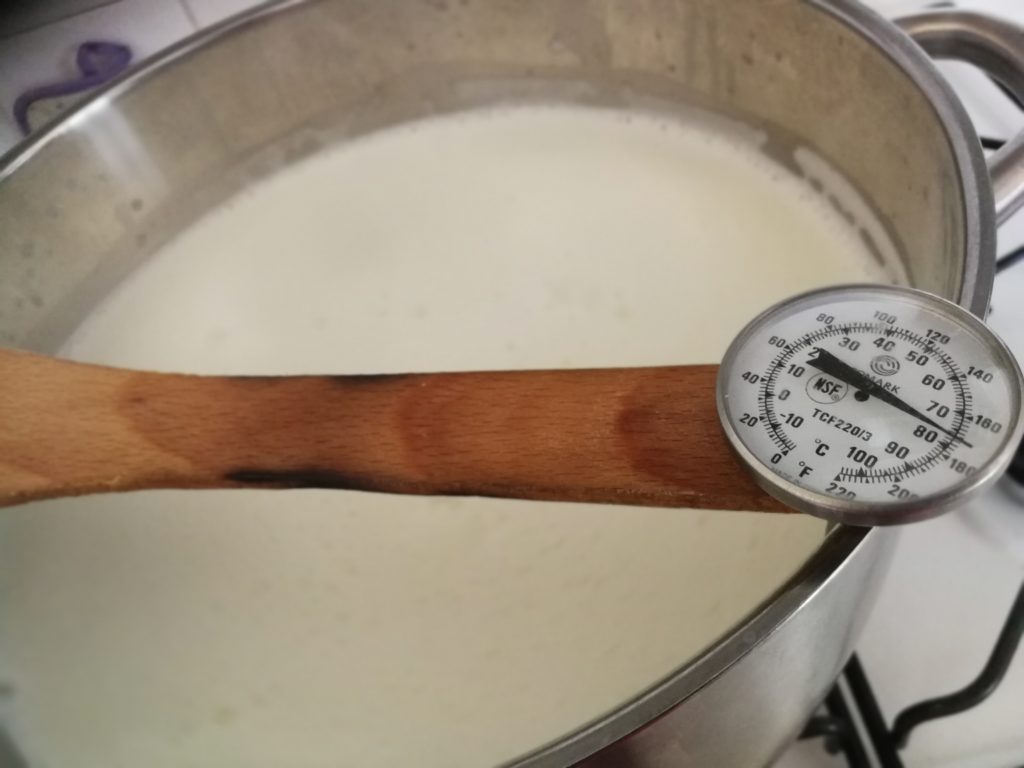
Step 4 
Step 5 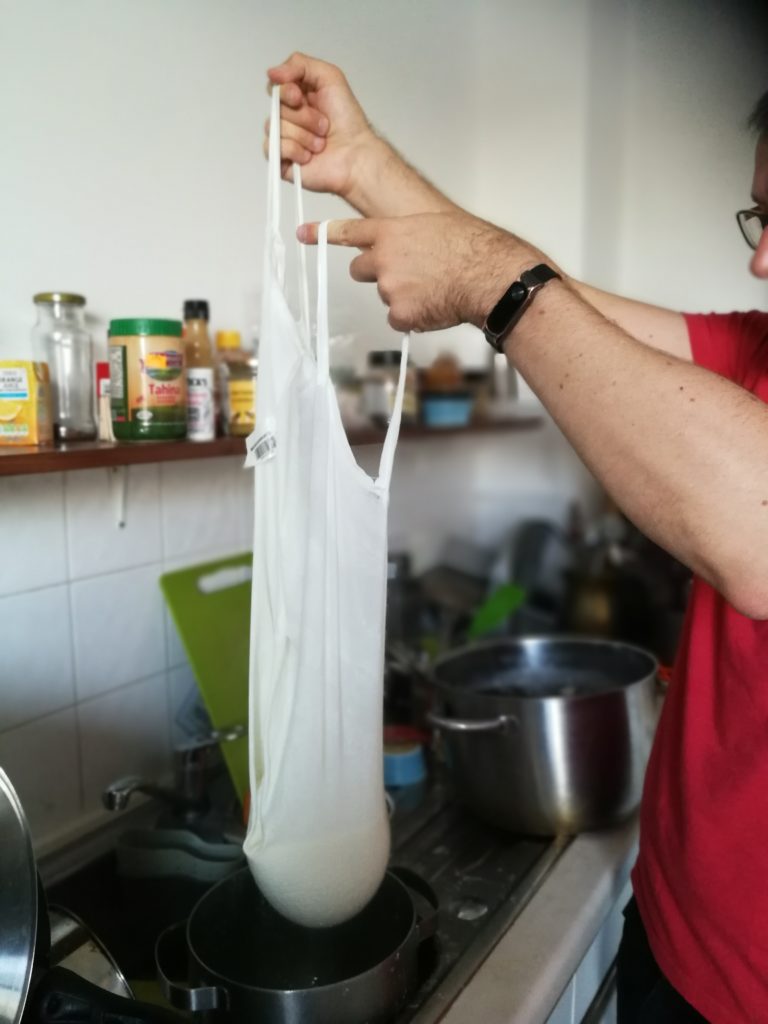
Step 6 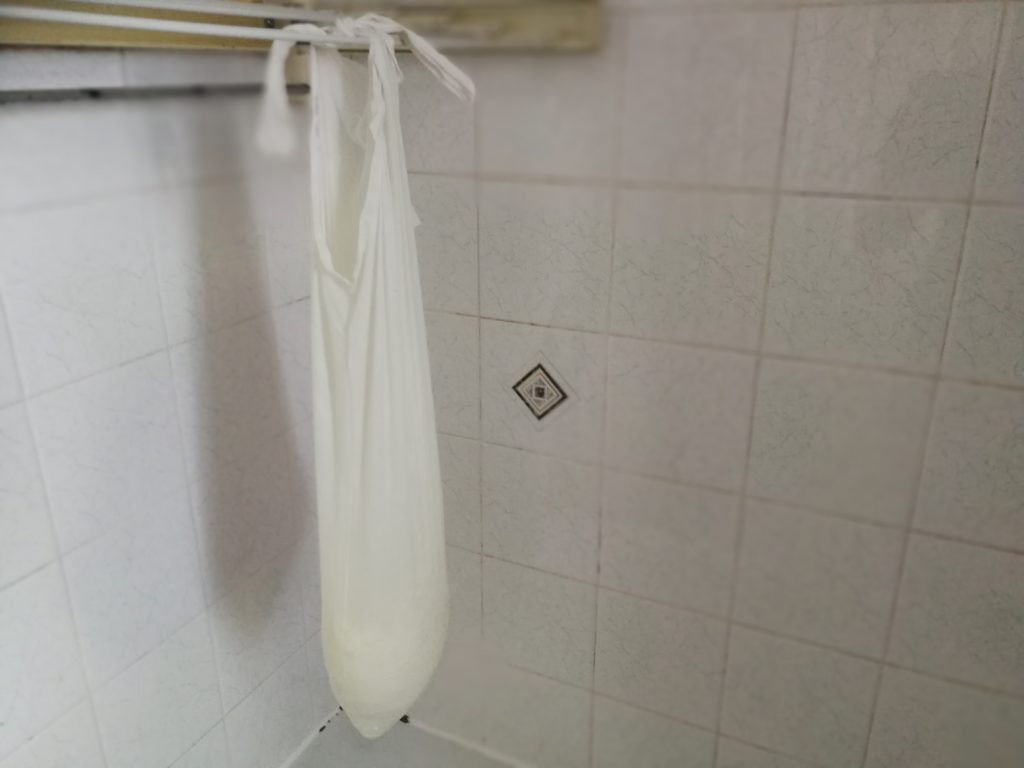
Step 7 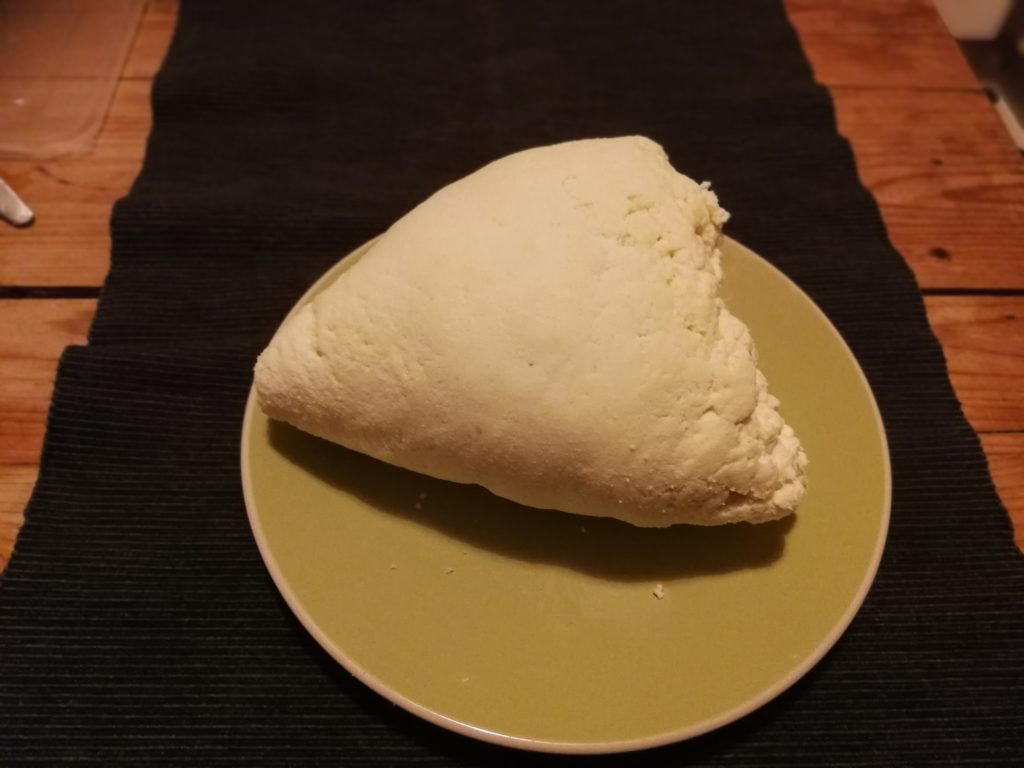
Step 8