When I decided to move to the UK, one of the first issues I thought was the lack of “proper” mozzarella. Coming from Puglia, a region known for an extensive production of cow-milk mozzarella, I was truly addicted.
As a consequence, mozzarella was one of the first cheeses I researched into; and, as difficult as it sounds, it is entirely possible to make mozzarella at home.
It’s not easy, but with some practice it will start becoming clear what to do. The main complication of making mozzarella is the requirement of the curd to mature in acidic whey for some time. Maturation in acidic whey causes the curd to become elastic when brought to the right temperature, giving mozzarella its texture. As much as science gives some hints as to the right moment to stop the maturation, this is mostly down to experience as it changes with milk, temperature, density of the curd, and loads of other variables.
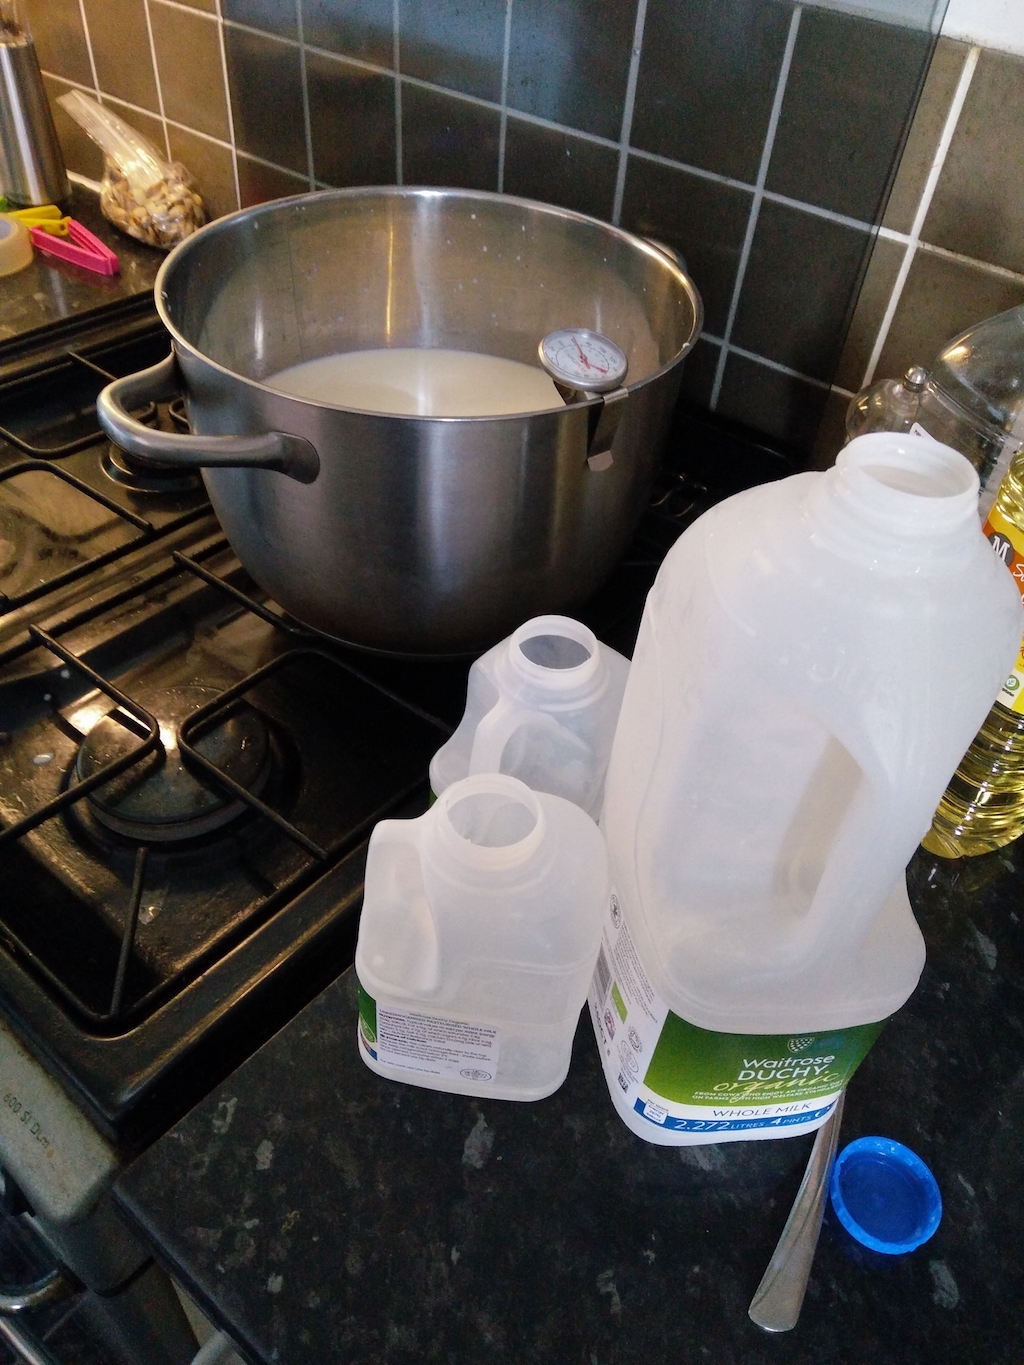
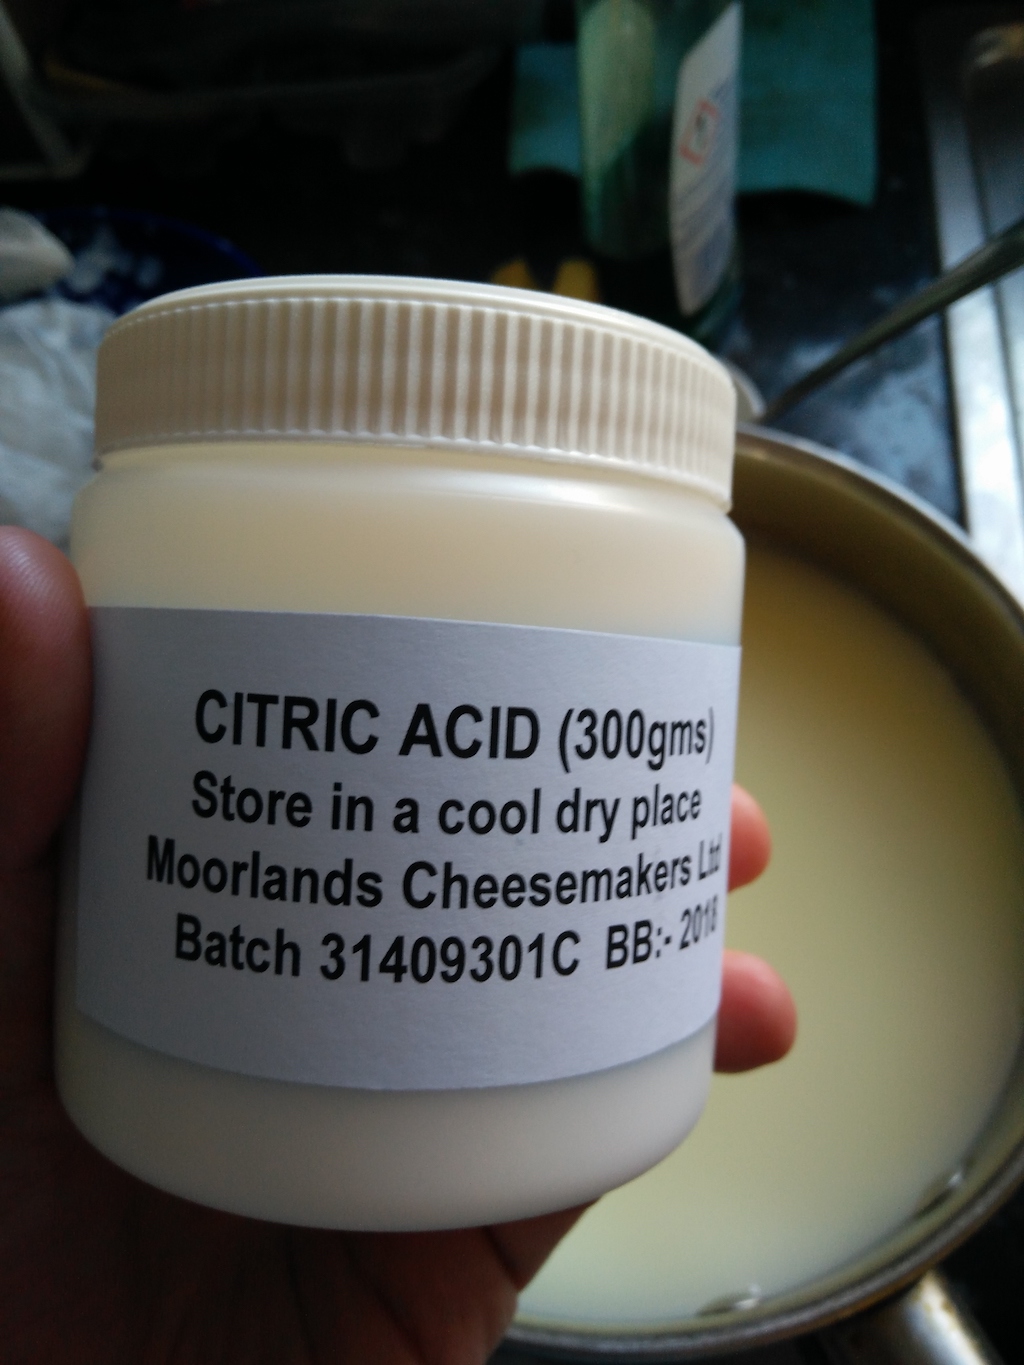
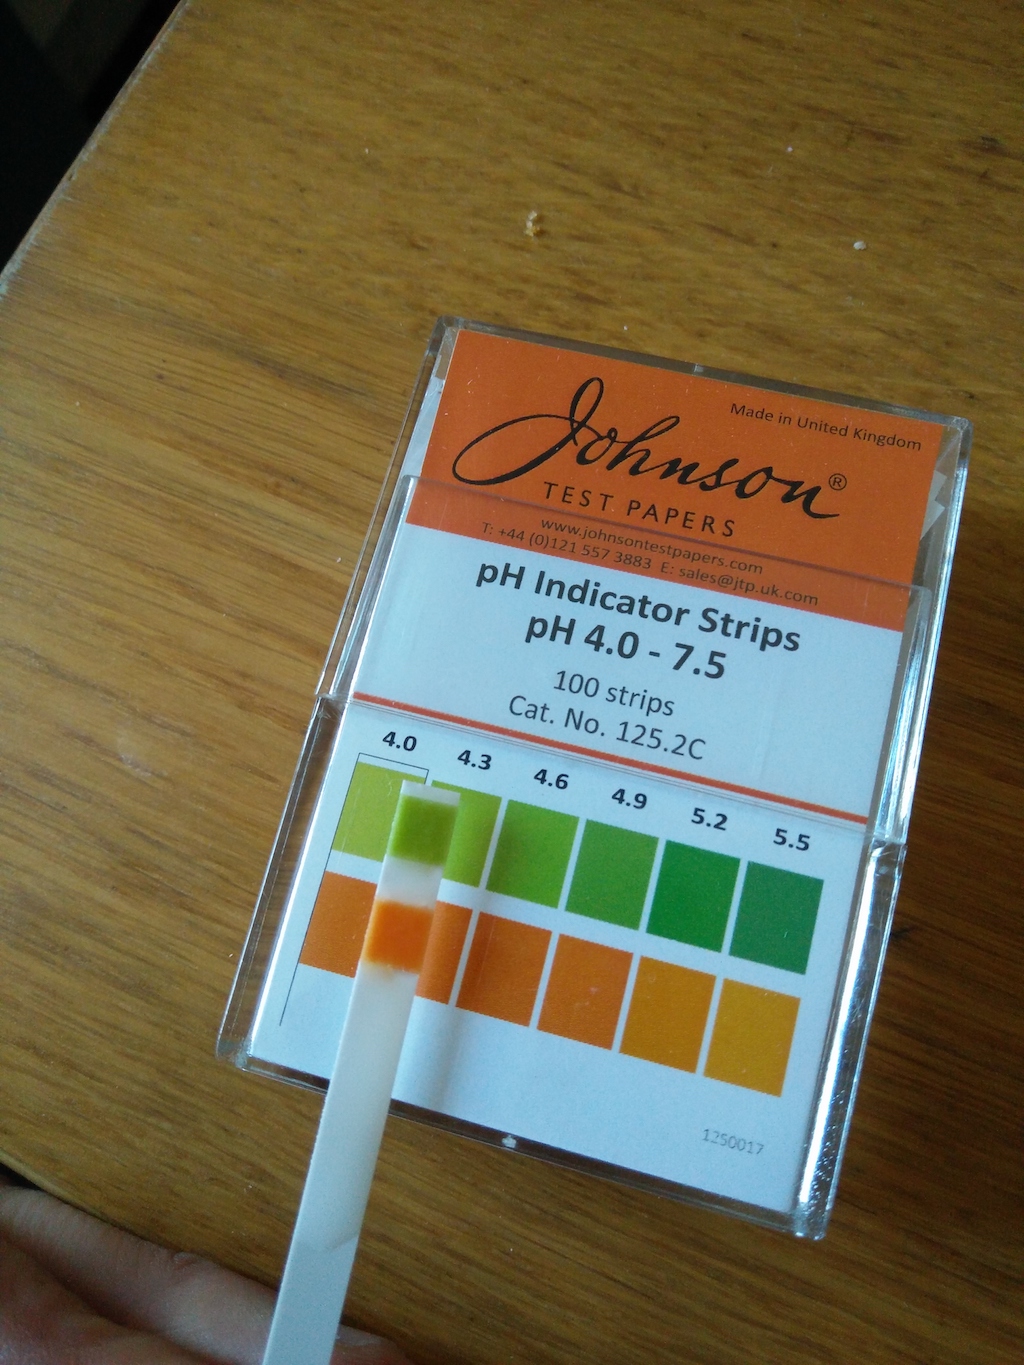
Before you embark making mozzarella, remember you need some whey from your previous cheesemaking adventure. Ideally, you will make some cheese a couple of days before and let the whey spend 24h at room temperature so it gets a bit acidic. pH testing is ok, although it’s not too accurate at this scale. I do use some testing papers, and as my whey had pH 6.1, I brought it down by adding some citric acid.
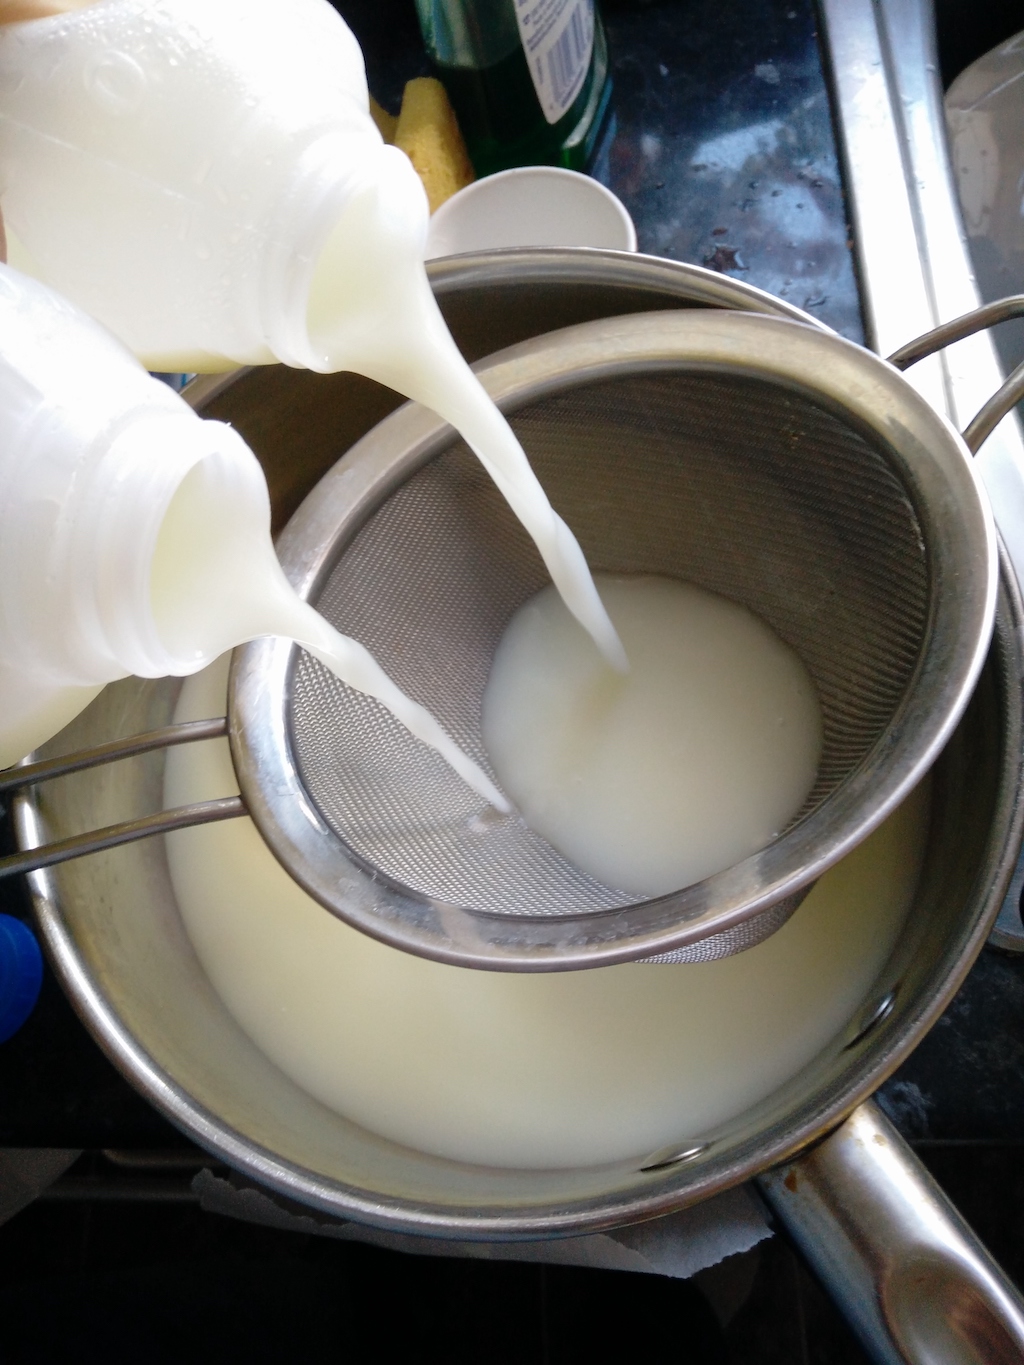
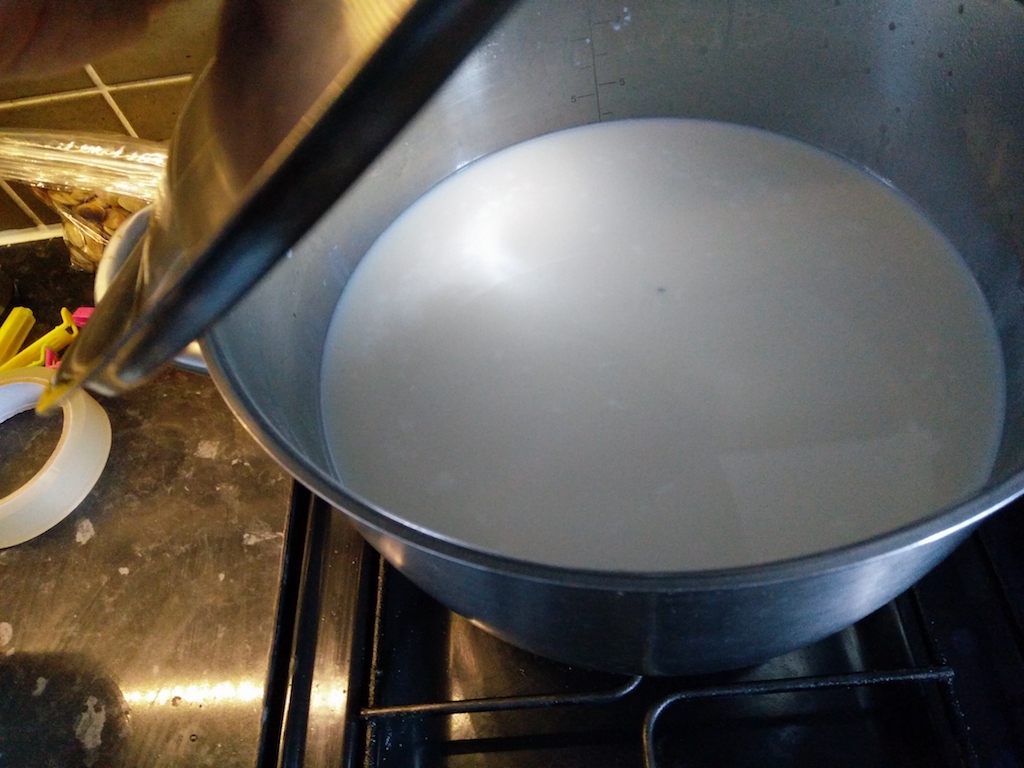
You will proceed as usual mixing some yogurt into about 3lt of milk (for example as seen in my Crescenza). Bring the milk to 37-39C, switch the heat off and wait for 20min.
Meanwhile, make sure your whey is at about pH 5-5.5. If higher, you need to add some citric acid.
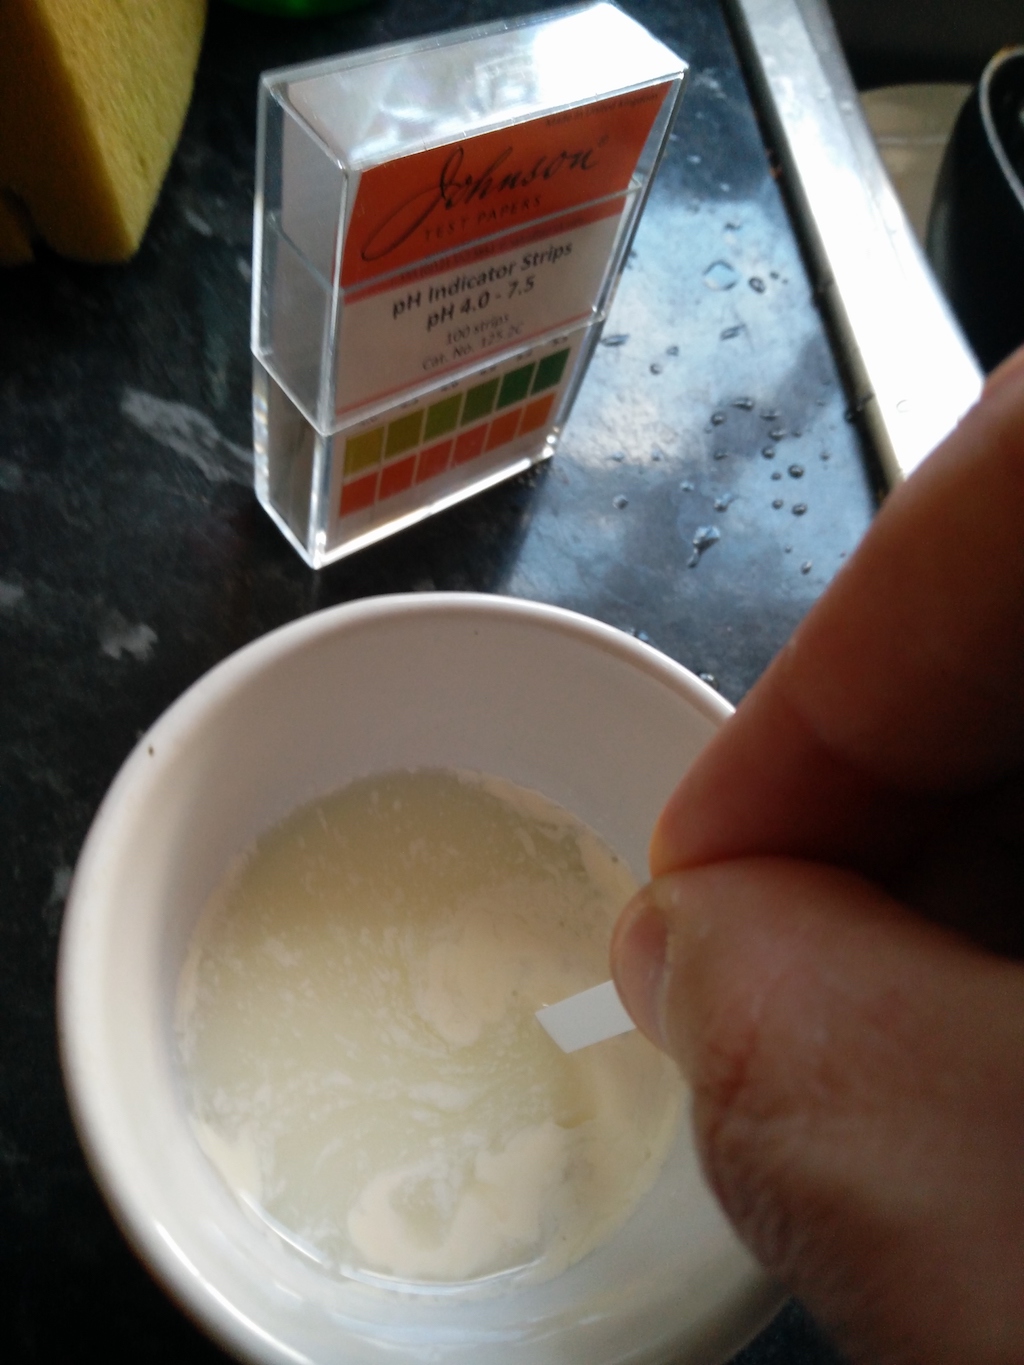
pH indicator sticks are not great, but they work.
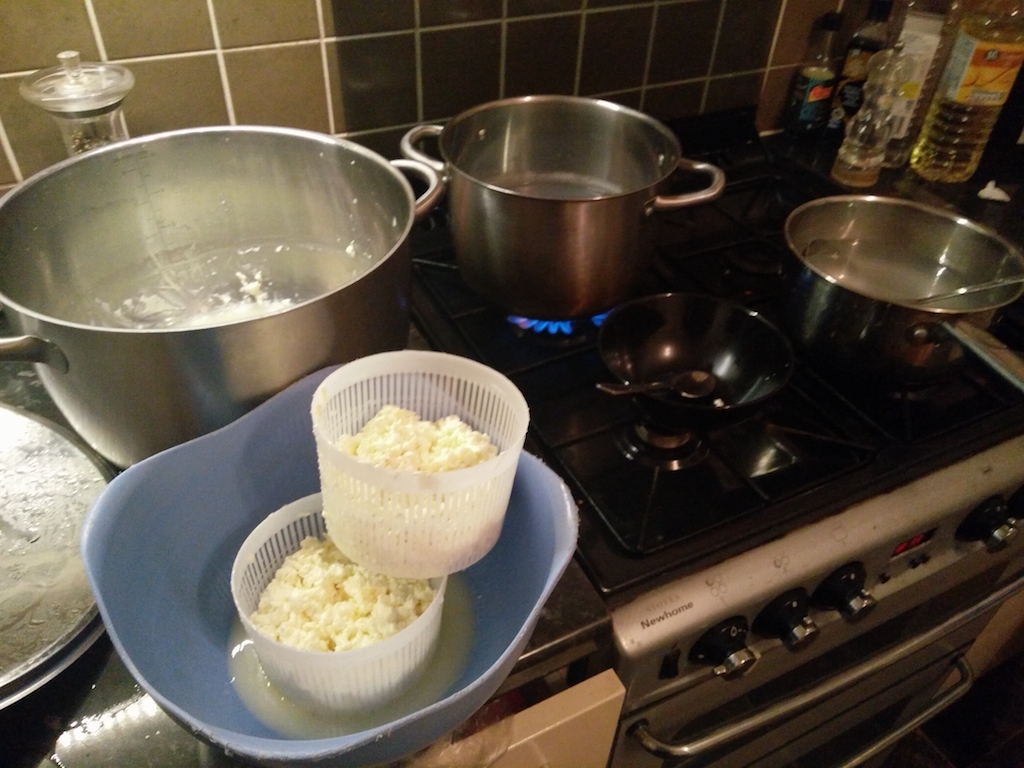
Wait for the milk to get down to 32C, add 1.5 cups of acidic whey into the milk, add rennet in the quantity advertised on its label, cover and wait for about a hour.

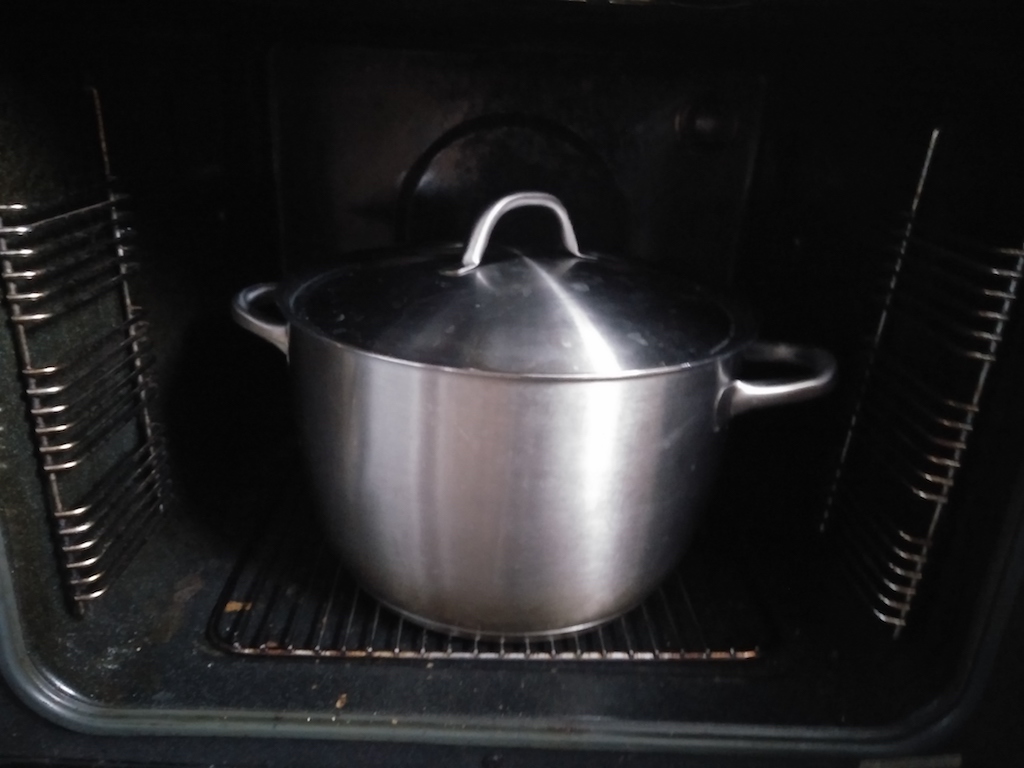
At this stage, break the curd into 4x4cm cubes, cover again, and wait for 15 minutes. Break the curd again. It’s time to put the curd to mature. This should be done at relatively high temperature (30C) and humidity. I use the usual technique of putting the pan in the switched off oven, checking here and then that the temperature stays around 30C.
Every here and then I check the pH. On this occasion, it started at about 6.1, was down to 5.4 after about 2 hours, and finally 5 after 3 hours. If you want to speed things up, you can add citric acid, but this is an operation that needs to last 3-5 hours in order to produce its results: without some time spent in acidic whey, the mozzarella paste will not be elastic enough.

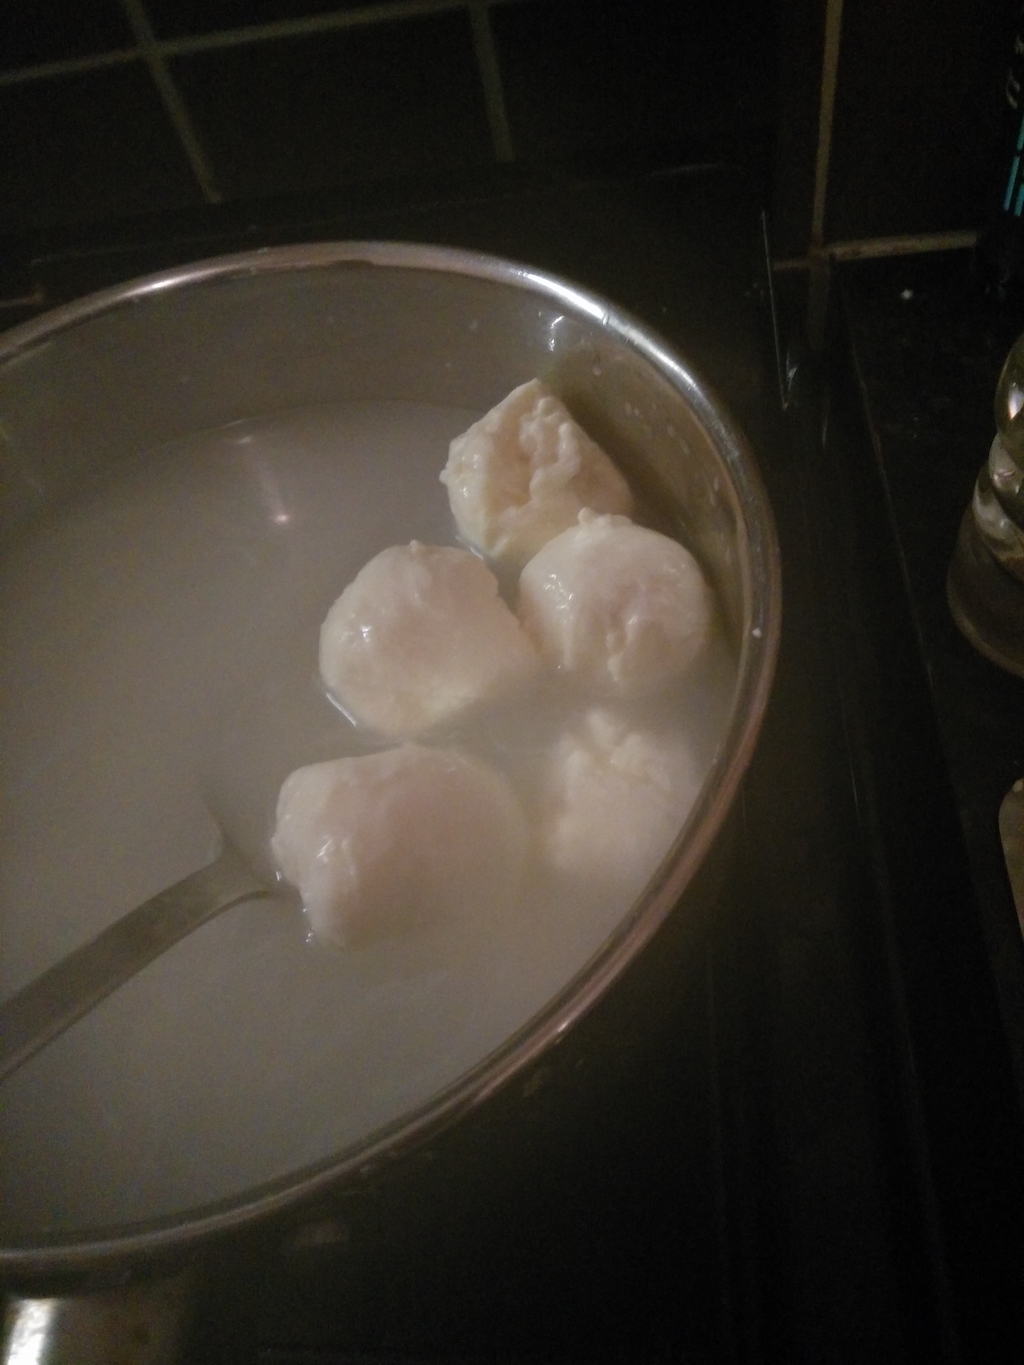
Now, be careful as you’re going to work with scalding water. Bring some water to 90C: just short of boiling and keep it at that temperature. What you’re going to do next is to take a little bit of curd, soak it in the hot water, then work it (probably with a some tools first, then by hand) as if it were play dough. The combination of acidic whey and hot water will make the curd become elastic, and you will pull it, create a little pocket, and push some paste inside the pocket.
It sometimes helps to take the curds out of the whey, but just do it minutes before you start. The setting looks like in the following photo. The pan on the right contains brine or whey in which you will keep the mozzarella balls. Make sure it’s cold, possibly ~10C.
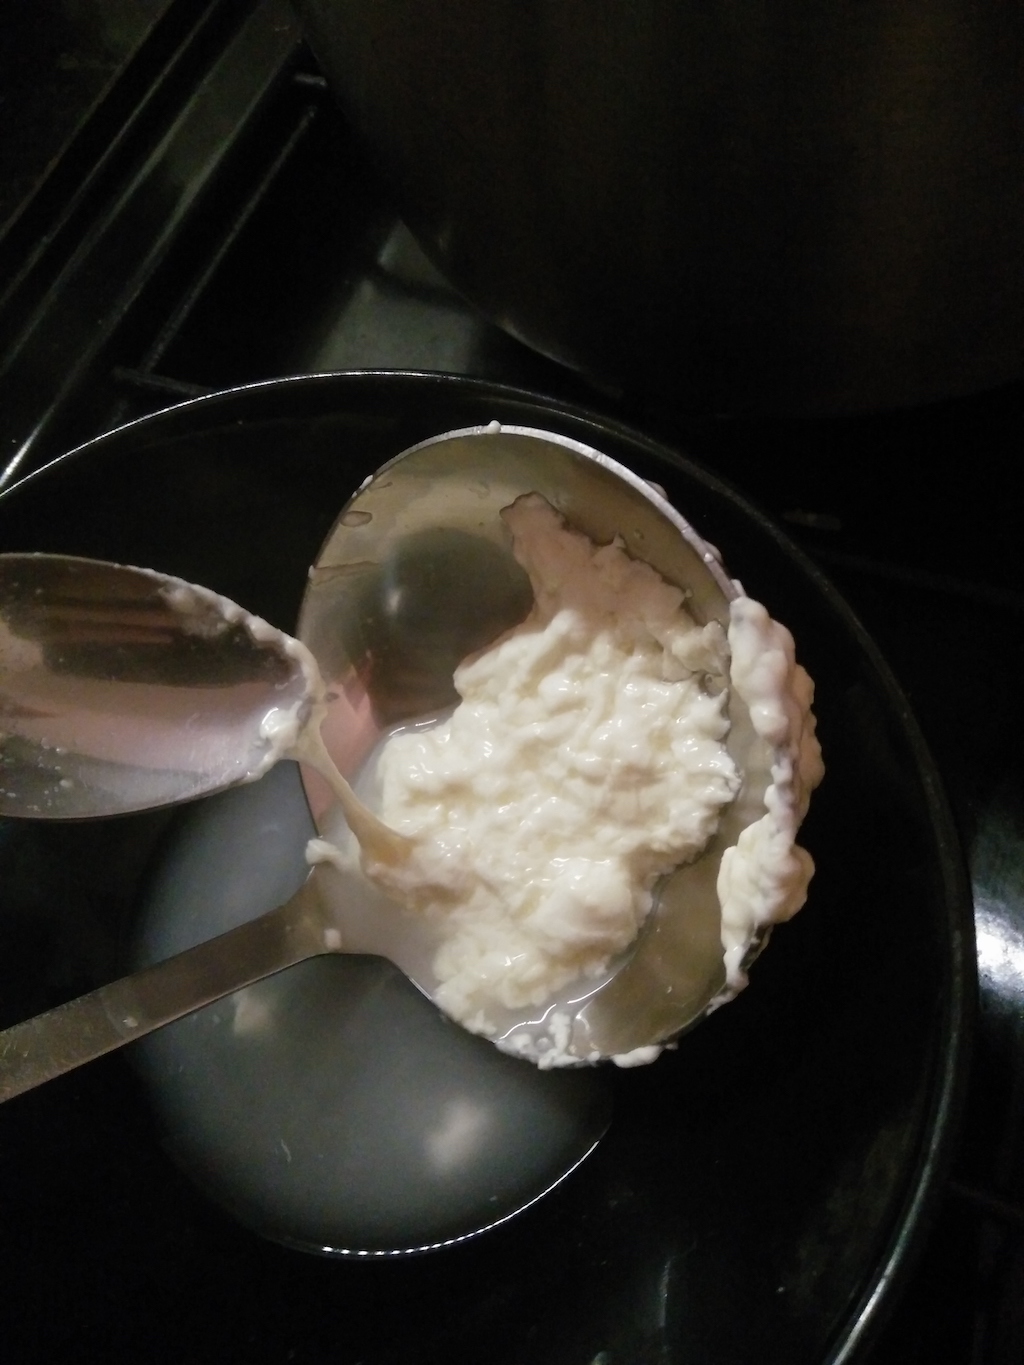
What I do to simplify my life: I use a little filter, or cheese cloth. I put some curd in it, then lower the filter in the hot water, and start touching the curd with a wooden spoon. When I feel it’s ready, after 10-15 seconds, i take it out, let the water drip through the cheese cloth or filter, and work the paste by hand, being very careful not to burn myself.


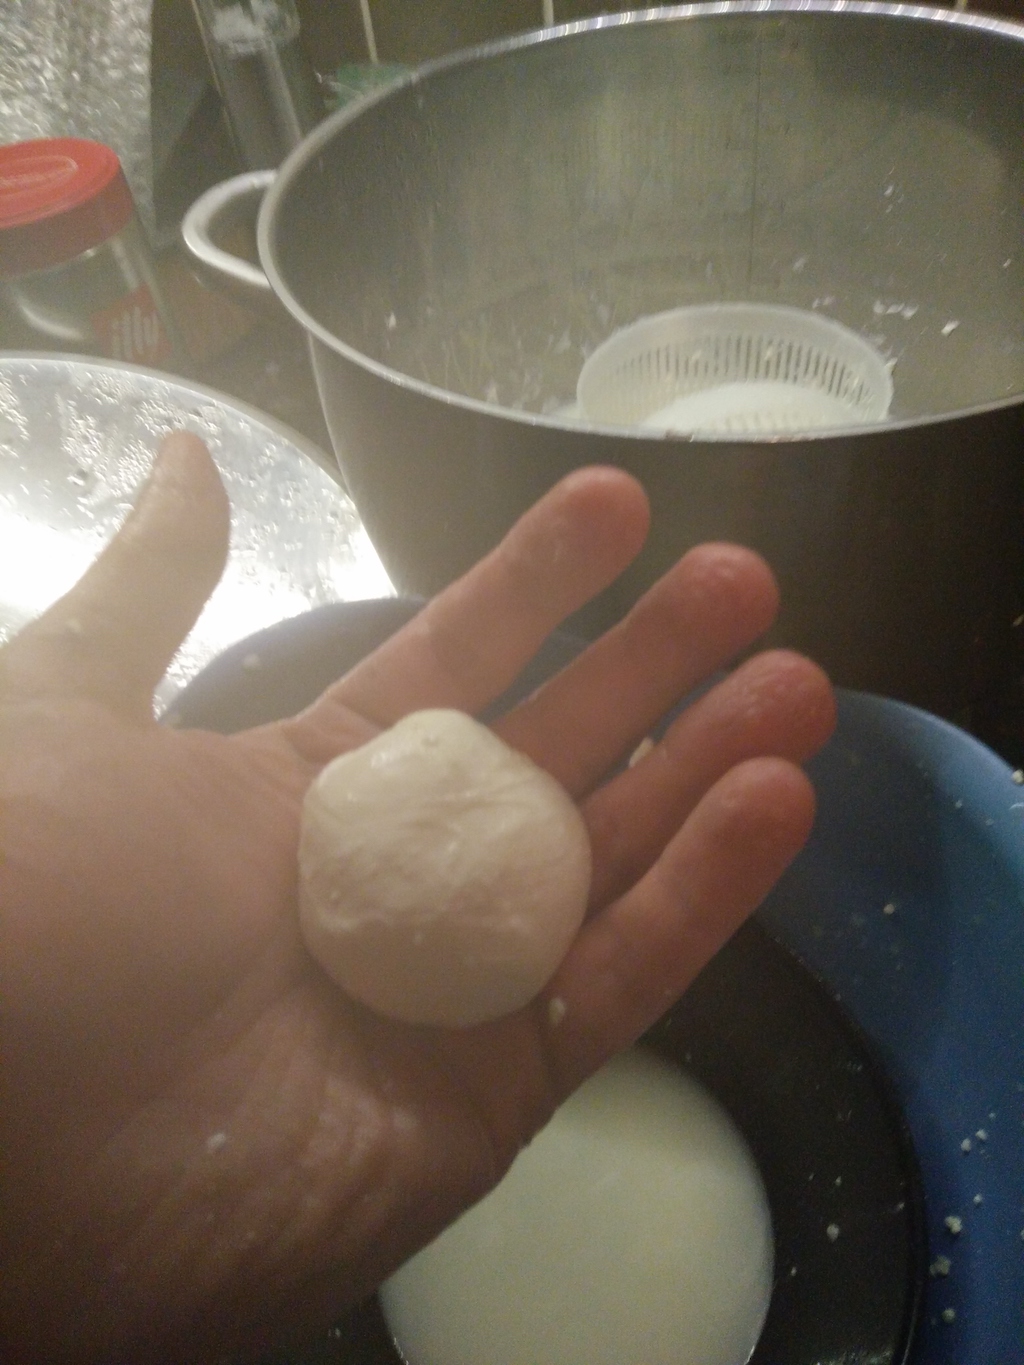
Throw the mozzarella in the cold whey/brine. They are ready to eat!