In the previous post, I presented a procedure to make some cheese that we would mature as cheddar. The same procedure, cut shorter, can be used to make some very simple fresh cheese.
In this blog post I will show you how to adapt the procedure explained in the previous blog post and make some cheese you can consume in a couple of days.
In fact, I generally follow the recipe with a little bit more milk and use part of it to make fresh cheese and the rest to prepare for ageing.
A quick recap of the ingredients and tools:
- 4.5l unhomogenised milk, better if already pasteurised
- rennet in tablets (or liquid, if it’s easier for you)
- a cheese thermometer
- a cheese cloth
- some cheese moulds
- a large enough metal bowl
- some yogurt with live bacteria; Greek yogurt is generally a good bet.
In this case the procedure is much simpler. I leave in bold the phases in common with the previous blog post.
- as the milk has been pasteurised, we will culture it
- we will then add rennet in order to coagulate the milk
- cutting the curd into smaller curds will follow
- we will proceed to drain the curds
- after some hours, put the result in the fridge for a couple of days.
Let’s assume you’ve done your homework and followed the previous blog post until you’ve cut the curds. You should have a bowl full of 3D 1-2cm long rhomboids.
Next, you drain them into a cheese cloth, and then fill your plastic mould.
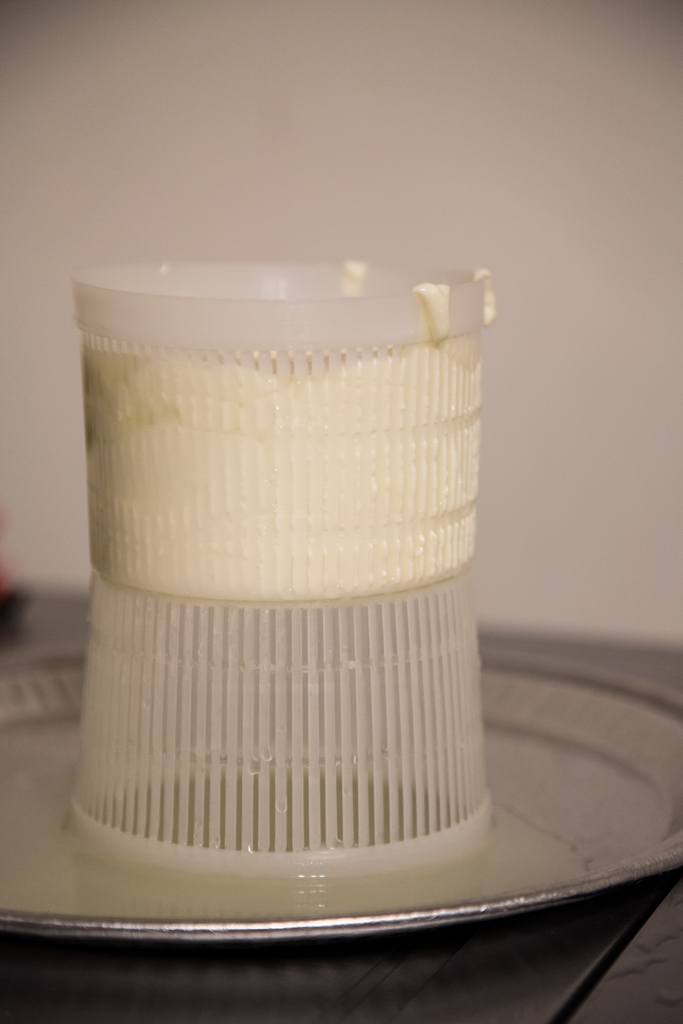
Turn the mould around often, and after some hours (or the morning after, if you’ve done this at night) you will end up with a semi-solid mould of cheese.
At that stage, it’s important to sprinkle some salt around the cheese, while turning around.
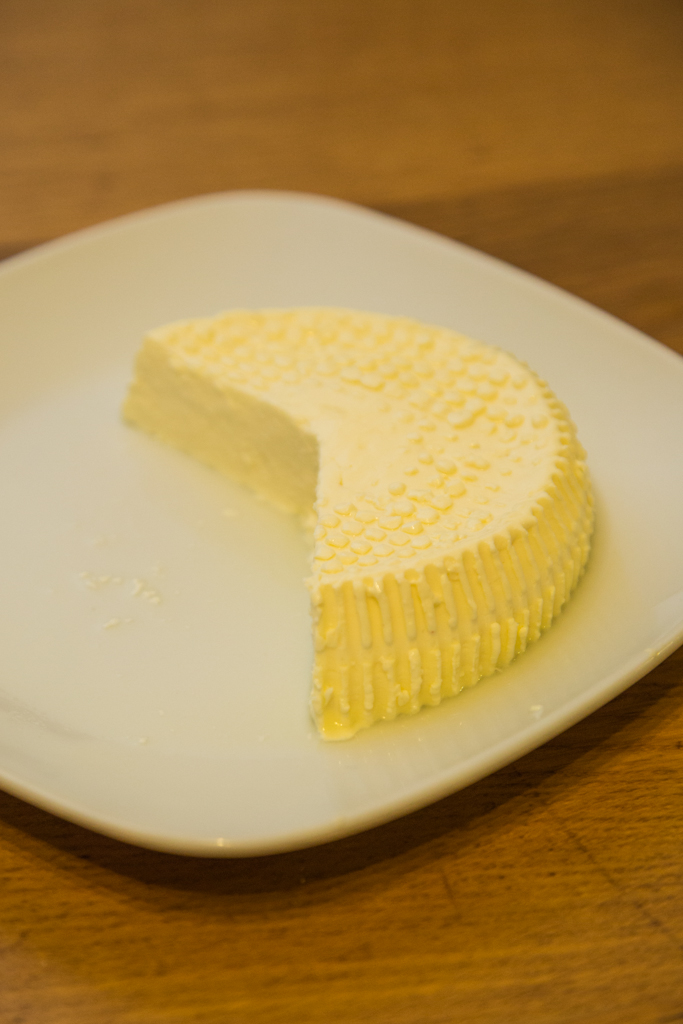
Finally, put it on a dish, cover with cling film, and put into the fridge. You can eat it after 2-3 days.